Don’t skip this article because Jen Hair is going to provide different simple flat twist styles for beginners. Our experts will guide you through each step and share their exquisite tips.
The charm and sophistication of the flat twist stem from its simplicity. Additionally, its versatility is a major plus! You can sport this effortless hairstyle in various ways: in an updo, a low bun, half-up half-down, and many more styles.
Moreover, you can transform your flat twist hairdo into lively, curly twists when you’re ready to change it up. It’s no surprise that this style is adored as one of the top choices for protecting natural hair. So, keep reading to find out how to gain the best simple flat twist styles.
What Does Flat Twist Look Like?
Flat twists, sometimes referred to as fanned twists, are a stylish and refined protective hairdo that is quite popular. They are made by twisting two hair strands together and pressing them flat against the scalp to form a defined and sleek twist.This style offers multiple benefits.
Flat twists, first and foremost, keep your hair strong and healthy by reducing breakage and frizz. They’re also incredibly versatile, allowing for a variety of looks, from elaborate updos to free strands that cascade. The most convenient part here is that its manipulation level is so low. Flat twists require little maintenance once styled, letting your hair relax and grow.
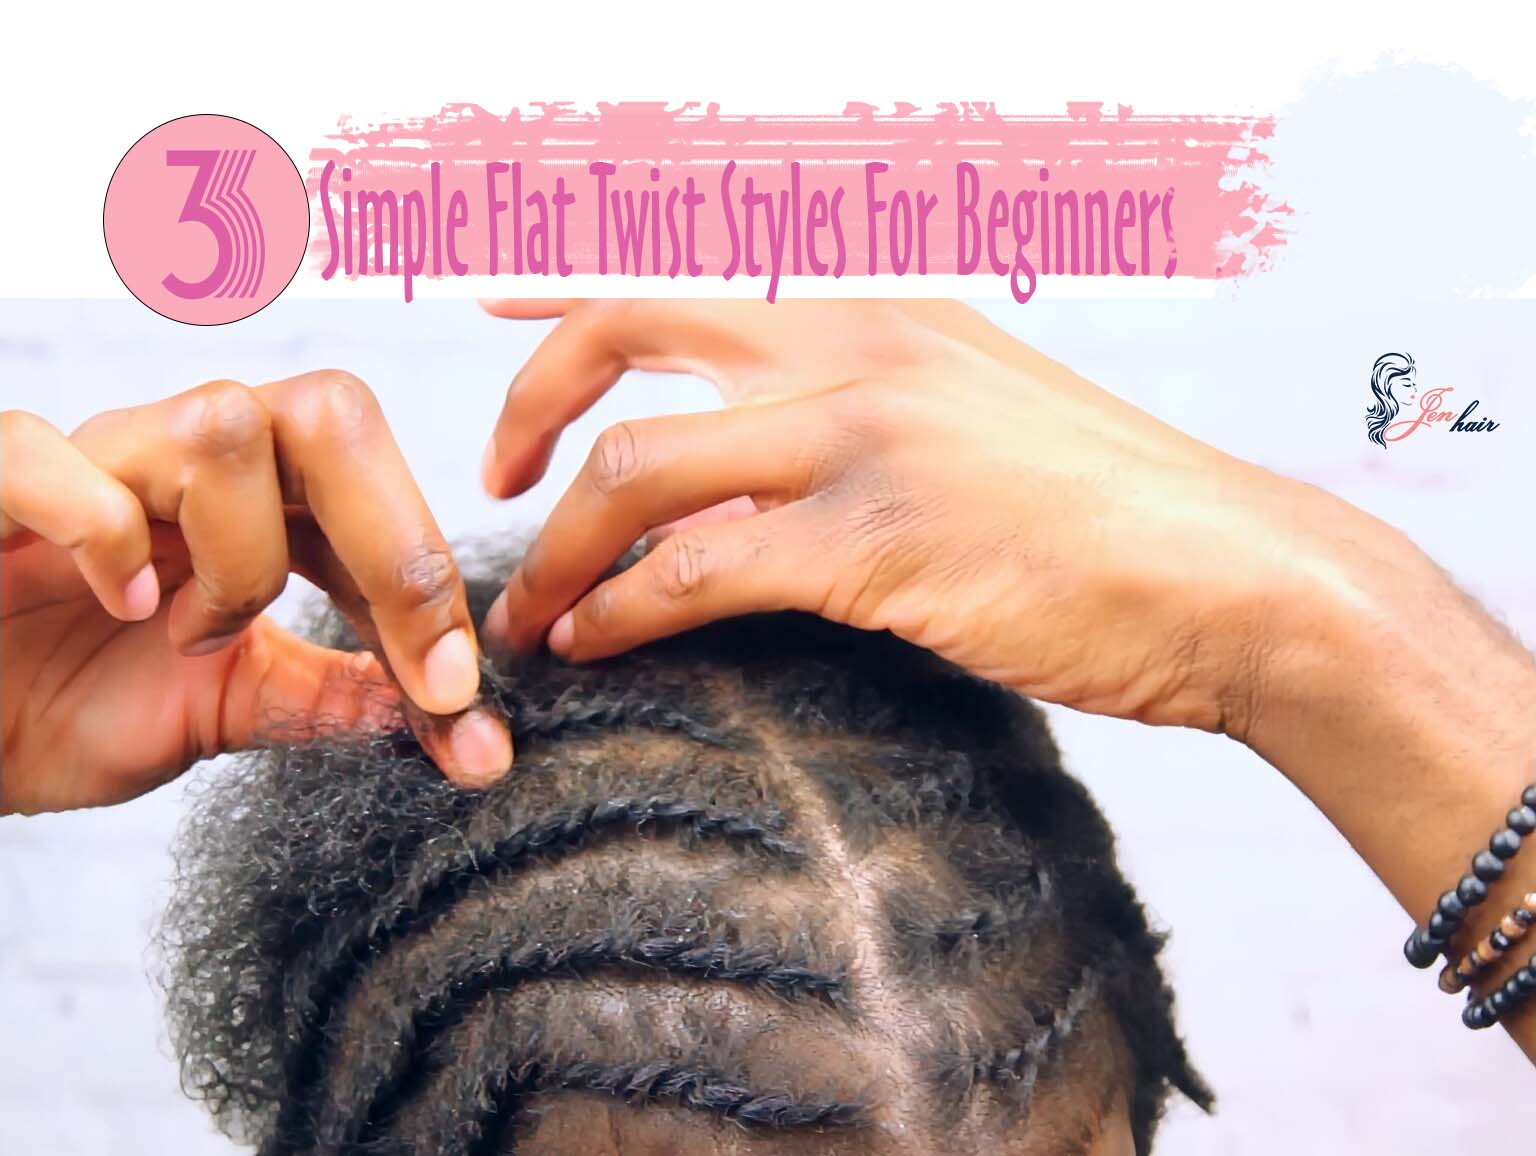
How To Flat Twist For Beginners (Natural Long Hair)
Although learning this method might seem difficult at first, with our in-depth guide and practical advice, you’ll soon be able to create stunning flat twists!
Skinny Flat Twist:
The most essential thing of skinny flat twist style is making sleek, thin twists near the scalp. This is a more sophisticated and detailed version of flat twists, as smaller portions of hair are carefully twisted. You can seem polished and elegant with this style without having to go through a difficult care process.
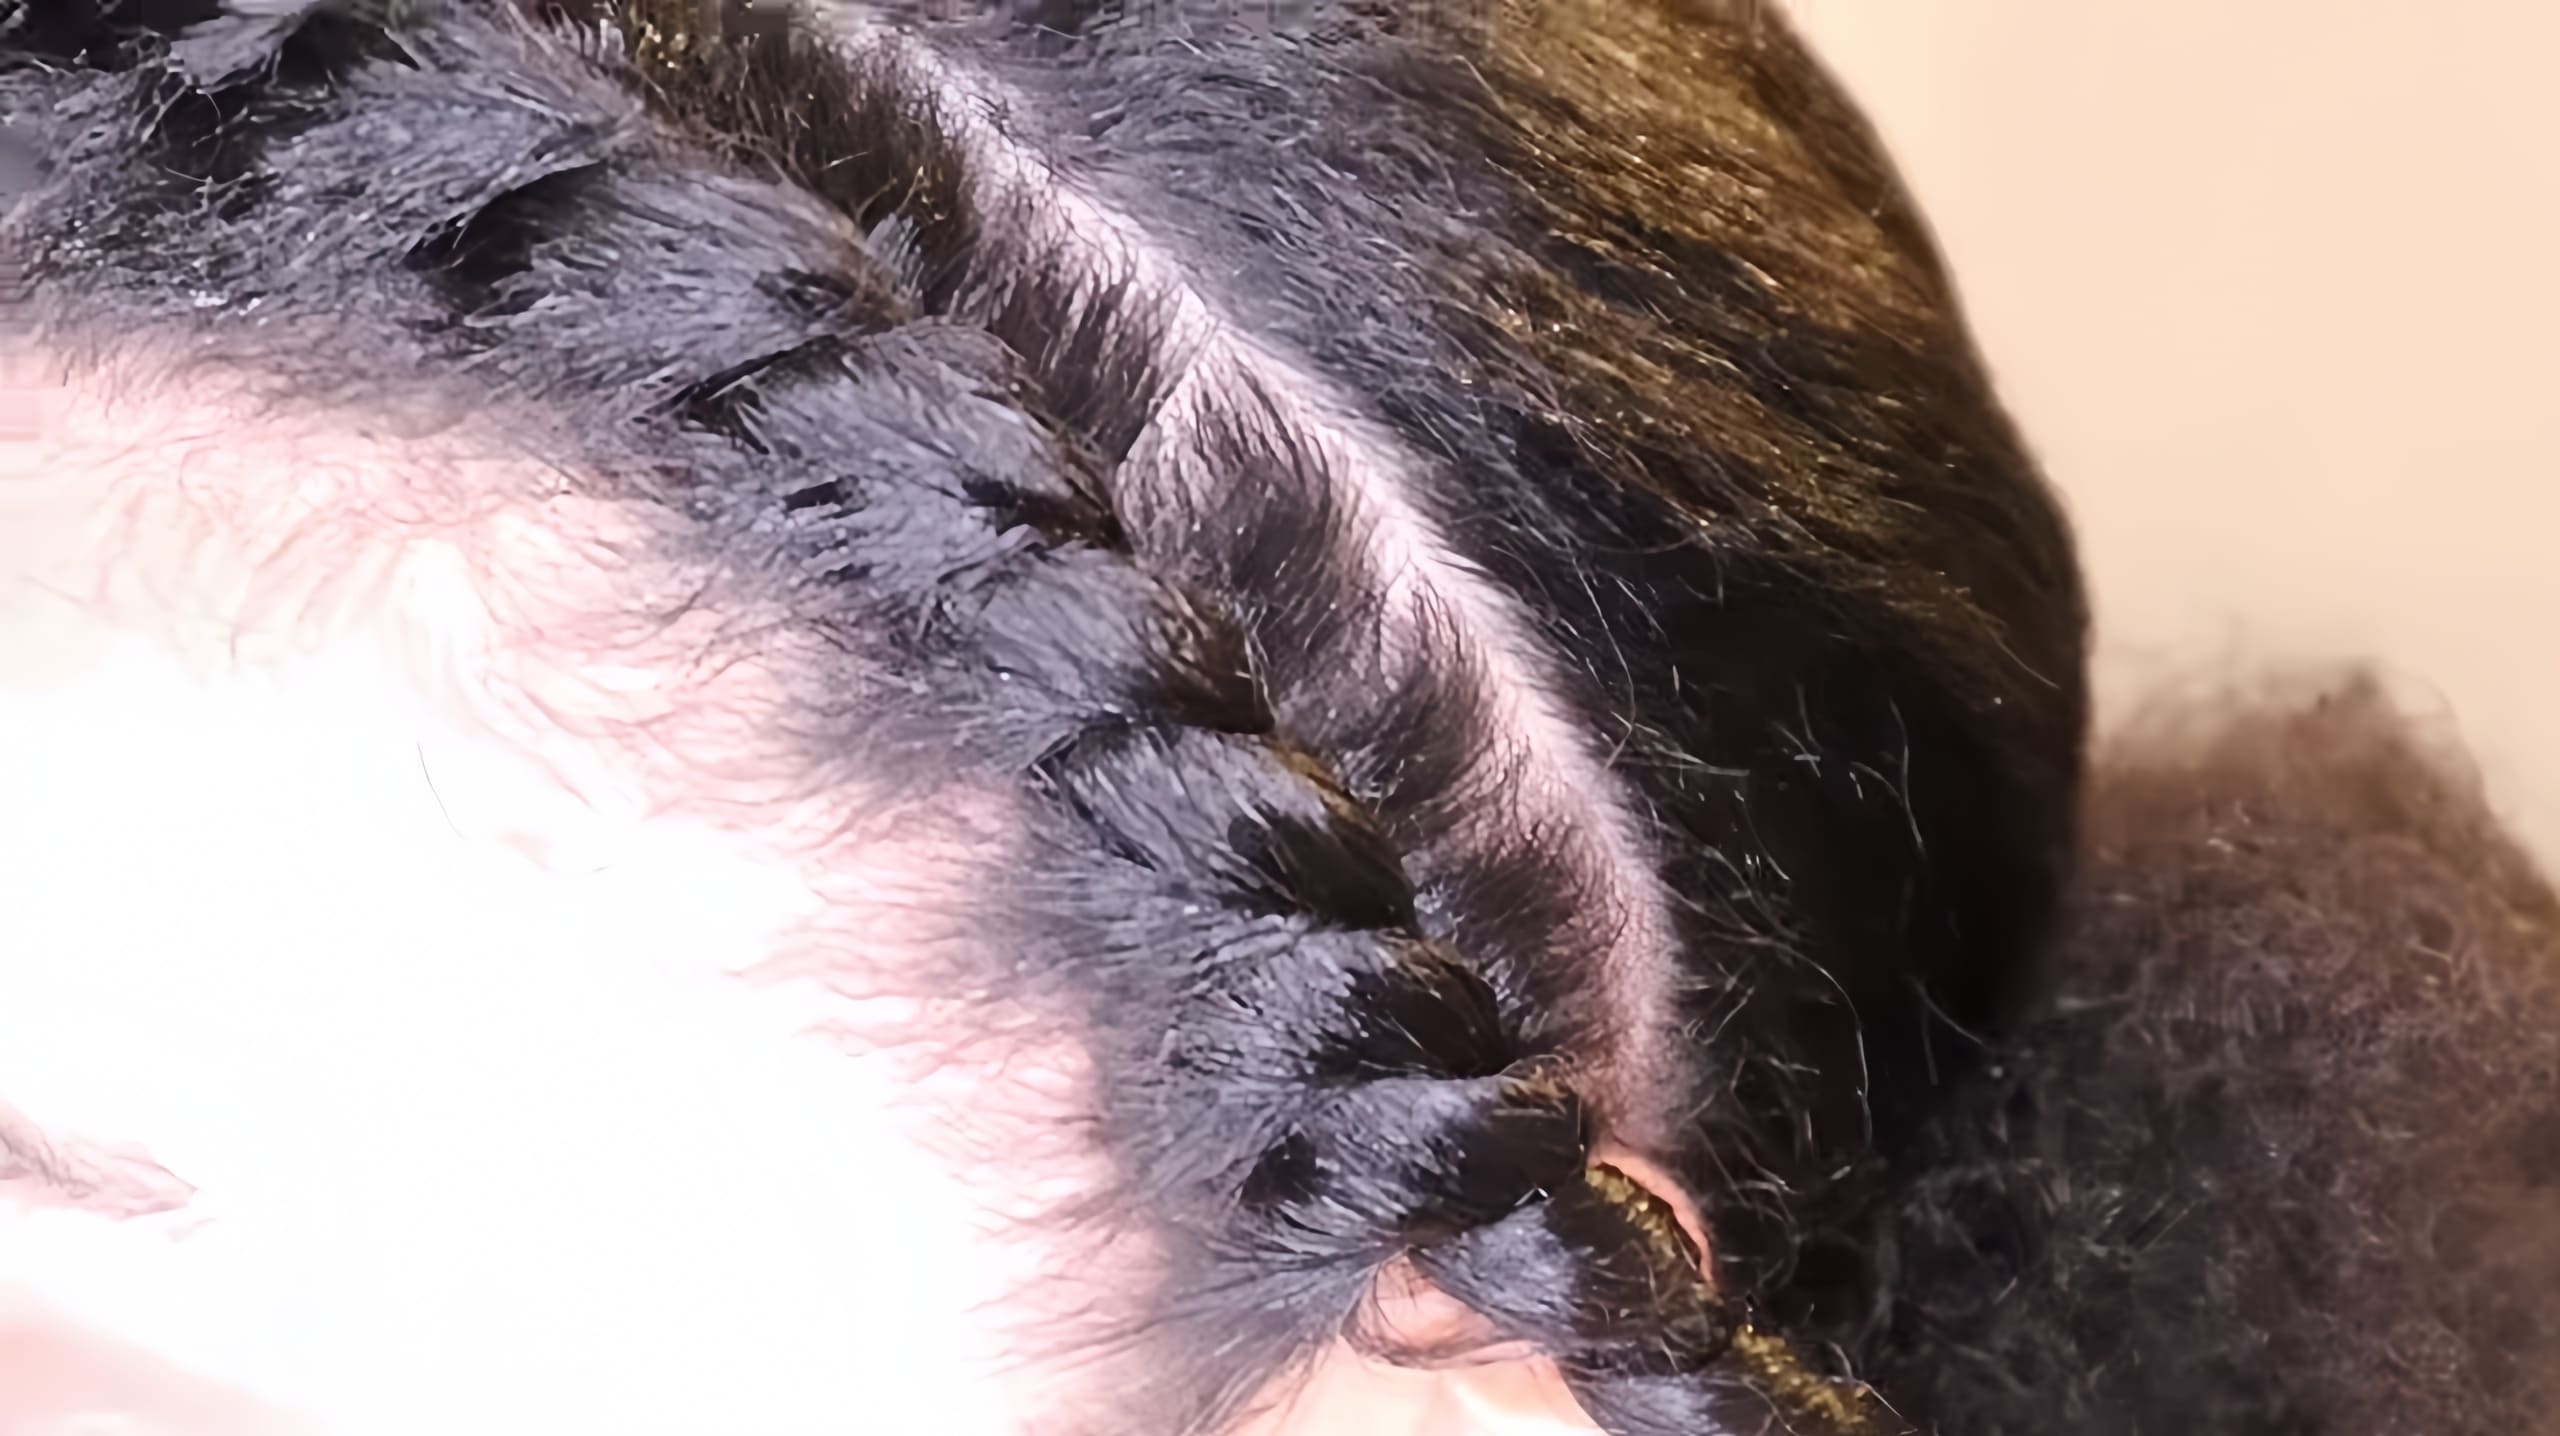
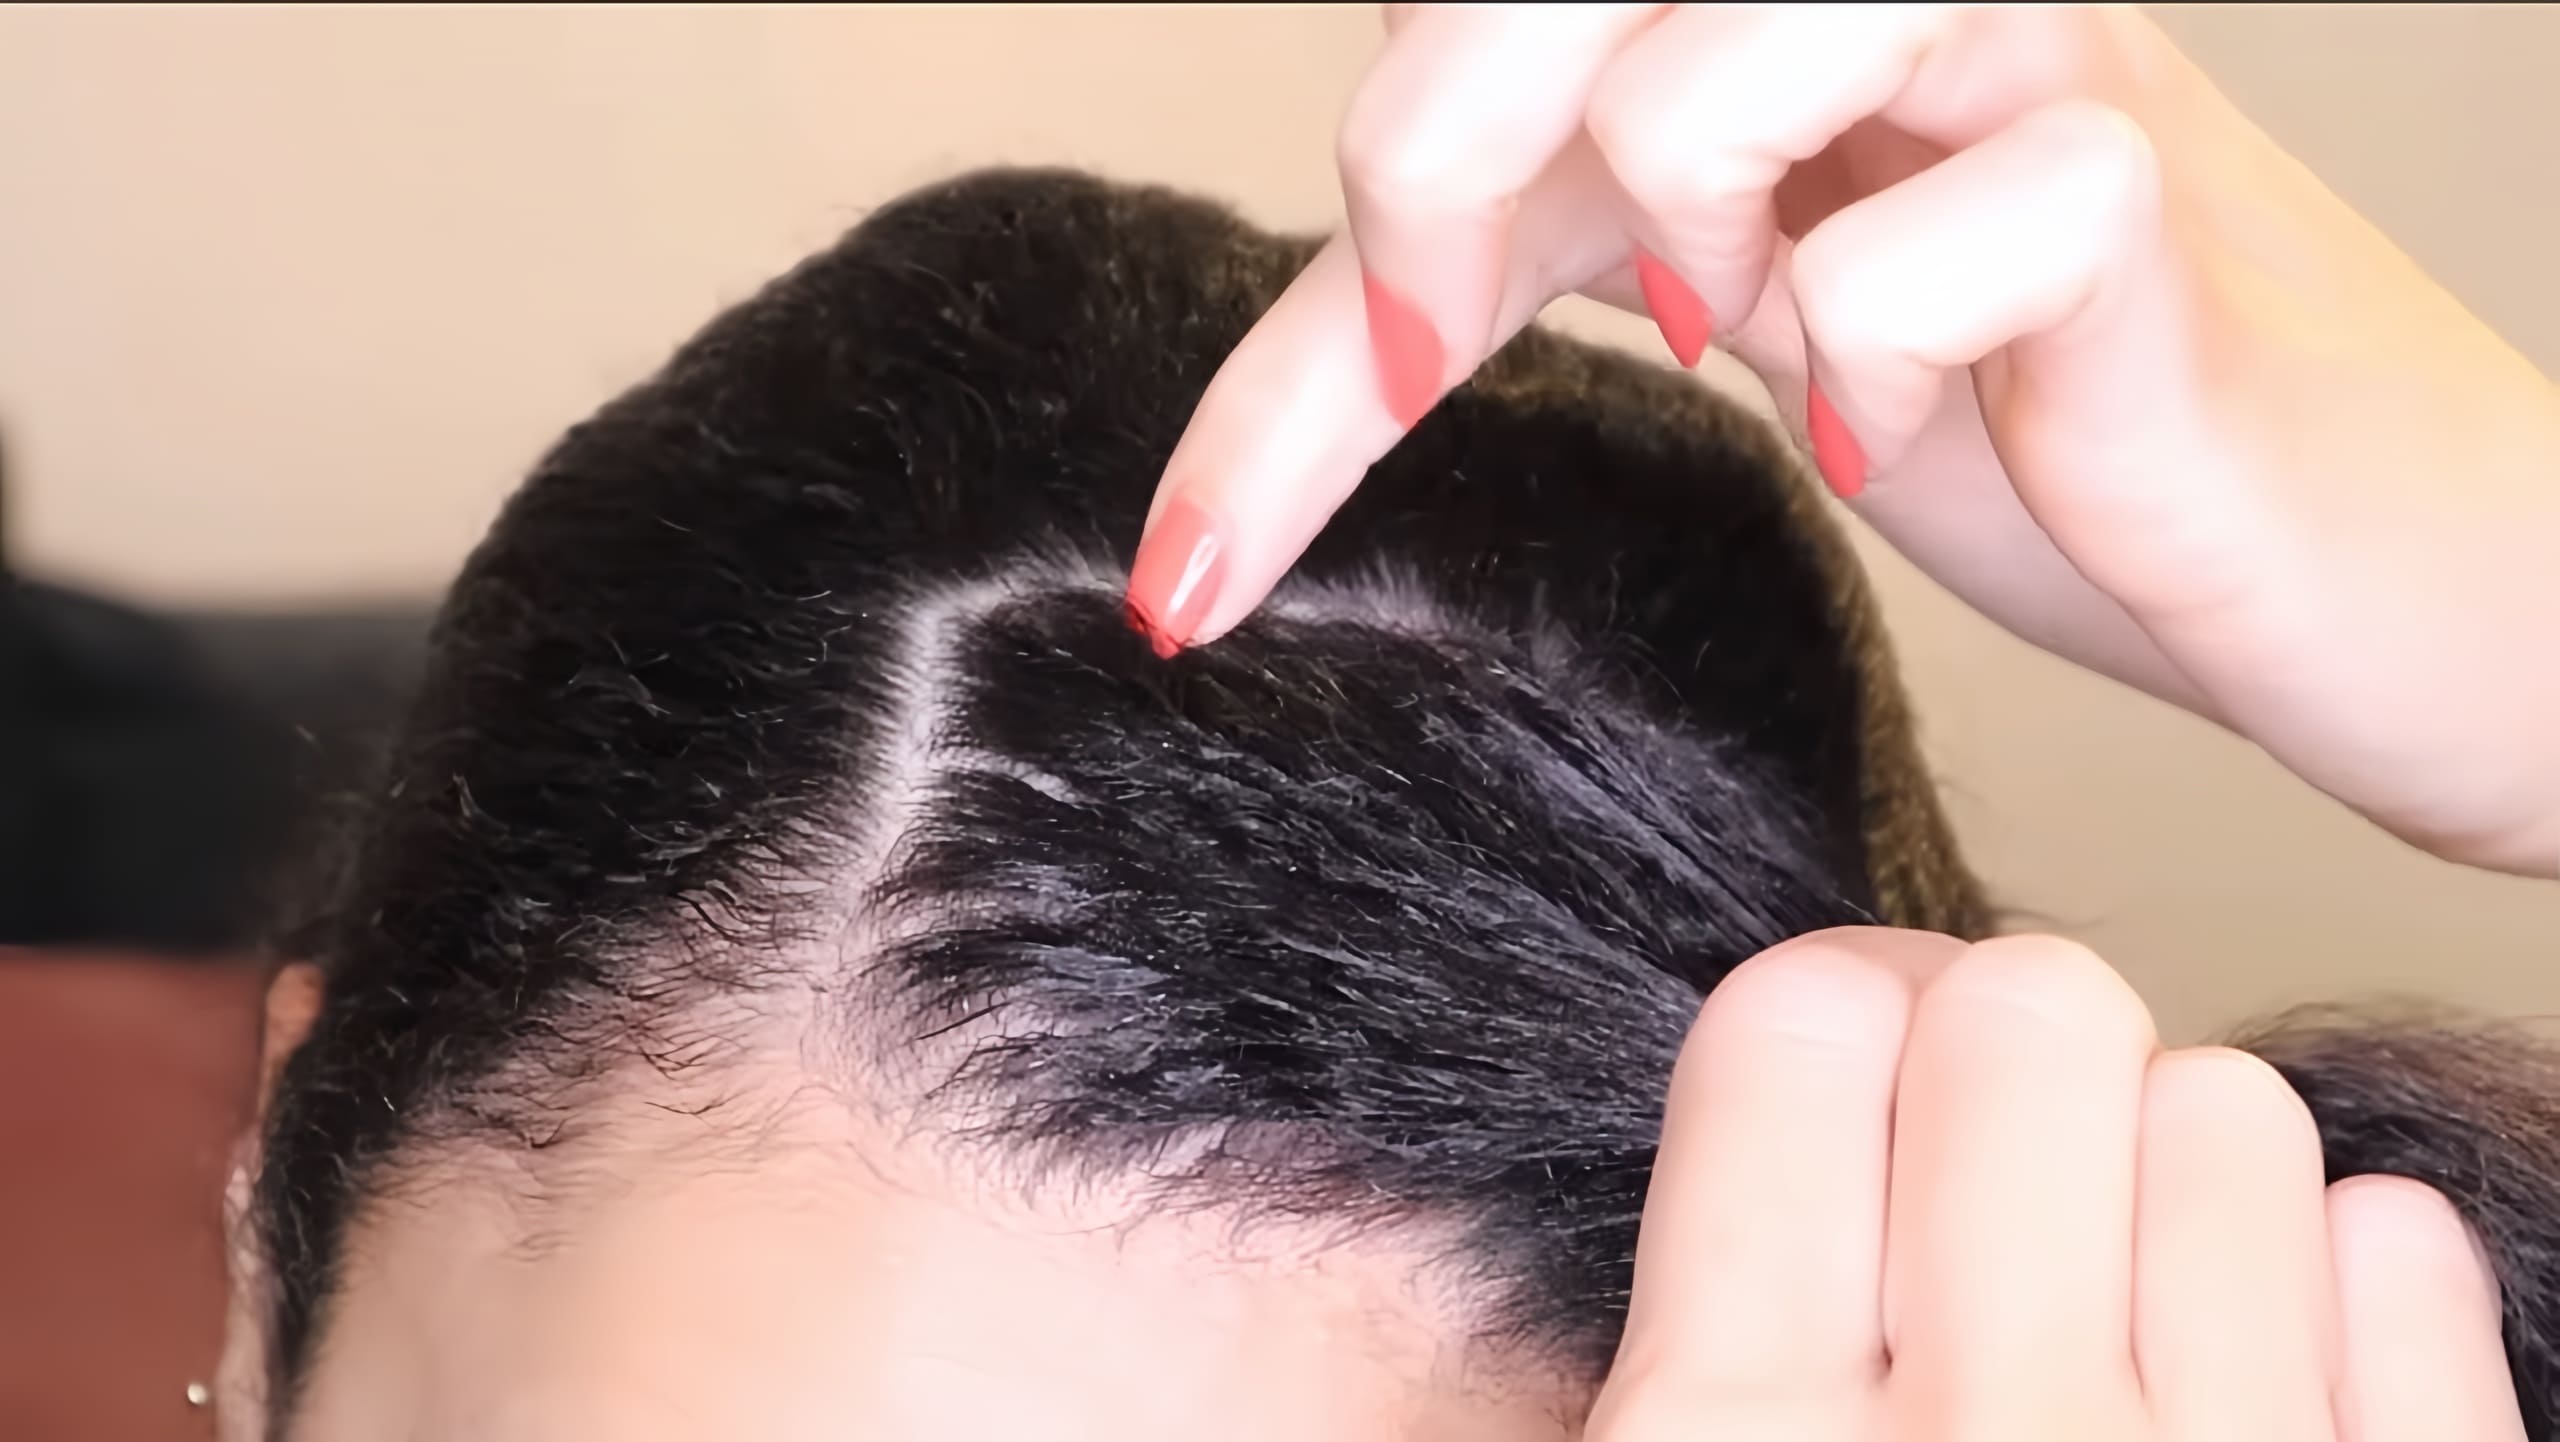
Choose a tiny portion of hair at first, perhaps from the front or crown of your head. Then split that part into two thin threads and place them between your finger and thumb. Now, with the other hand, pick up a small amount of hair near your scalp from in between those two strands.
Add the hairpiece to the two strands you were already holding. You get it? Fantastic! At this point begin to twist those three strands together in a manner similar to that of a rope. Twist your hair till you get to the ends.
Keep in mind that as you twist, add additional hair by grabbing it from underneath. It keeps the twist attractive and taut. After you’ve bent everything the way down, you can use a hair tie or bobby pin to secure the ends.
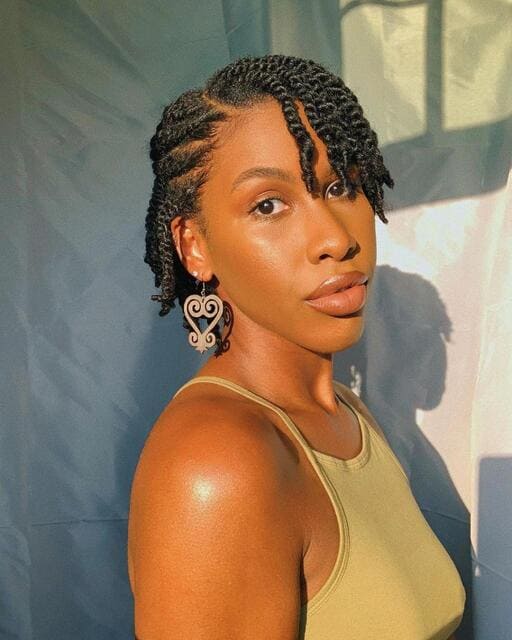
Face Twist (Flat Twist Towards the Face):
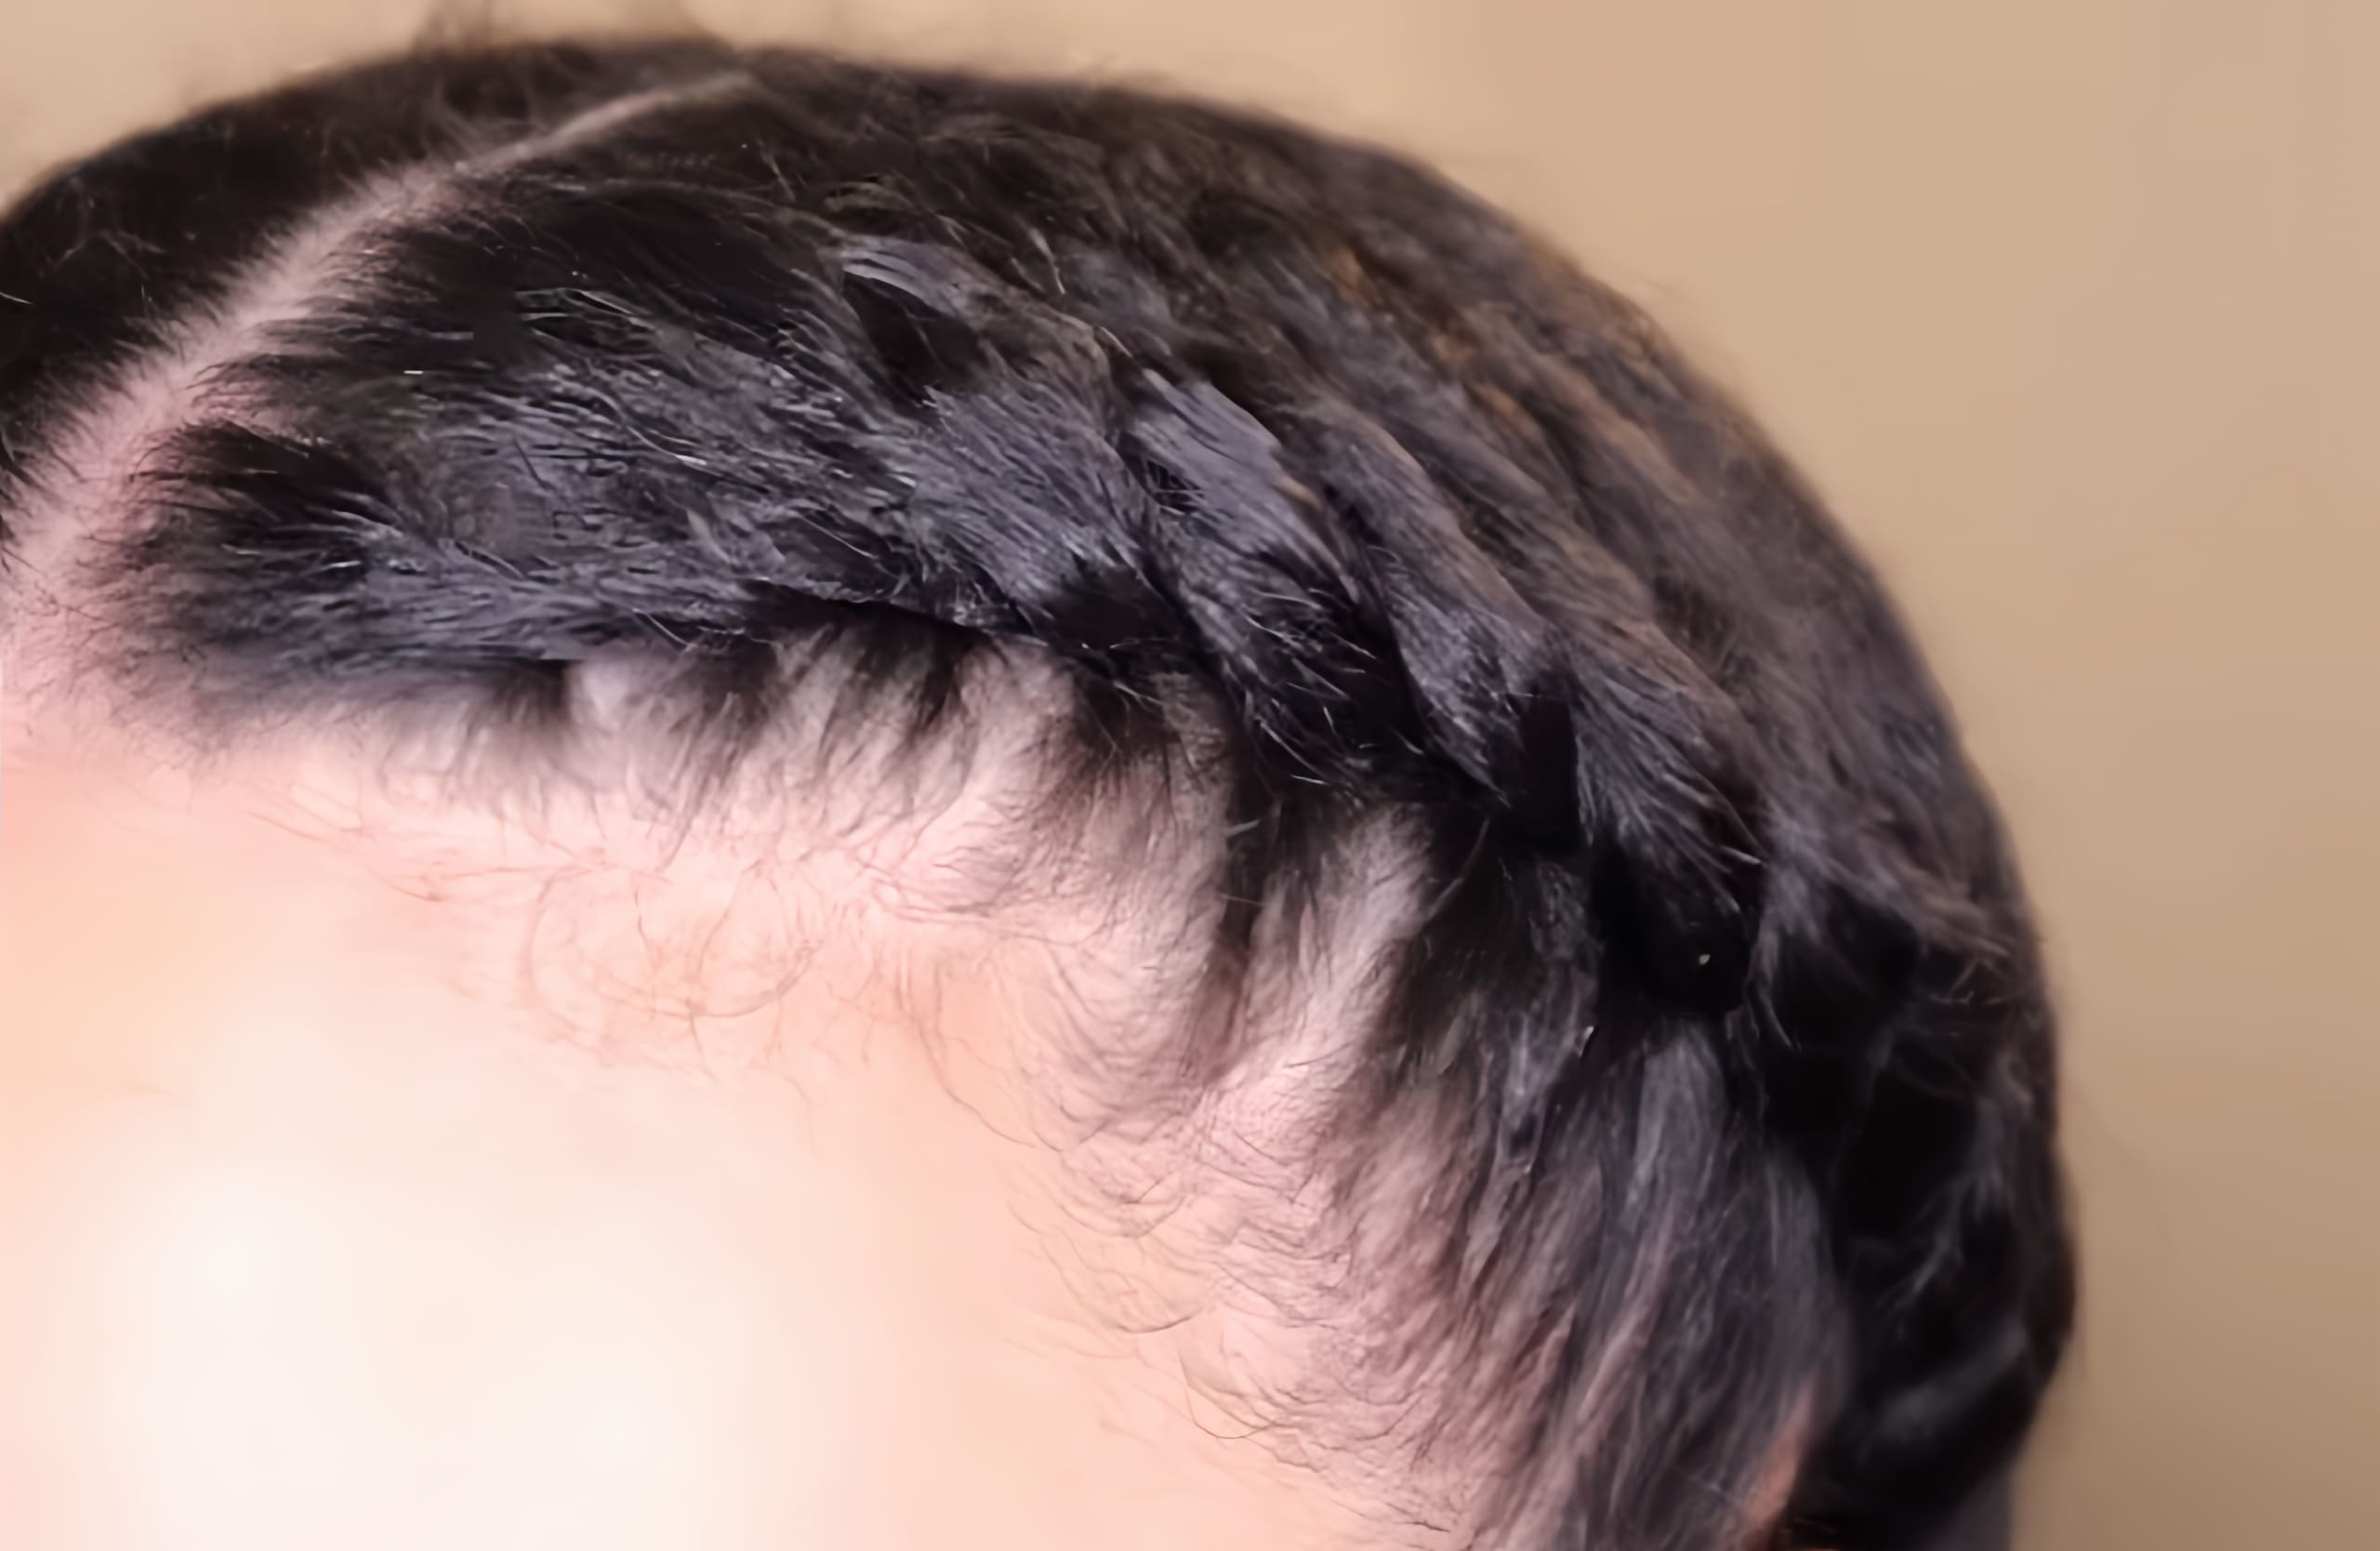
The face twist is a flat twisting method where the twists are aimed towards the front of the face. It is also referred to as a flat twist toward the face. When creating this look, make sure the orientation of the twists points in the direction of your face. By highlighting your facial features and giving your appearance a refined look, this produces a pleasing framing effect.
Follow steps 1–3 from the above tutorial. As you’re twisting those three strands together, make sure you’re twisting them towards your face. That means the strand on top should cross over the one underneath as you twist. Keep it going, twisting and grabbing small bits of hair as you move along. Think of it like following the “Skinny Flat Twist” directions, with your face being the focus. Then just keep on twisting until you get to the ends of your hair strands.
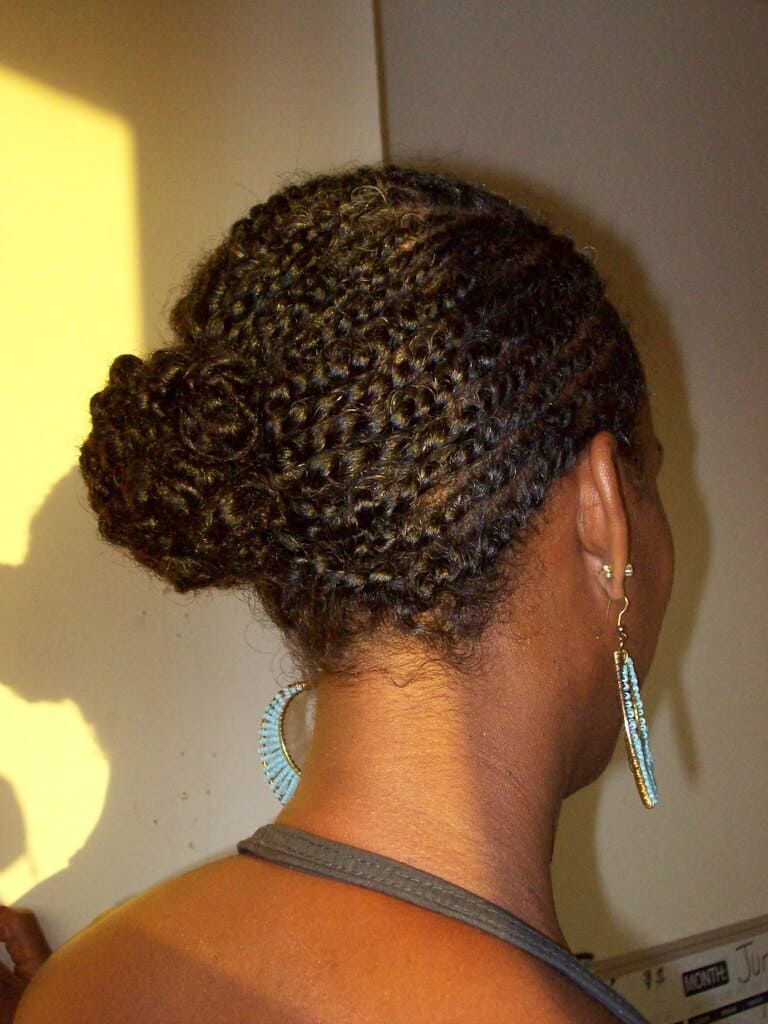
Half-Up, Half-Down Flat Twist:
Combining the elegance of flat twists with the adaptability of a half-up, half-down hairstyle, the half-up, half-down flat twist style Your hair’s front sections should be flat twisted in the same manner; your back should be left untwisted and free. This produces a sophisticated and carefree look perfect for every situation.
For the first step, part your hair in the middle, on the side, or however you like for the top half of your hair. Following that, part your hair in the front in multiple sections for the flat twists; you can decide on the size of each section. Leave the hair at the back loose and untied as you work your way back towards the highest part of your head while creating the flat twists. Once all of the front portions are twisted, bring them together to achieve the “half-up” style and fasten them using bobby pins or hair ties.
Professional Advice:
- A water spray or leave-in conditioner can help keep your hair manageable and hydrated.
- If you’re a beginner, begin with smaller pieces and expand to larger ones as you feel more confident.
- Verify that your twists are flat against your scalp, especially while working on the back areas. You can even use a mirror for this purpose.
- Remember that consistent practice will help you master the technique and achieve perfect flat twists.
P/S: For a more thorough explanation, watch the complete video.
How to Flat Twists on Short Natural Hair
Start by misting your hair with a water spray or some leave-in conditioner. This keeps your hair from breaking easily and helps to make it more manageable.
Next, choose your hairstyle and parting. You may choose to have a central section, a peripheral section, or even divide the work into multiple sections. If you want the edges to be smooth, you can use edge control.
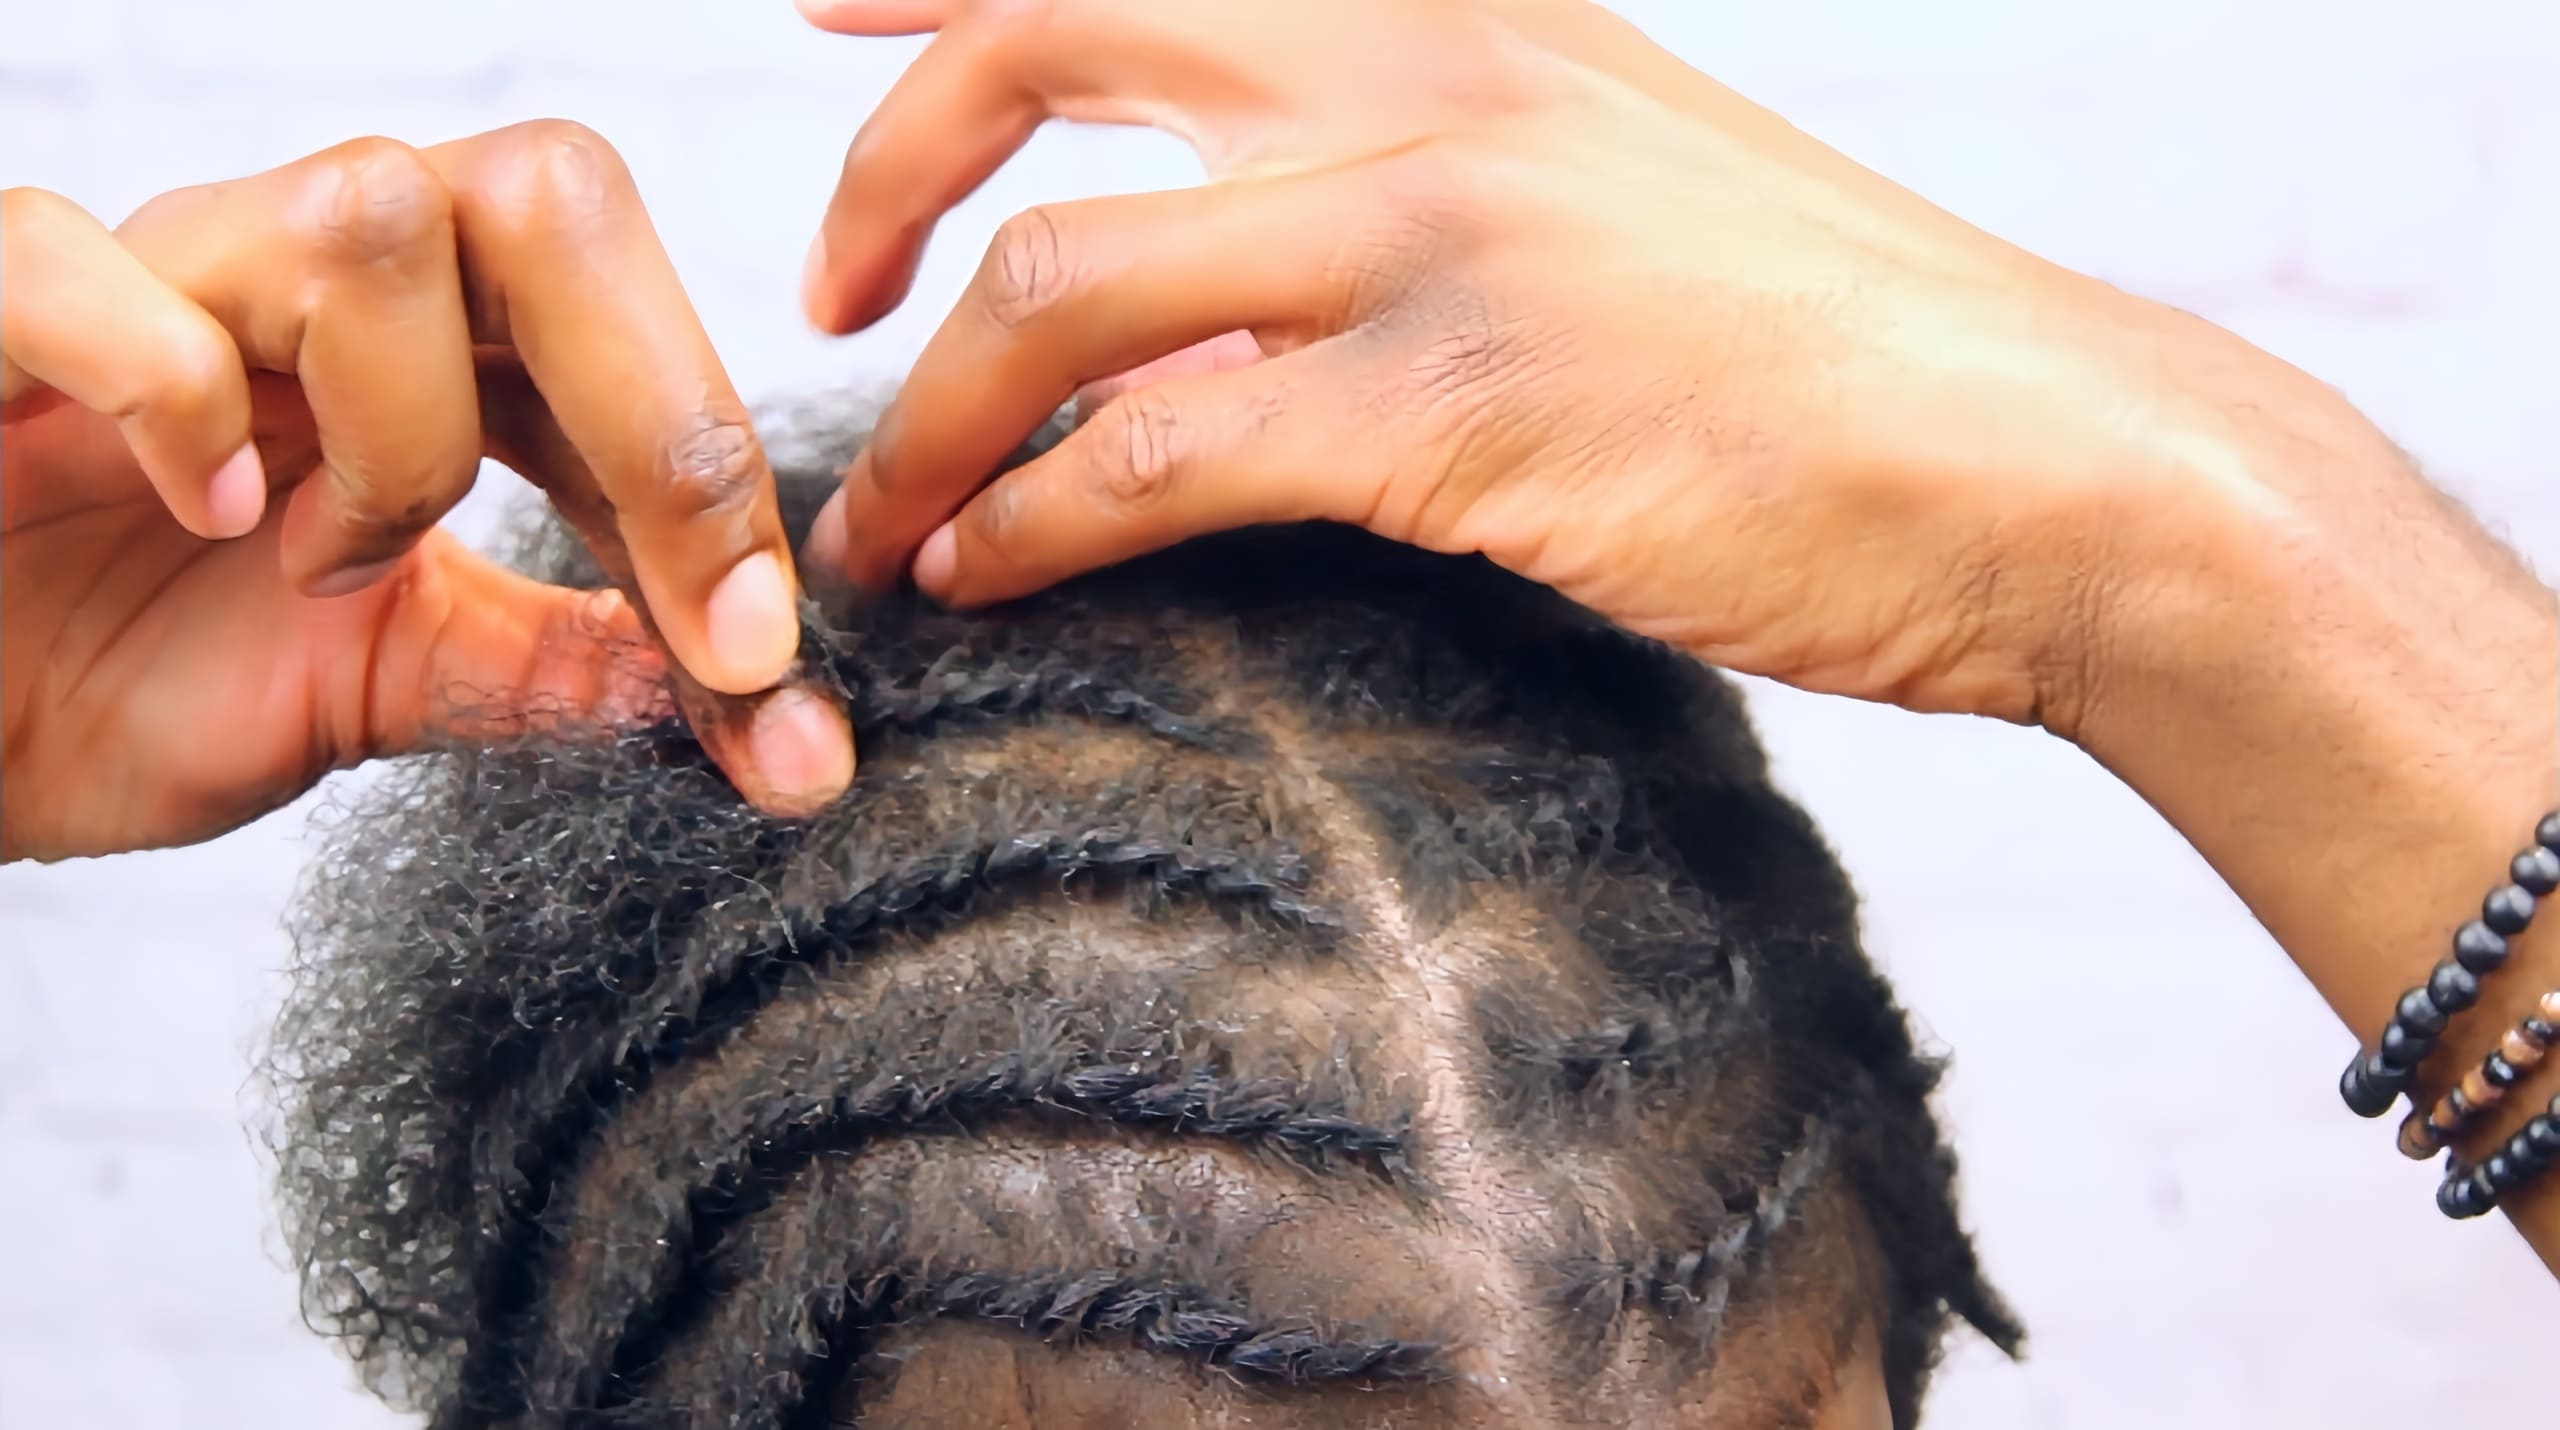
Choose a tiny piece of hair at this stage to start your twist. After splitting it in half, hold each of the two strands between your thumb and index finger.
Pick up a small amount of hair with your other hand from behind the two strands that are closest to your scalp. Combine this hairpiece with the two strands you are grasping. Now, make sure the twist rests flat against your scalp by twisting all three strands together once or twice.
Using your free hand, continue to gather little strands of hair from underneath the twist and incorporate them into it as you twist. All the way down, maintain a firm grasp and twist in the same direction. Up until the ends of your strands, keep adding hair. When you’re finished, use a hair tie or bobby pin to lock the leftover strands into a standard two-strand twist.
Pro Tips:
- If your hair is really short, start with small sections and gradually increase their size as you get more confident.
- Pulling too tightly could result in damage, so take your time and use gentleness. Use a mirror so that your twists are level and flat against your scalp, particularly in the back.
- Practice consistently to improve your ability to create nice, flat twists on short, natural hair.
P/S: For a more visual demonstration of this technique, check out the full video!
Essential Products For Simple Flat Twist Styles
Leave-in Conditioner & Water Spray Bottle
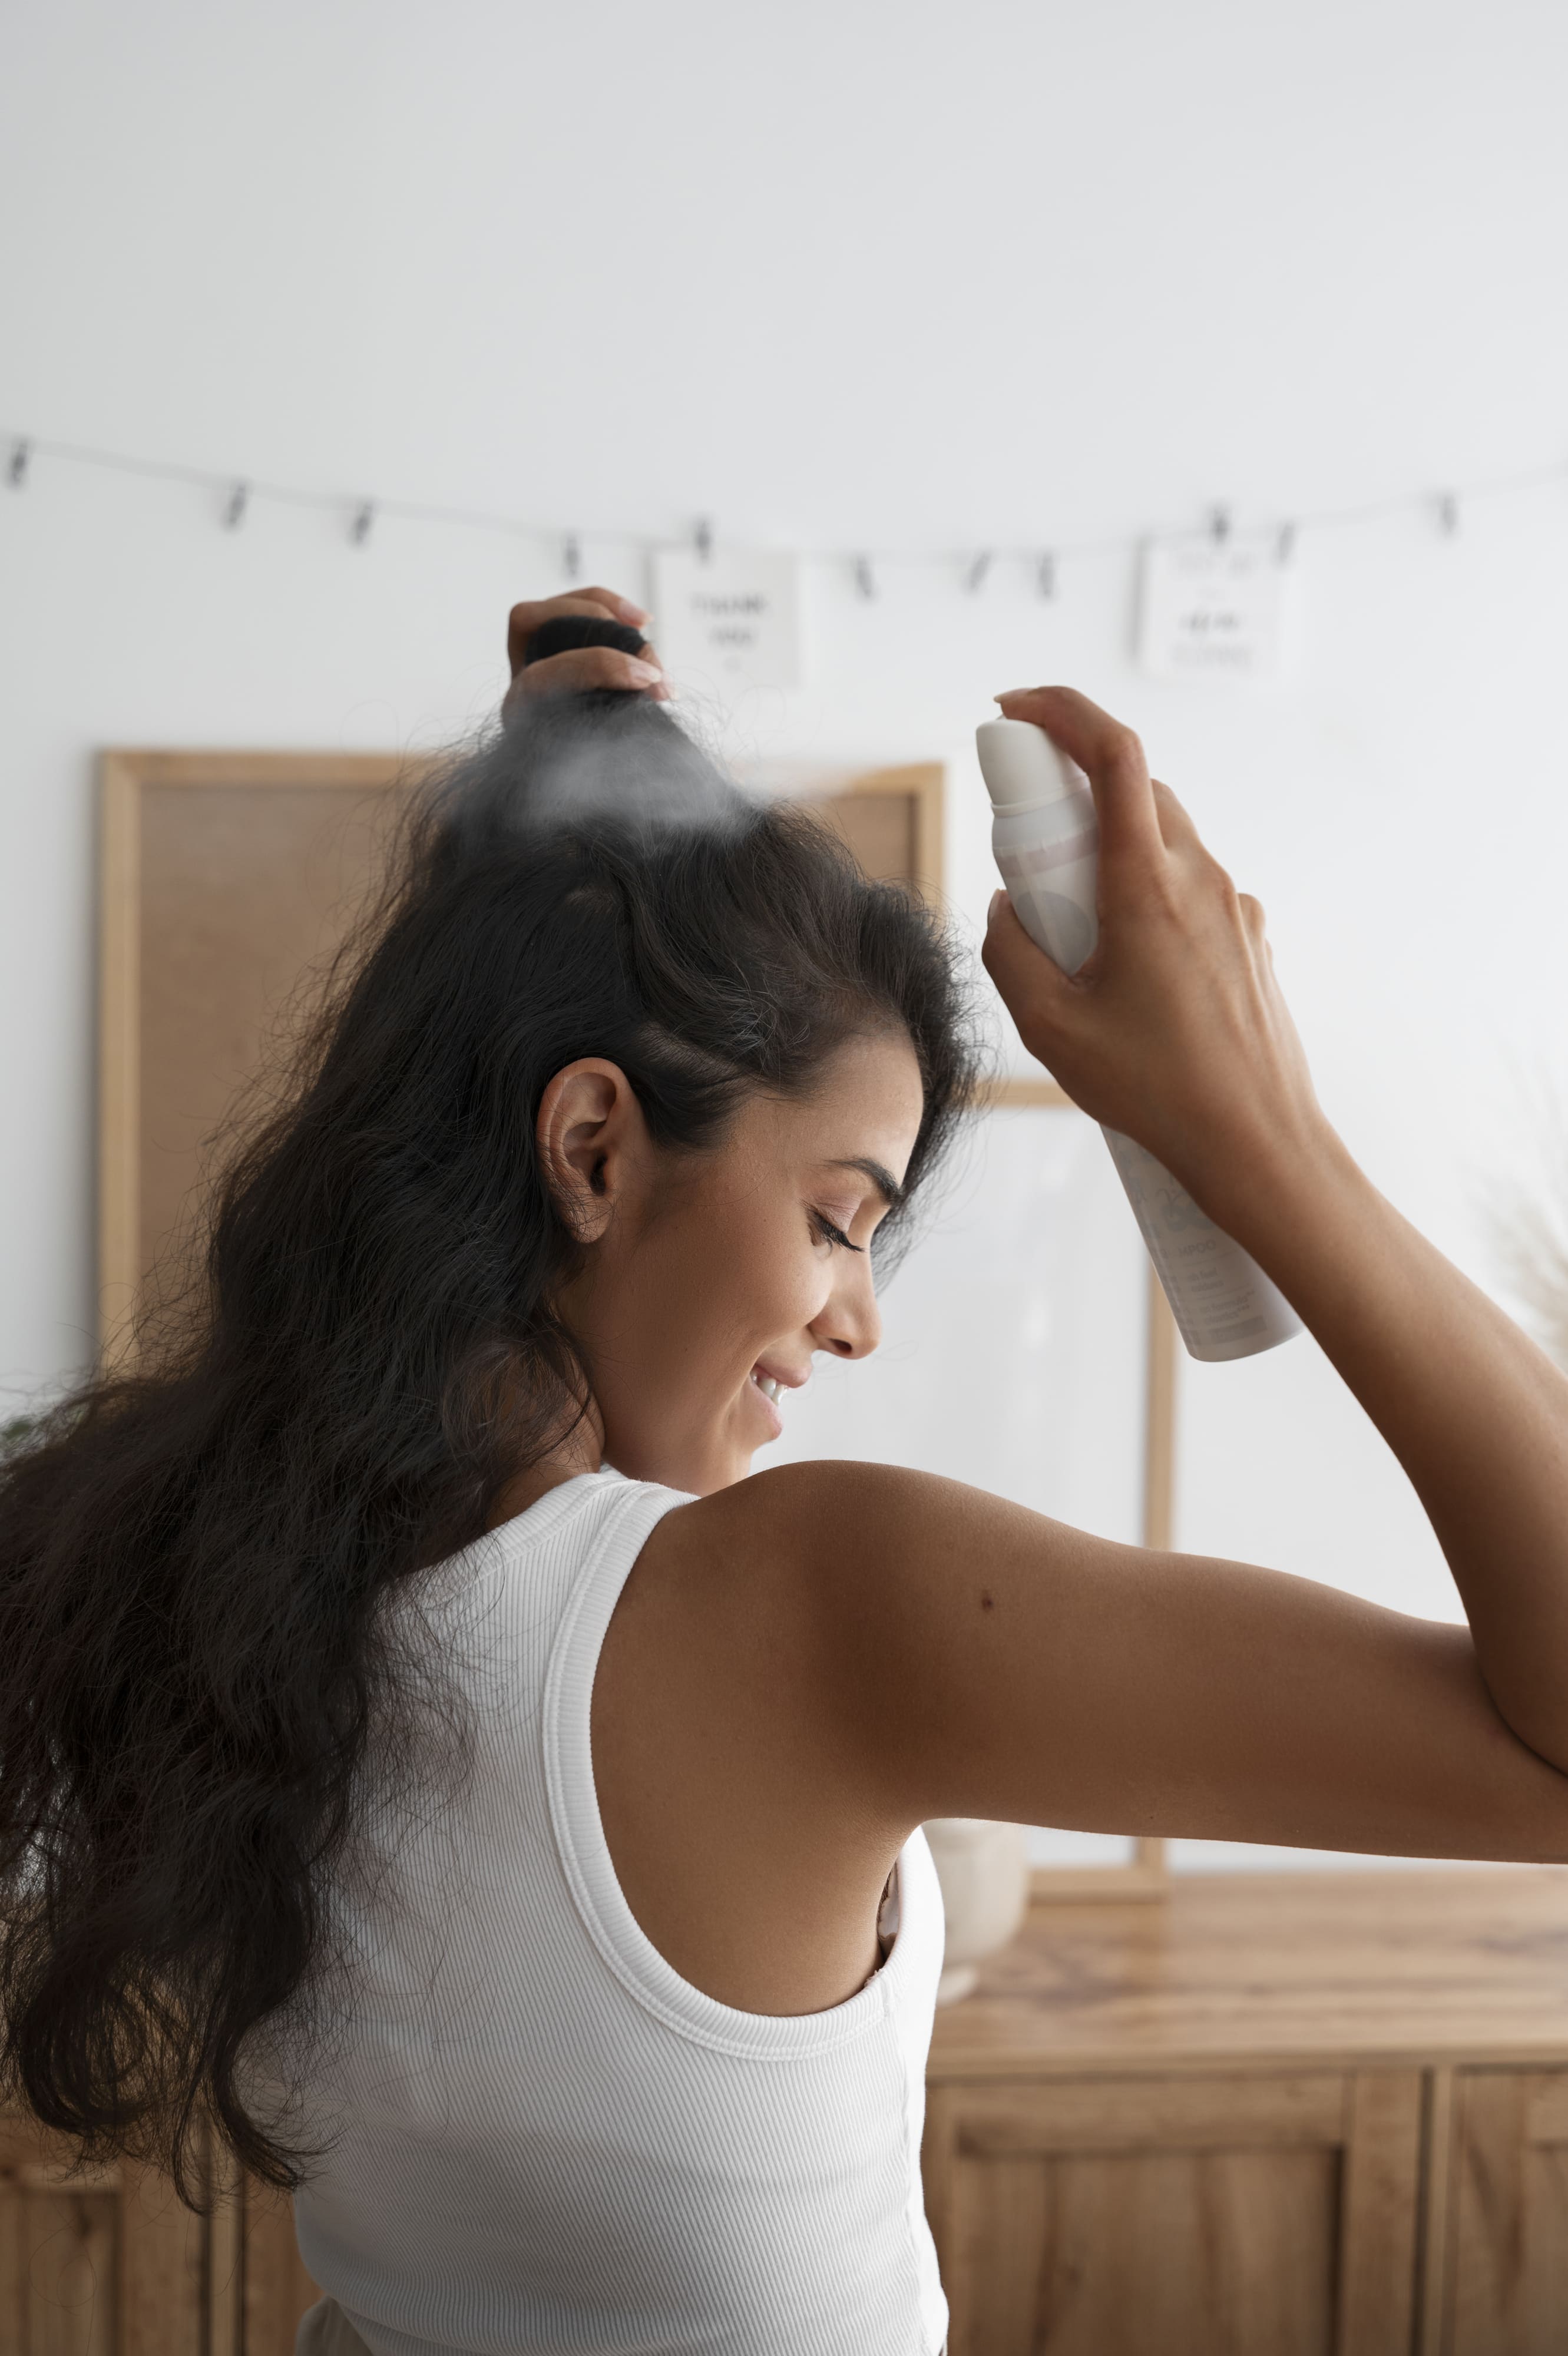
These two are your best buddies in maintaining hair hydration! Like you would water your plants before they start to wither, they are the superheroes for your hair, maintaining it moist and strong.
- The leave-in conditioner is: Your hair feels hydrated, detangled, and partly conditioned by this multifarious product. Choose a lightweight product to avoid greasy-feeling or weighed down hair. It reminds me of rubbing thick lotion into your hair.
- The water spray bottle is Especially if you have greasy hair, a water spray bottle is a quite handy and simple tool. Just consider how much water you use; too much may make your hair sticky and difficult to twist properly.
Edge Control (Optional):
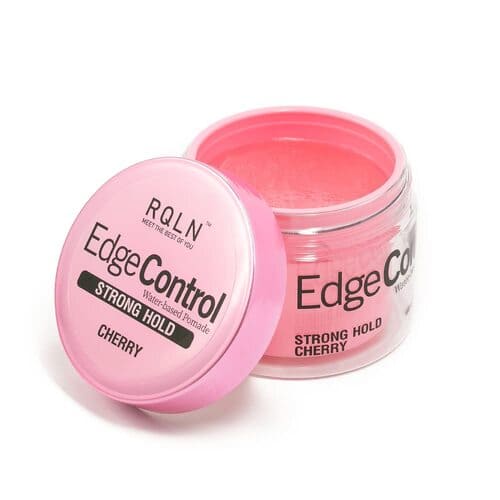
While not essential, this product can work wonders! It helps to smooth down your edges and tame any unruly flyaways, which is particularly beneficial for:
- Short hair: Perfect for controlling frizz and defining your hairline.
- Fine hair: Adds extra hold and definition to your edges for a polished look.
Opt for a water-based formula to avoid product build-up or flaking. It’s like a light mist that effortlessly smooths things out without feeling heavy.
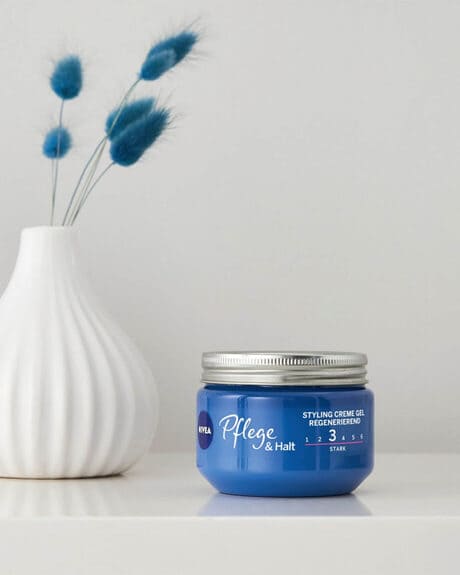
Styling Cream or Gel:
Consider these products your twists’ personal trainers, providing extra hold and definition for long-lasting and flawless results.
- Styling cream offers a flexible hold, perfect for a more natural-looking finish. It is especially ideal for looser twists. It gently nudges your hair in the right direction, allowing it to move naturally.
- Styling gel delivers a stronger hold, ideal for a sleek and defined look. It is particularly great for tighter twists. It ensures your twists stay sharp and in formation, just like a diligent drill sergeant.
Remember, a little product goes a long way! Use a small amount to avoid weighing down your hair or making it stiff. Apply the product to each section of hair before twisting, providing that extra support for your twist workout.
FAQs
Here are some frequently asked questions about simple flat twist hairstyles.
Should I Flat Twist Wet Or Dry Hair?
It’s usually a good idea to twist damp hair. It helps the twists come out smoother and keeps your hair pliable and less prone to break. Nevertheless, if you have frizzy hair, twisting your dry hair can be a better option for you. To keep things nice and hydrated, just use a leave-in conditioner.
Are Flat Twists Protective For My Hair?
Wearing flat twists is a terrific approach to save your hair. They cut the required styling and care load. They also enable your hair to retain moisture, so preserving its nourishment and vitality. Always gently twist and untangle your hair to prevent unnecessarily stressing it.
Do Twists Eventually Become Dreadlocks?
By a process known as “maturation,” twists can finally turn into dreadlocks. See twists as little braids in your hair. If you keep those twists in for a long period without removing them, they may start to cling together and resemble tiny knots, much as when you braise your hair. Thus, left twists in for too long could develop into dreadlocks.
Final Thoughts
Apart from improving your appearance, simple flat twist styles link to heritage and the beauty of nature. Apart from yielding aesthetically pleasing results, these easy-to-learn techniques grounded in simplicity and history empower people and enable them to express themselves. These hairstyles fit a great spectrum of people since they are flexible enough for many different hair kinds and lengths. Both formal and daily outfits would benefit from the classic and classy flat twist haircuts.
Let us help you to realize the best possible value of your natural beauty. Schedule a visit with Jen Hair Salon right now to begin your transforming hair adventure.
Recommendations:
- How to twist dreads for beginners
- Ombre Colored Dreads: A Stylish Twist on Traditional Locks
- 20+ prettiest two strand twist with weave hairstyles for 2024
- Why are two strand twists with extensions so popular?
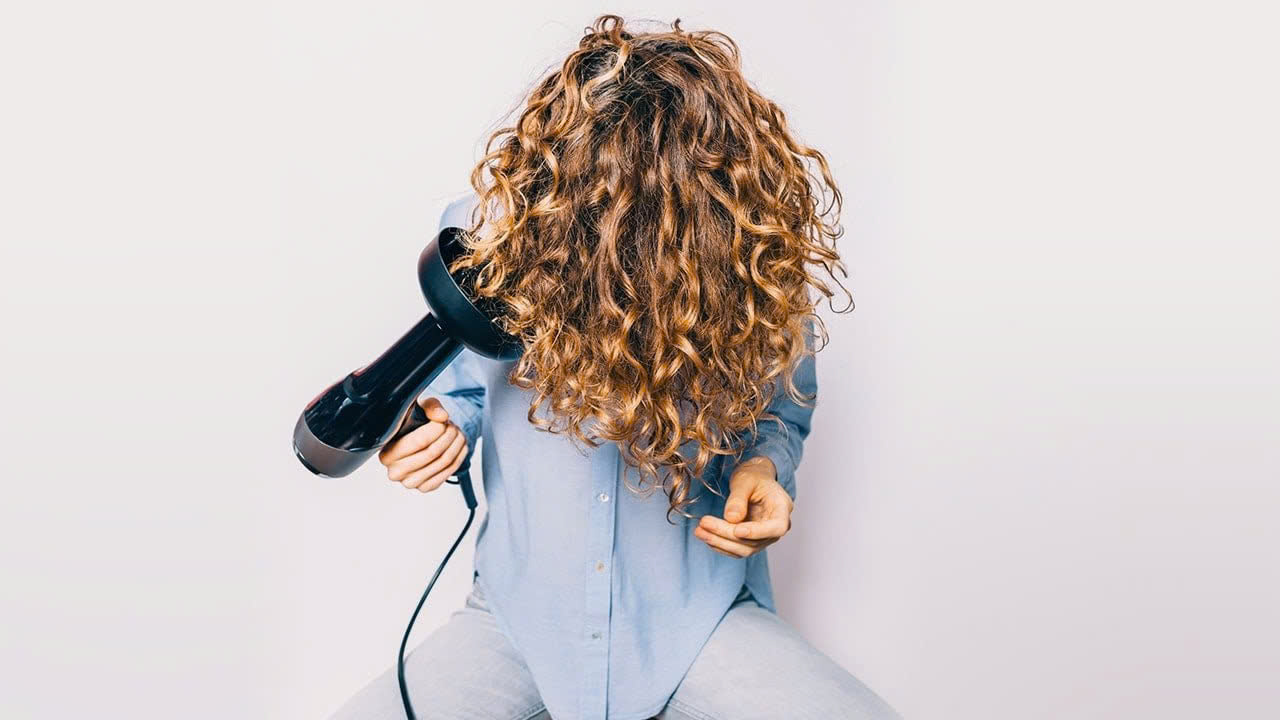 How to care for curly hair – 10 popular curly hairstyles
 What is 4C hair? Is 4C hair high maintenance? How to Recognize
 33 beautiful, luxurious and charming brown hair models for you