No products in the cart.
Hair Care Guide
How to install hair extensions? A step-by-step guide
From time to time, all of us always love to have thick, long, and flowing hair. Hair extensions are the best way to achieve the look on short, thin, or low-density hair. If you’ve decided to add hair extensions to your natural hair, and after clearing which types to purchase, you are probably concern about how to install hair extensions.
If you’re a bit lost and unsure of where to turn, we’ve got you. In this article, we provide you a step–by–step guide on how to install hair extensions so that you can hand-in install your hair extensions.
Can I install hair extensions myself?
Even though we believe that a professional hairdresser at the salon shall know how to install hair extensions and do this job best, this takes a lot of time and money that not everyone can afford. Thus, the good news is you can choose a simpler way: install your own hair extensions at home.
In fact, there are many methods of hair extensions and hair extensions: clip-in extensions, sew-in extensions, glue-in extensions,…. Depending on the desire to use hair extensions, each method has different complexity.
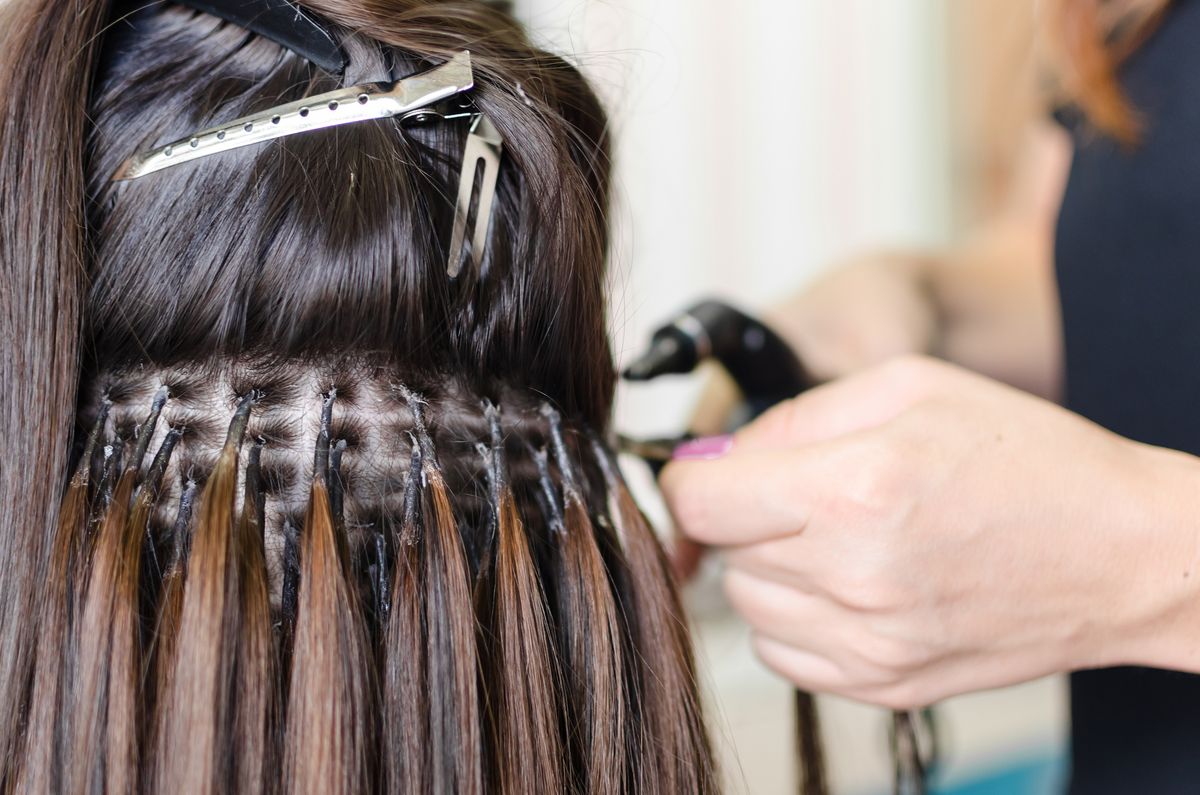
If you want to add extensions to your hair at home, it’s best to go with a basic technique. One piece of advice is to look at a video tutorial on how to install hair extensions with clip-in technique to your own hair, then try it out yourself.
How to install hair extensions?
Now that your hair is adequately prepped, it’s time to find out the answer to the question “how to install hair extensions?”.
In the following sections, we will share with you exactly how to install clip-in and glue-in extensions, which are the easiest and safest methods for your hair.
Soon enough, you’ll have mastered the procedure and be well on your way to “hair expert” label.
Step 1: Gather your supplies
The first part of the process of “how to install hair extensions” is getting your supplies together. Ensure that your shopping list includes the following supplies:
- Hair extensions
- Wide-toothed comb, rat-tail comb
- Shampoo
- Conditioner
- Moisturizer
- Hair scissors
- Heat protectant
Step 2: Prepare your natural hair for extensions
Before installing extensions, your natural hair should be clean. Not only will extensions attach better to clean hair, but they’ll also last longer (Recommendation: How to increase the lifespan of your hair extensions). Below, we’ll get into the specifics, helping you get your natural hair set and ready for your extensions:
- Cleaning: Shampooing your natural hair is the first step in preparing it. The goal is to clean your scalp and hair strands of oil and grime.
- Condition: With your hair freshly shampooed, it’s time to add conditioner. Focus on the ends, as they are the oldest, driest parts of your hair. Using your favorite conditioner, add a dollop to your hands and begin working it through your hair.
- Moisturize: This is a very important step to take care of your hair before using hair extensions. You should use a cream moisturizer, and oils like argon and almond will work great.
Step 3: Install your extensions
Right out of the package, human hair extensions may look bunched up and unnatural. It may even have a bad smell. Start by washing, conditioning, and combing the extensions. Then, read on to know how to install in 2 different techniques:
Installing clip-in extensions:
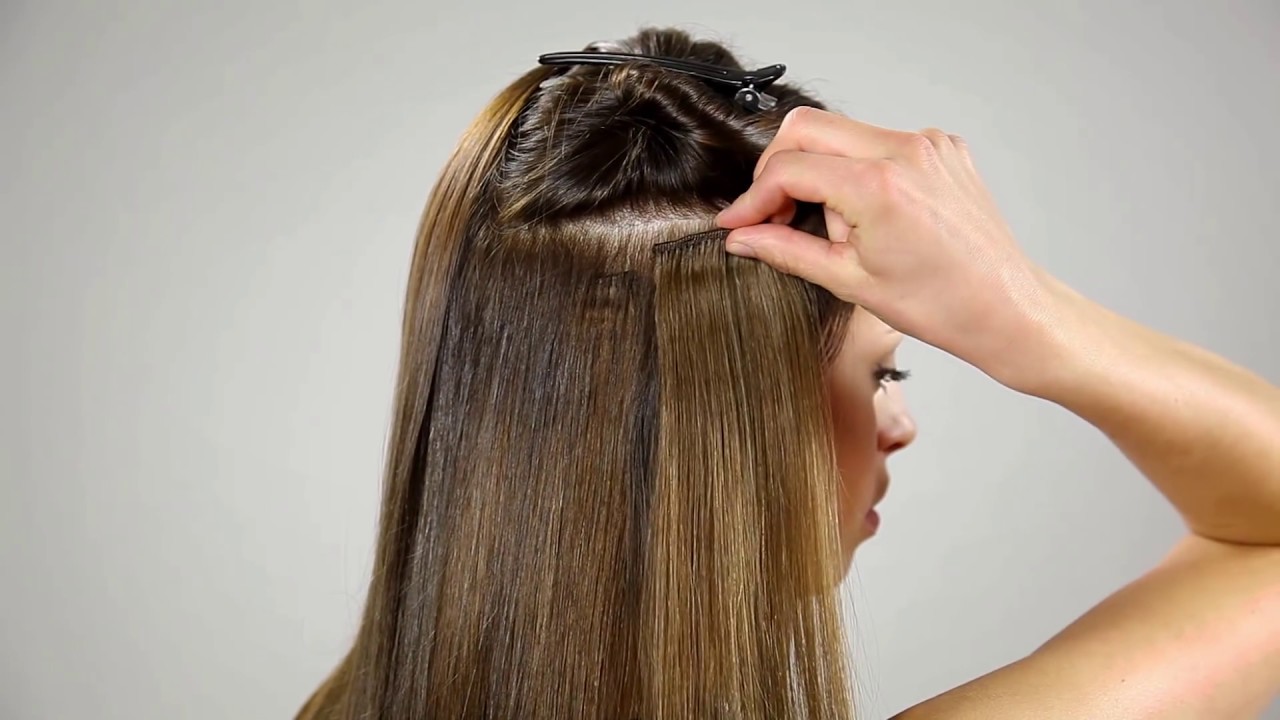
- Part your hair in several sections, each of which will eventually become cornrows.
- Do many straight-back braids and leave some hair out in the front to cover up the extension wefts. Ensure that the braids are not too flat to the scalp, as this will make it difficult to clamp the clip-in extensions down.
- Begin attaching the clip-in extensions horizontally, starting at the nape of your neck and gradually moving toward the front of your head.
- Style the natural hair section that you left out. If your clip-ins are straight, you may want to straighten the section to blend it with the extensions. Clean up the hair around your hairline by adding a styling gel or mousse and smoothing it down with a toothbrush.
- Shape up your style. Use hair scissors to shape your hair if necessary.
Further reading: How to install clip in hair extensions without damaging hair?
Installing glue-in extensions:
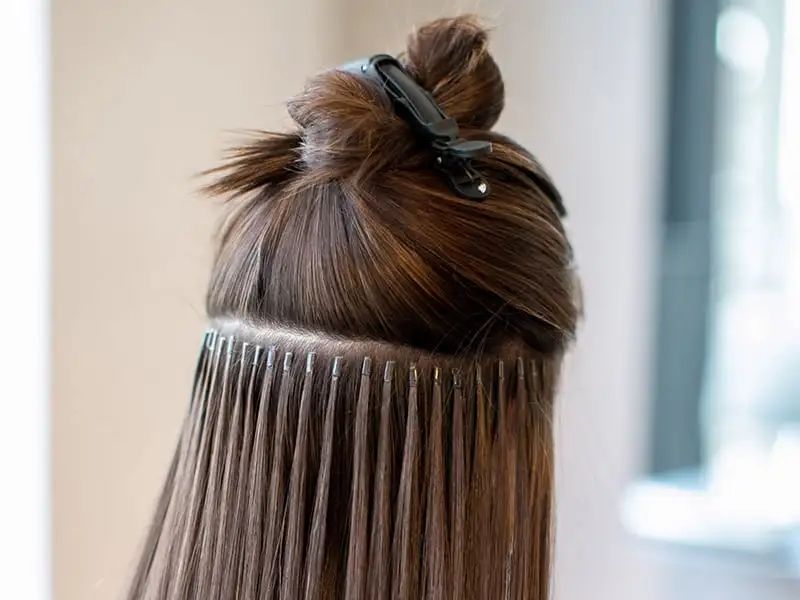
- Make a horizontal part across the head, starting at the nape of your neck.
- Measure your extensions to make sure they go across your head, stopping before your hairline, so you can hide the tracks. You may need to cut some wefts down to the appropriate size.
- Add a little glue to the track and, starting from one end, slowly press the track into your hair, leaving a bit of room for growth.
- Press down on the tracks to make sure they’re secure.
- Once pressed down and secure, repeat steps 1 – 4 all over your head.
- Style your leave-out section. You can use a styling mousse, gel, rollers, or other styling tools and techniques to create the look you want.
Learn more: A simple guide to glue in your hair extensions
Final thoughts
We hope that this article is helpful to you by providing “how to install hair extensions” and supporting you in your styling endeavors.
Nevertheless, we understand that installing hair extensions is quite an undertaking. When deciding to add hair extensions for extra volume and length, there is a lot to consider. Instead of ending up with a hair mistake and wasting more time than needed, getting a professional hairdresser can be a better option.
Related posts:

 Guide Cornrows With Side Part The Best For Beginner
 Ultimate Guide: Headband with Hair Attached (Best Styles for 2025)
 Top 7 Premium Human Hair Clip In Extensions For Black Hair
