No products in the cart.
Hair Care Guide
How to glue in hair extensions? A Step-by-step guide
The hair extension method is one of the most advanced hair tricks available today and it is a real revolution when it comes to hairstyles. Hair extensions are used to change a person’s appearance by making their hair look longer and fuller. One of the popular methods of applying hair extensions is to attach glue to the hair extensions. This is a very cheap and affordable method that you can make yourself at home. All you need are some hair extensions and glue. However, if this is your first time doing this, you may have a little trouble with the process. Check out our following article about how to glue in hair extensions to do it correctly and quickly!
Related post: How to remove glue in hair extensions? 5 Effective ways you should try
Preparation before the glue in process
Preparation before applying glue for hair extensions is an extremely important step affecting the hair extensions. You can’t leave your hair extensions glued on dirty hair.
1. Choose the suitable glue
Choose white glue for lighter hair or black glue for dark hair. Hair glue usually comes in either white or black, so choose white glue if your hair is light to medium brown, or choose black glue if your hair is dark brown to black.
2. Cut the hair extensions
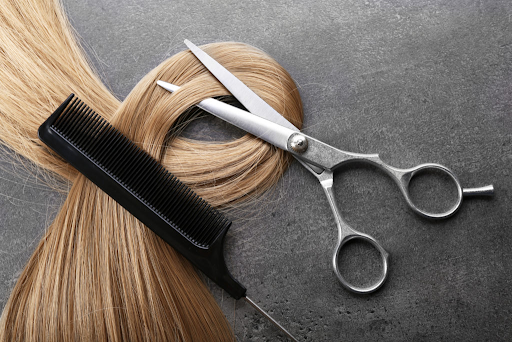
You can cut the hair extensions to the length you want. If you want to cut them yourself, use a comb to estimate the length to cut and look in the mirror to make the cut exactly.
3. Wash them
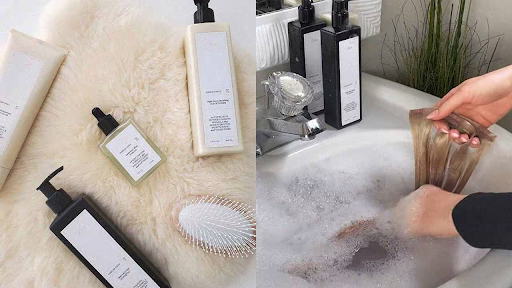
The hair glue will stick better if the hair extension is not oily, so be sure to wash your hair thoroughly. Deep conditioning your hair first will also help your curls stay healthy and the importance is that your hair extension must be completely dry before you attach it.
4. Comb the hair extensions
Gently remove tangled hair with a wide comb, you should use specialized combs for hair extensions.
How to glue in hair extensions?
The most important in this method is the precision and dexterity when gluing hair extensions to your hair. And because you use glue, you will also have to time the glue to be neither too dry nor too wet. You have to be very careful and meticulous in every step to get the best results
Step 1: Tie a part of your hair
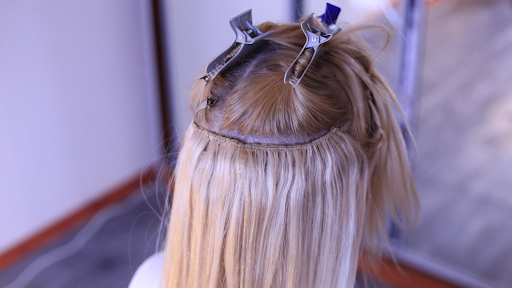
Take a section of your hair and clip it up. Tie the hair on top of the head with a thin layer of hair at the bottom. This will create a loose rectangular section of hair. Pin this section of hair securely with a hairpin or tie.
Step 2: Create U-shaped line
Use the comb to skillfully create a perfect u-shaped border under the hairline that has just been tied / clipped. Start a little below one of your ears, then follow the natural contour of your head in a U-shape around your other ear.
Step 3: Apply the glue
Place the hair extension on the table and apply a line of glue. Care should be taken to apply the glue in small amounts until the entire joint is covered. There must be enough glue to cover, not too little
Step 4: Dry the glue
You should dry the glue on high or medium heat for a few seconds (you can use a dryer to dry the glue). This will help the glue stick to the hair. If the glue is too wet when you apply the hair extension, the glue will drip down the hair strands, causing a sticky condition. Test the glue to make sure it doesn’t run or dry. It should be about 60-70% dry when you finish drying.
Some stylists will also apply strong hold hairspray at this stage and then dry your hair.
Step 5:Apply the extension to your hair
You can start to apply the extension to your hair about 1.5 cm from the root. Should create a certain distance so that the glue does not stick to the scalp
If you stick the extension directly onto the scalp, it can restrict hair growth and lead to hair damage.
Step 6: Dry the applied hair extensions and your hair
Dry the applied part again for another 30-60 seconds. This will complete the drying of the glue so that the hair extension will stick to your real hair. To check if the glue has dried, gently tug the extensions. If they slide down, continue to dry them.
Step 7: Continuing draw other U-shaped line
Continuing with the other extensions, draw a U-shaped line of hair 2–3 inches (5.1–7.6 cm) from the original hairline. If you mainly want to add volume, create a shorter space between sections so that they are a little closer together. Use the same technique to apply the second extension as you did the first.
Step 8: Do other hair extensions with similar steps
Continue adding hair extensions in this way until you reach the top of your head. Then your U-shaped line will become close to the temples.
Step 9: Comb the hair
Loosen the top of your hair and gently comb it down. This top section will completely cover your hair extensions, bringing a glamorous new look!
When combing your hair, remember not to let the comb touch into the joint. Gently brush along the surface of the hair to smooth it.
Tips for maintaining glue in hair extensions
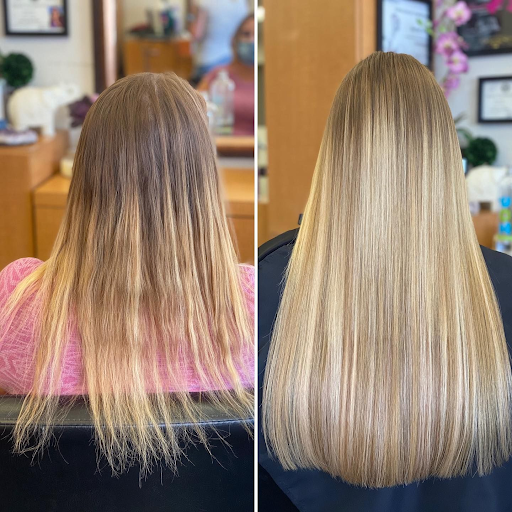
You now have the hair extensions glued in perfectly, however you need to know how to properly maintain them.
- Brushing: As with all hair extensions, combing is one of the most important things you need to do, so brush gently, don’t try to tug at the hair and avoid combing the joint. You should also not brush your hair too many times a day to affect the extensions.
- About shampooing: Experts recommend a sulfate-free shampoo that will gently remove excess oil from your hair. On the other hand, be careful how you rub your hair with your hands gently and avoid the glued part. Do not pull the extensions while they are wet as they may come off.
- Hair drying: All hair extensions are recommended to be air dried. So when you use the dryer, set it to cooling and spray heat protection.
- Conditioner: If you feel your extensions are too dry or lacking in shine, you can add some natural oils. The best ones are argan oil and coconut oil. You only need to put a little bit at the end of your hair, avoiding the scalp, hairline and the joint.
Final thoughts
The above is an extremely effective and fast way to glue in hair extensions as well as how to maintain hair after extensions. It is important to follow the steps mentioned above step by step to get the best results.
If you are interested in information, care and styling for hair extensions, please refer to the articles from Jenhair and do not forget to follow our social media to receive the latest information!
If you have any questions about hair extensions, styling or hair care, contact us for the most accurate answers from our experts.

 Guide Cornrows With Side Part The Best For Beginner
 Ultimate Guide: Headband with Hair Attached (Best Styles for 2025)
 Top 7 Premium Human Hair Clip In Extensions For Black Hair
