No products in the cart.
Hair Care Guide
How to install frontal wig? The simple guide
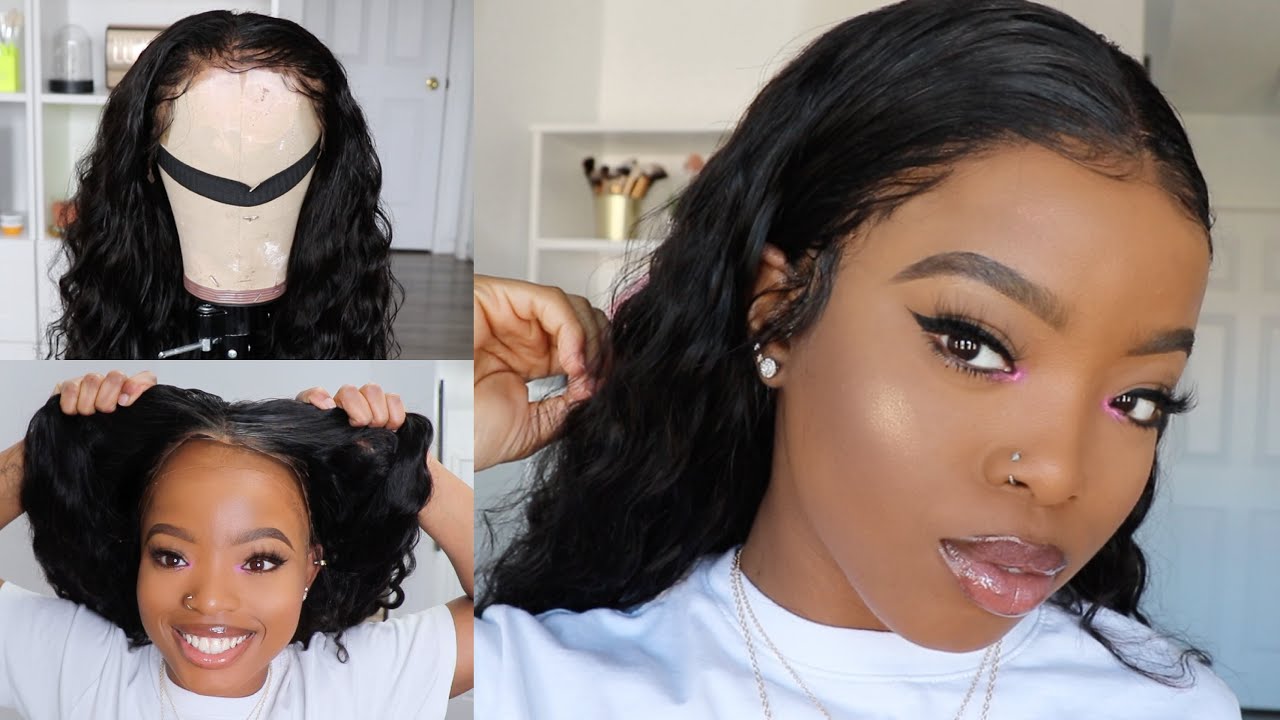
It is true that lace frontal wigs are so popular nowadays. For anyone who wishes to look naturally glamorous without spending a fortune, lace frontals will be a perfect choice whether you’re attending formal events, hanging out, or simply lounging on the couch with a good lace front wig installation.
However, people frequently don’t know how to install frontal wig when they first obtain it. In this article, Jen Hair will explain how to install a frontal wig in 2 ways: with and without glue. Let’s begin right away!
How to install frontal wig with glue
Installing a frontal wig with glue is an effective solution when you want beautiful hair, no matter how vigorously active you are. Even with the mighty wind, your hair will still look stunning and stable with just one brush. Frontal can be wigged for six weeks, depending on the quality of the glue.
Before the process, you might need to prepare some tools to put on a lace frontal wig with glue:
- Wig stocking cap
- Wig glue or got2b Glued Spray
- Bobby pins or hair clips
- Rat-tail comb
- Rubbing alcohol and cotton balls
- Nail cutting Scissors
- Blow dryer
- Silk or satin scarf
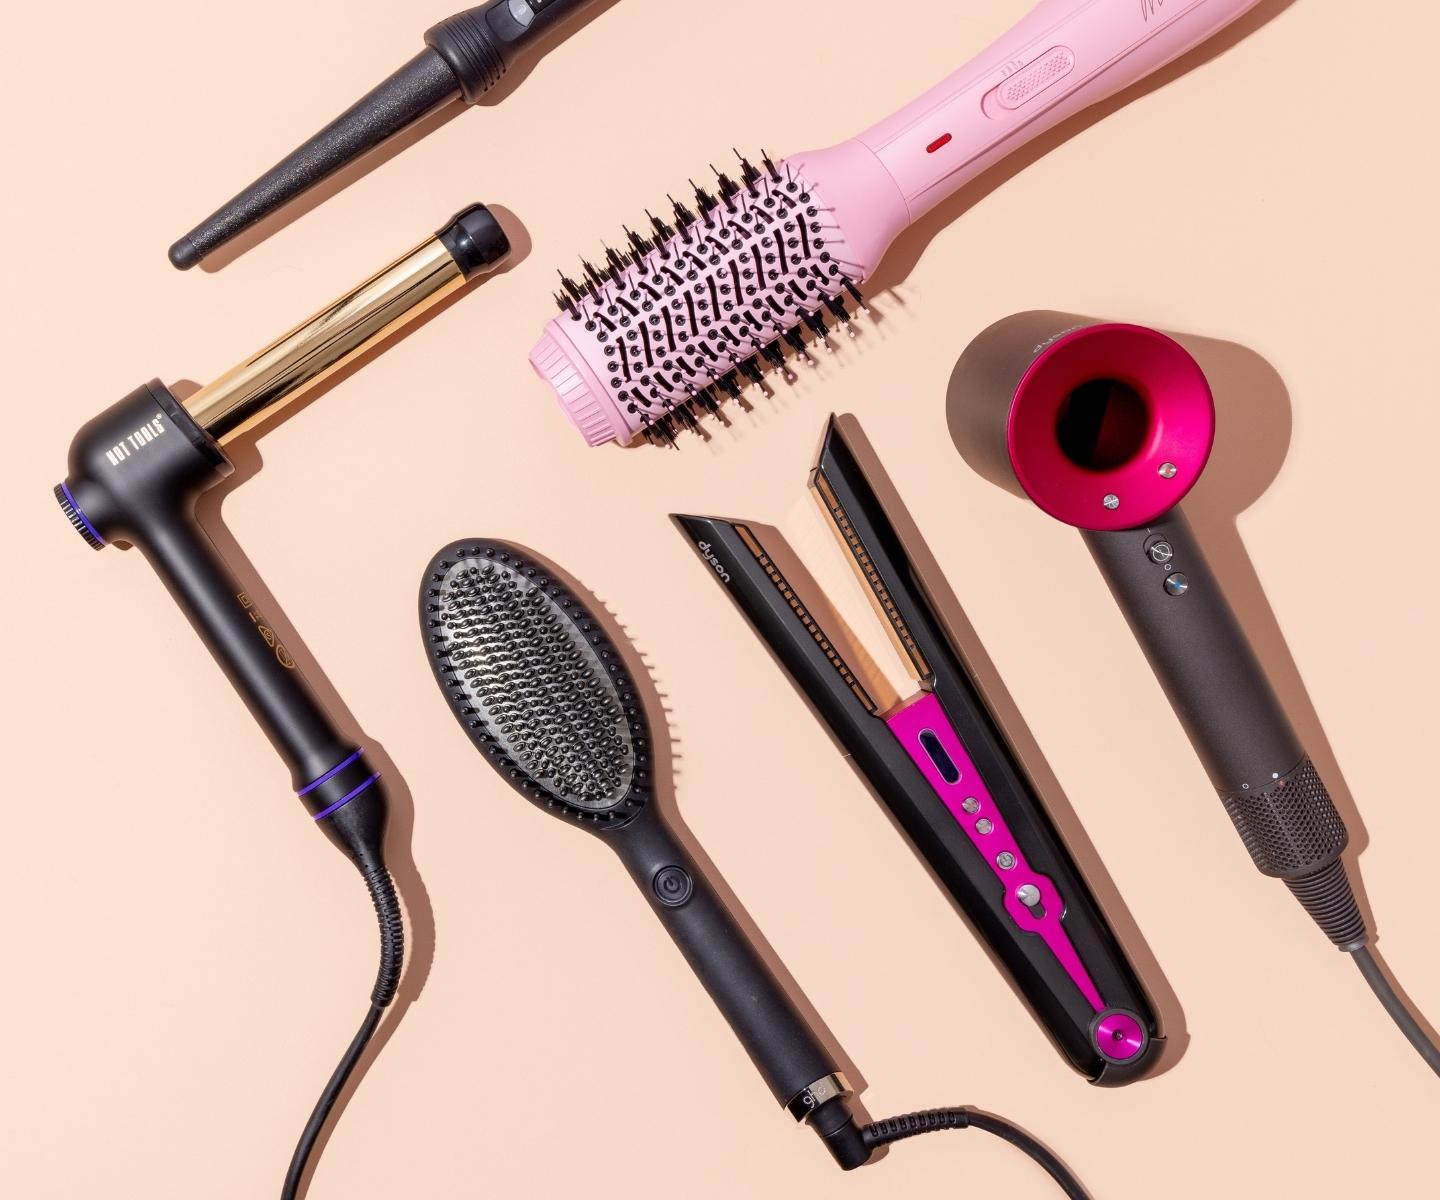
Get ready to wear a wig cap
Applying a lace front wig is easy and fast. To put on a lace front wig with glue nicely and effectively, you must carefully follow these instructions:
Step 1: Flatten your hair and keep the hairline clean
Covering your hair without causing any hump on the wig by flattening it. For long hair, first, tie your hair in a low ponytail. Next, wrap the ponytail into a flat bun. Secure the baby’s hair with bobby pins.
For the hairline, dab some rubbing alcohol on a cotton ball and wipe it along your hairline to clean any leftover makeup or excess oils on your skin.
Applying a scalp-protecting serum after using the rubbing alcohol in case you have sensitive skin. Don’t forget to avoid getting alcohol on your hair.

Step 2: Put on a stocking cap
Once your hair creates a flat surface, it’s time to put on a wig cap to hide your natural hair. Wig caps also help the wig stay in place to avoid friction.
Jen Hair suggests a soft, thin wig cap that matches your skin tone. No matter what you choose, when you put it on, the cap should cover all of your hair. Make sure all of your hair is tucked into this cap, even the hair on the nape of your neck.

Apply your lace frontal wig
Now it’s time to apply your lace frontal wig. As we know, once you’re going to wear a frontal, it may last for 6 weeks. Therefore, the most important part to consider about this step is making the lace frontal fit your hair perfectly.
Step 1: Check the wig’s fit
As you proceed to wear the wig, starting from the front, the lace frontal should sit at the front, while the opposite side should rest at the back.
Notice that it is hard to remove your lace and start over again, so you should be sure that your lace and wig are placed precisely where you’d like them.
Step 2: Cut the lace
After getting your wig perfectly aligned, you can cut the lace into small sections to make the process easier. Make sure you don’t cut the elastic band near the ear tab or the construction cap of the wig. Trimming the lace might be hard at first, and you need to be careful during the process. You can learn how to trim a lace front wig here.
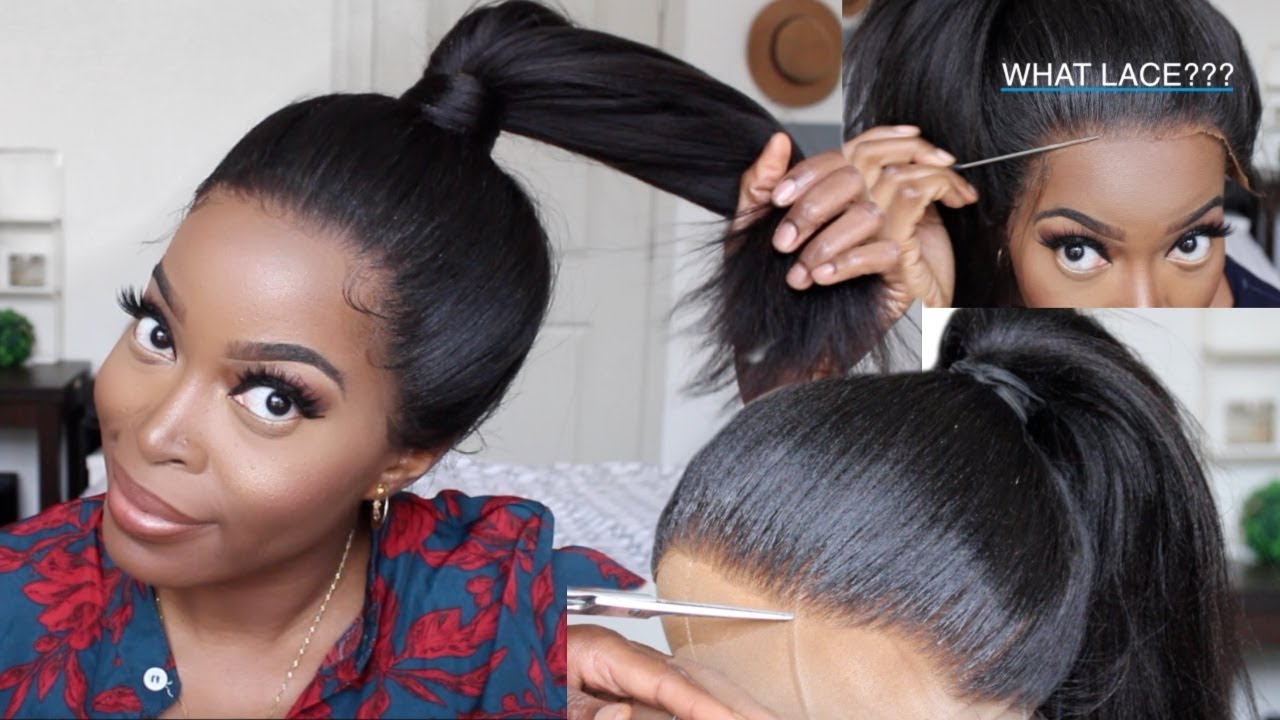
Secure your lace frontal wigs with the glue
If you want your lace frontal to have a stronghold, it’s time to start gluing down the wig. Since this is going directly on your skin, make sure you do a skin test in a small area before using any of the products.
Step 1: Apply wig glue
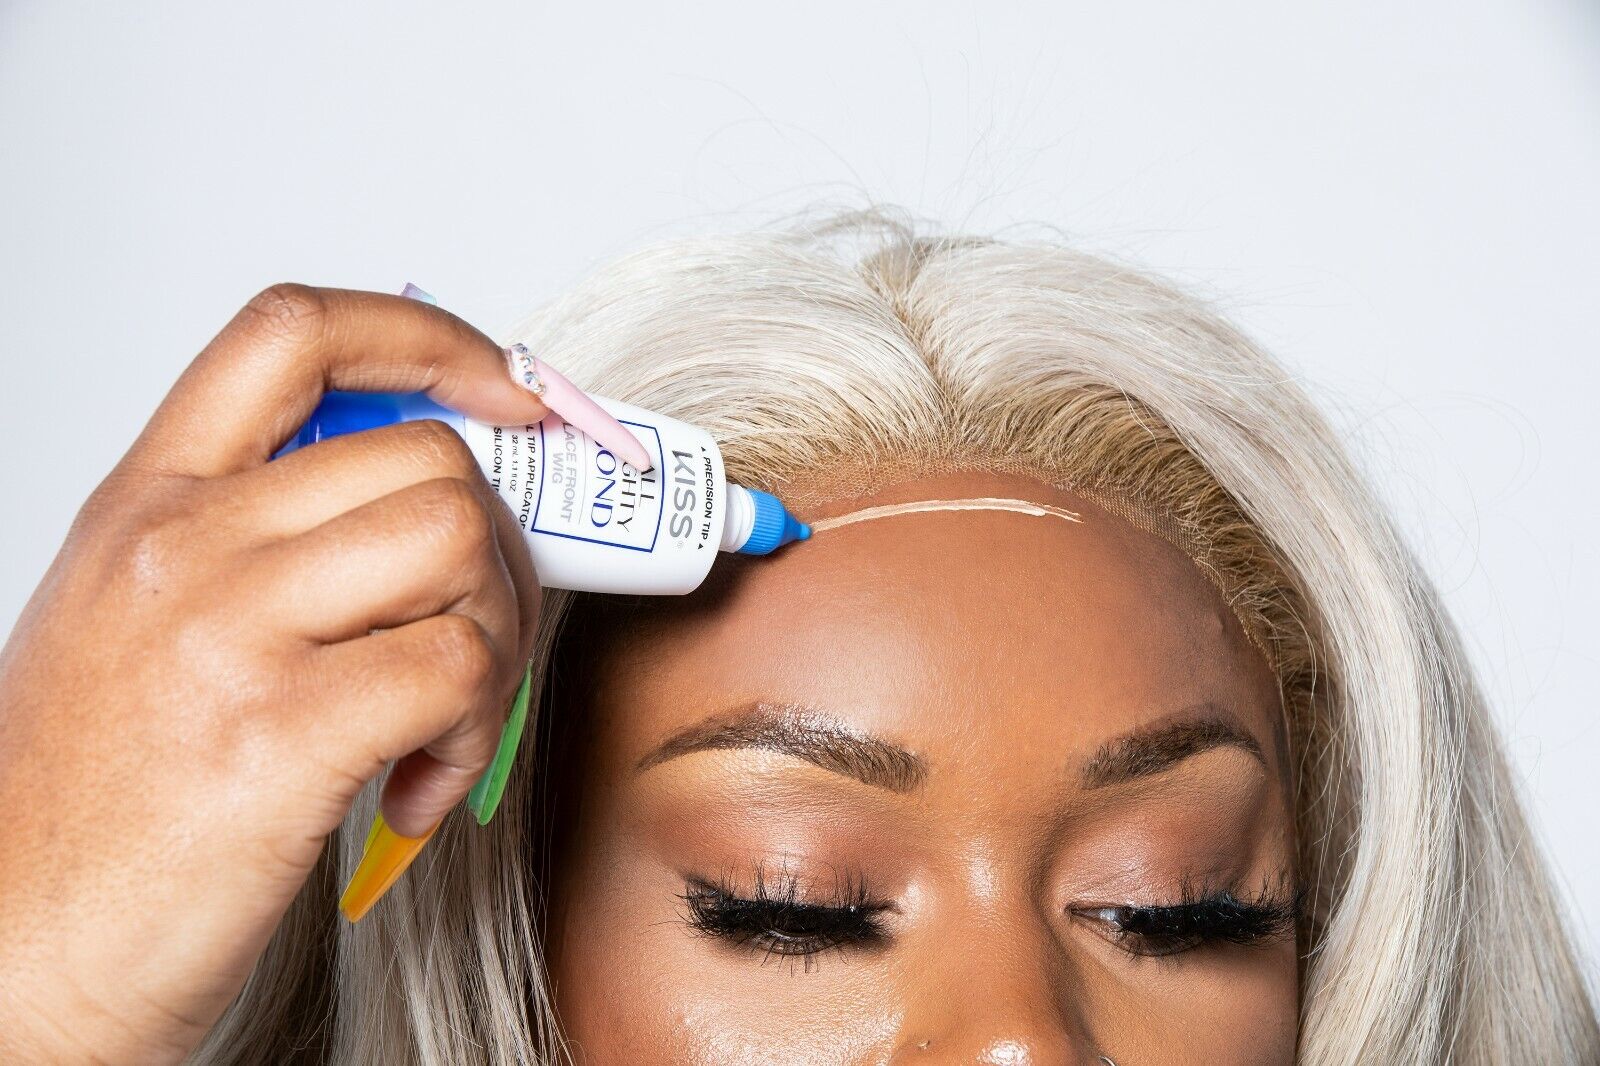
To apply the glue, dot it on or put a thin line around the hairline before smoothing it out with a makeup sponge. Then hit it with a blow dryer.
Once the adhesive is clear, repeat this step and apply a second layer of glue. The more layers of glue you use, the stronger the hold will be. Allowing the glue to dry long enough to become tacky before applying the wig. Lastly, remove excess glue from your skin with alcohol.
Step 2: Style your hair
Style your lace frontal as desired. With human hair frontals, you can use regular brushes, hot styling tools, and hair products. If you love baby hairs, use a toothbrush and some gel to create them. If your hair is too long, take a razor or scissors to cut it to your desired length.
How to install a frontal wig without glue
There is no such thing as an ideal possible answer for anything, including lace front wig adhesives. No matter how 100% skin-friendly the hair glue is, some of us just have an adverse reaction to it. So, if you are looking for another way to secure your lace front wig, then installing a frontal wig without glue is the option you have.
Before the process, make sure you have these necessary supplies:
- Scissors
- Tail comb
- Blow dryer
- Holding hair spray
- Foaming lotion/mousse
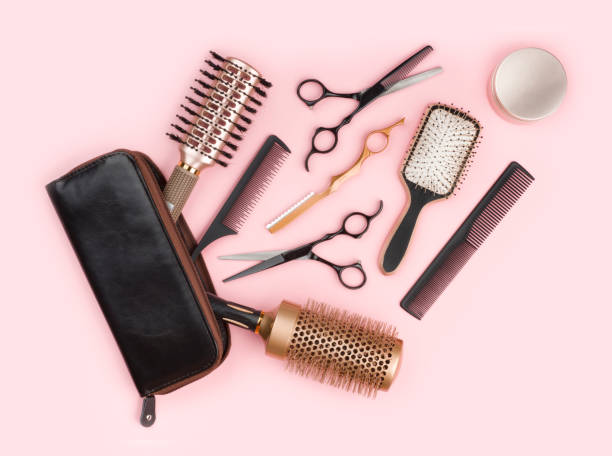
Installation without glue has the same steps and process as a lace front wig with glue. The only difference is you will use the foaming mousse instead of the glue to secure the frontal.
The removal and installation will become easier when you apply a lace front wig without glue. Whenever you wear the wig correctly, you don’t have to worry about it falling off. Furthermore, applying a lace front wig with glueless is also a great idea when you are in an emergency situation or for people who want a time-saving solution.
Final thoughts
Above is a tutorial that has simple steps for applying a lace frontal. Whether you decide to wear it with or without glue will depend on your needs. If you are looking for a long-lasting and strong hold installation, you should apply a lace front wig with glue. On the other hand, a glueless application will be appropriate for people who want a time-saving and easy removal option.
After following this, Jen Hair hopes you will be able to know how to install frontal wig. For further information about lace frontals, check out our articles about how to clean them and how long they last.
Now, we’ve got a question for you! What do you find to be the most difficult part of wearing a lace front wig? Join the conversation in the comments section below!

 Guide Cornrows With Side Part The Best For Beginner
 Ultimate Guide: Headband with Hair Attached (Best Styles for 2025)
 Top 7 Premium Human Hair Clip In Extensions For Black Hair
