No products in the cart.
Hair Care Guide
How to fix a wig? 6 steps to return a like-new condition
There is no doubt that wigs have changed our looks significantly, which is a great idea for getting the hair you’ve always dreamed of. However, behind the beauty and silky locks that every girl desires, wigs sometimes get in trouble too. With low maintenance or poor application, wigs can become tangled or suffer serious damage.
Although you may feel helpless and want to throw your old wig away, stay calm and keep a positive outlook because Jen Hair will give you the ultimate solution.
In this article on how to fix a wig, you will not only learn the best way to bring your wig back to like-new condition but also get a new perspective on hair extensions. Let’s begin right away!
How to fix a wig?
Look, let’s be real. Your wig will not always have the same flawless look as in the advertisement. Wigs will easily get tangled or frizzy if you don’t give them proper care frequently. Especially when it comes to synthetic hair. Before getting started on how to fix a wig, you will need to prepare some essential tools, listed below:
- Wig stand or mannequin head
- Wide-toothed plastic comb or wig brush
- Hair pins or hair clips
- Wig conditioner
- Microfiber towel
- Hair scissors
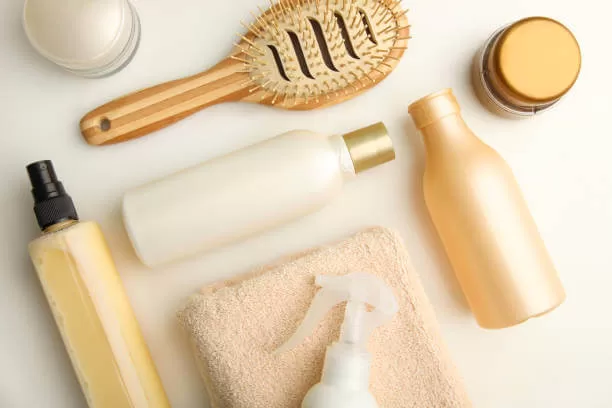
Step 1: Drip your wig to wet it
Firstly, you would want to check the condition of the wig. If it still has dirt, such as glue and soil, wash it gently with the wig’s shampoo and conditioner before installing the fixing process. Whether your wig is clean, drip it into the sink with cool water for 5 minutes for better absorption in the next step.
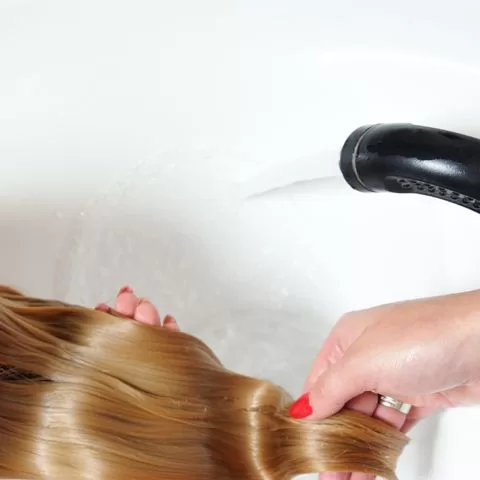
Step 2: Fill a sink with warm water and wig conditioner
After wetting your wig, replace the sink with warm water to around 180° F (82.2° C) and apply 5 spoons of conditioner. Wig conditioner will keep your hair extensions soft, moisturized, and shiny. Furthermore, depending on the damage and dryness, combined with the wig’s length, you can add more conditioner for better-softening results.
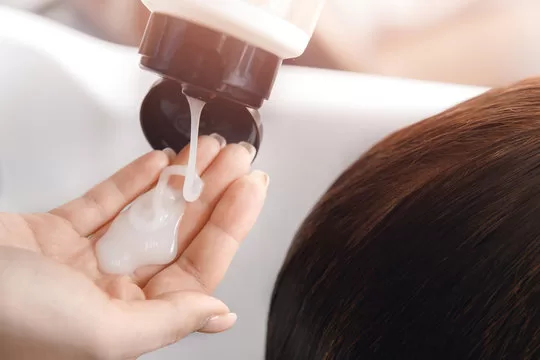
Step 3: Dunk the wig into the sink
When the conditioner has been well mixed with warm water, drip your wig again and leave it for 1-2 hours. Ensure you soak your wig long enough for the best result. This softening method makes your wig less tangled and frizzy and gives it a smooth and luscious effect. Then rinse the wig with clean water to remove the conditioner.
Step 4: Allow the wig to air dry
At the next step, it is essential to allow the wig to air dry in a cool and dry storage area. To dry, gently roll it in a microfiber towel. Place the lace flat on another clean towel and gently pull it into shape so that it can dry correctly. It will take a day for your wig to get totally dry.
However, do not use hair dryers, even when you’re in a hurry, since they are not recommended for tangled and damaged hair extensions.
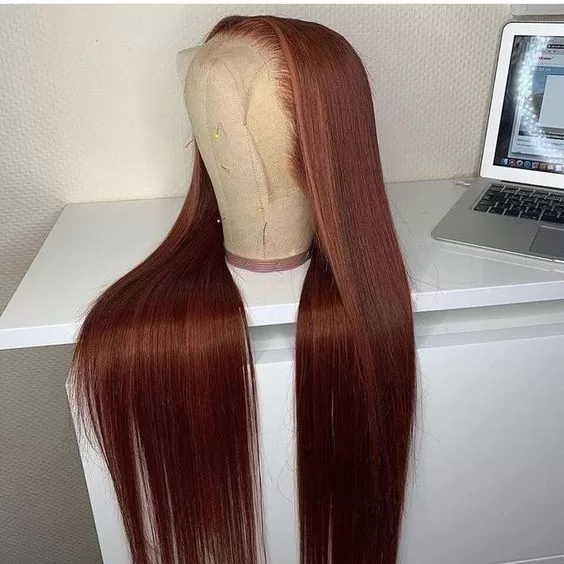
Step 5: Brush the wig
Place your wig on a wig stand for easier combing since we’ve almost reached the final step. Take a wide-toothed plastic comb and brush it from the bottom upwards to avoid pulling the hair, moving your wig up as you go.
In case you are fixing a curly wig, it’s best to brush it out with your fingers, as brushes and combs can ruin the curl’s shape.
Step 6: Snip and trim
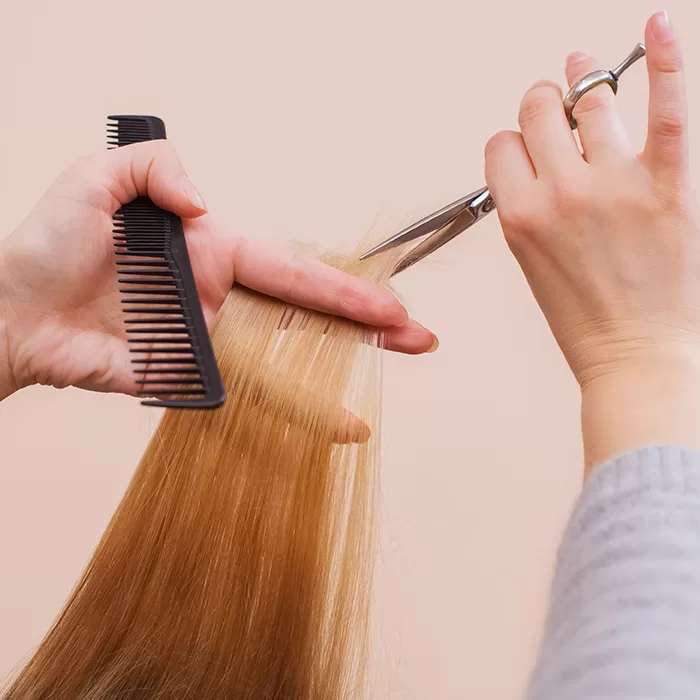
If a ton of conditioner and careful brushing can’t solve the problem, let’s snip and trim to release those tangled balls once and for all. Remember to always choose good-quality hair scissors and to take your time when cutting damaged parts. Also, check the length of the hairs on either side of the wig to make sure they are even.
FAQs
1. How to keep a wig looking good?
According to hair experts, keeping a wig looking good depends on how well it is cared for. The more you take care of your wig, the better it looks! A regular wig care routine will make your hair extensions last longer with beautiful luster and quality. The following tips will help you keep a wig looking good:
Tip #1: Always use a heat protectant
It’s a fact that heating tools can cause worse damage after just one use! Therefore, you should use a heat protectant whenever you apply heat to your strands, whether they are damp or dry.
Tip #2: Keep your wig clean
Follow the right direction when washing, conditioning, and drying it to get your wig to look its best. Be careful and gentle, as the wig is just like your natural hair.
Tip #3: Storage in a cool place
Your storage area also plays a vital role in how to keep a wig looking good. Look for a cool and dry storage area. Do not put your wig storage in a wet place or in a place where there is direct sunlight. It can also cause your wig to have a shorter lifespan.
Tip #4: Take advice from your stylist
Wigs are a flexible option for hair styling. But the poor application can make them damaged and messed up. Instead of chemically processing a wig by yourself, find a professional stylist who has the experience to take care of your hair extensions. It’s a better option to get you satisfactory results.
2. How to detangle a wig?
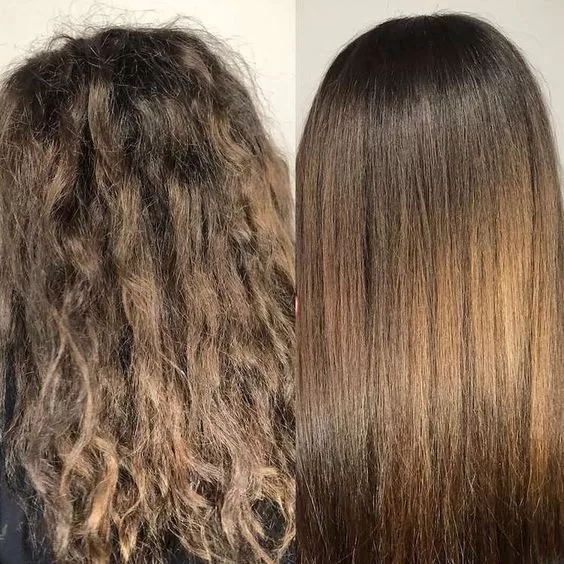
As mentioned above, wigs can be messy and degrade without proper care; fortunately, there is a step-by-step guide on how to detangle a wig without tearing away half of it. Instead of dripping the entire wig into the water and waiting for a day to dry it, you can create a “detangling spray” mixture with the conditioner and clean water. Then spray that mixture and gently brush the wig from the bottom upwards to remove the frizz. That’s the fastest way to detangle a wig.
Final thoughts
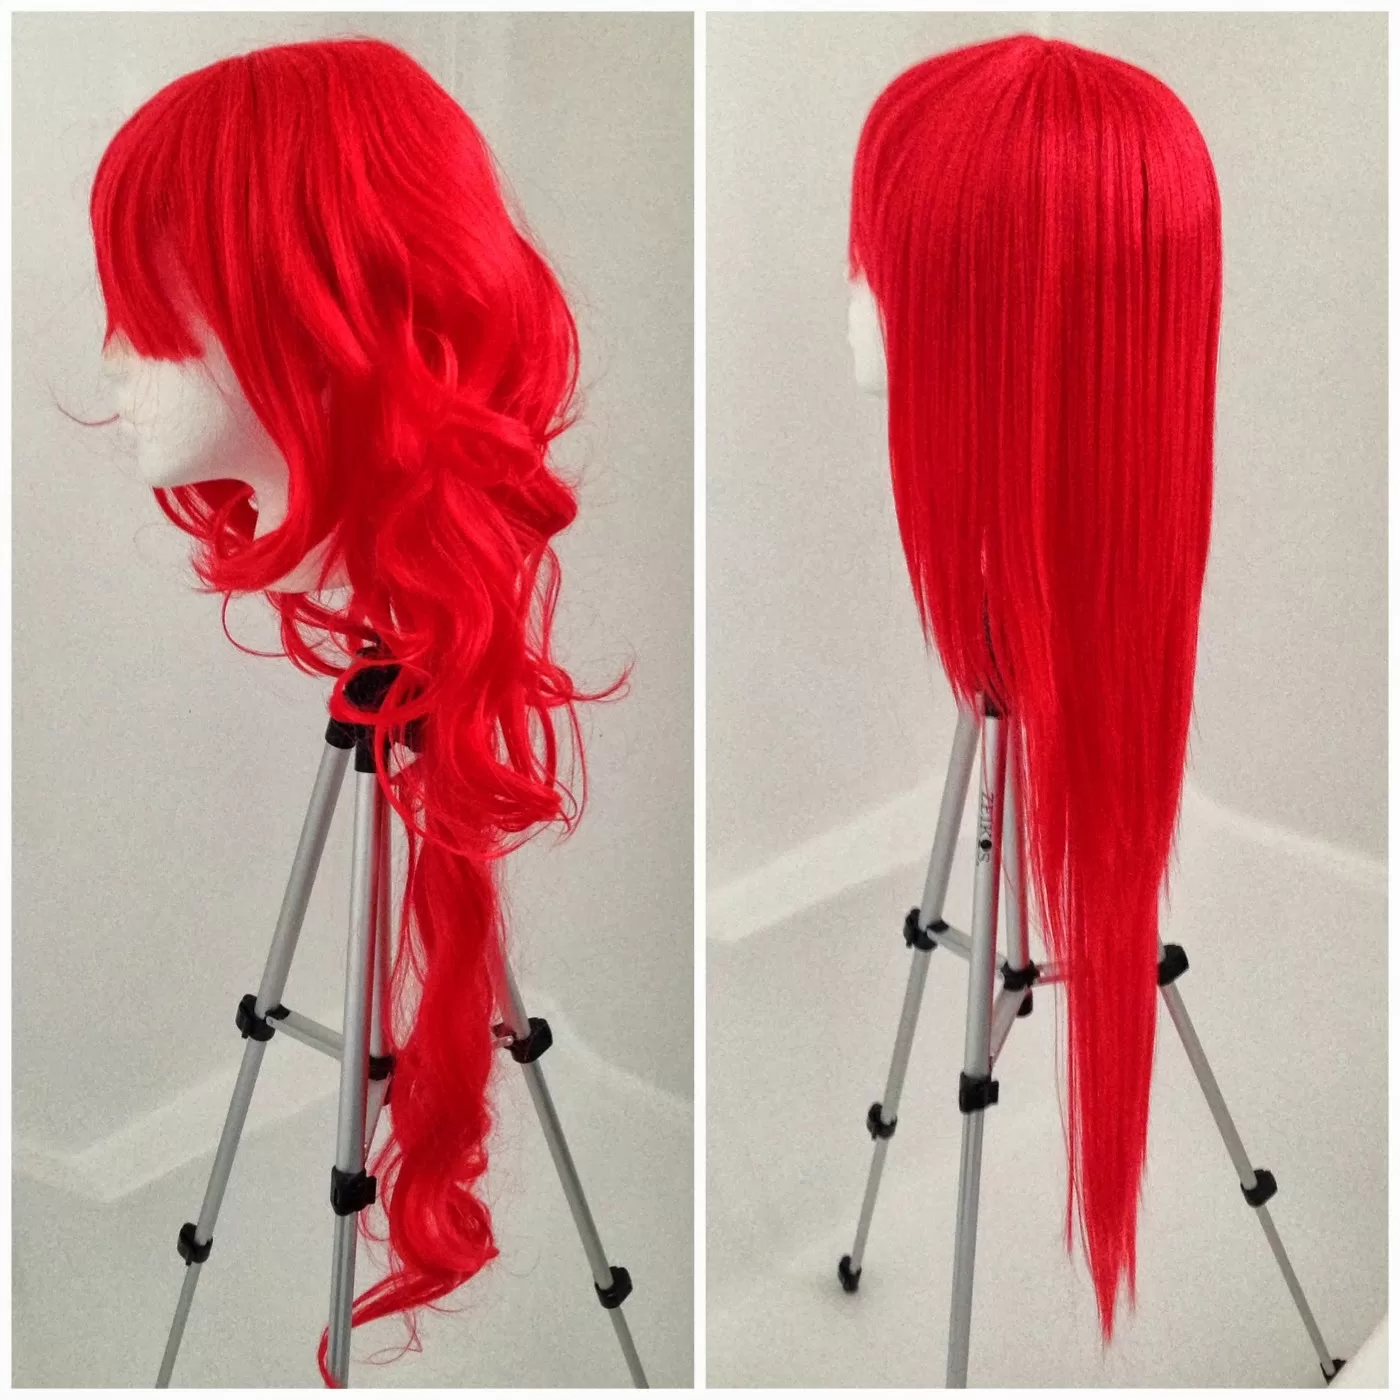
To conclude, saving your wig back to life isn’t hard as we imagine, but it will take some patience to finish the process.
Above are instructions on how to fix a wig to make it last longer. Jen Hair hopes these guides help you solve your puzzles about how to work on a messy wig. If you are looking for more tips on wigs, follow the articles from Jen Hair for more useful information.
Don’t forget to follow our social platforms to receive notifications of our latest posts!

 Guide Cornrows With Side Part The Best For Beginner
 Ultimate Guide: Headband with Hair Attached (Best Styles for 2025)
 Top 7 Premium Human Hair Clip In Extensions For Black Hair
