No products in the cart.
Hair extensions before and after
Quick weave with leave out: Guideline for Achievement
More and more women are increasingly favoring quick weave. This method allows people to refresh their appearance in a short period of time. Additionally, quick weave may be readily completed at home without a hairstylist’s assistance.
Although it is easy, do you know how to do a quick weave with leave out? To achieve the best results, it is crucial to understand the rules. If you don’t know, read this article. To learn everything there is to know about quick weave with leave out, keep reading.
What is a quick weave with leave out?
Quick weave definition
Quick weave calls for the use of a specific cap on top of which hair extensions are affixed, in contrast to sew-ins, which are sewn directly into braided hair. Instead of tediously adding hair pieces to the braids one at a time, extensions are available in tracks that may be clipped to cover a section of the cap. Additionally, using a certain gel, extensions may be glued straight to the hair. You may get any appearance with any type of extension hair by using a quick weave. It can be long or short, curly or straight, one color or highlighted.
Some people think quick weaves are bad for your hair, however if they’re done incorrectly, quick weaves might damage your hair. Other than that, the quick weave is a somewhat practical protective style in terms of setup, upkeep, and removal.
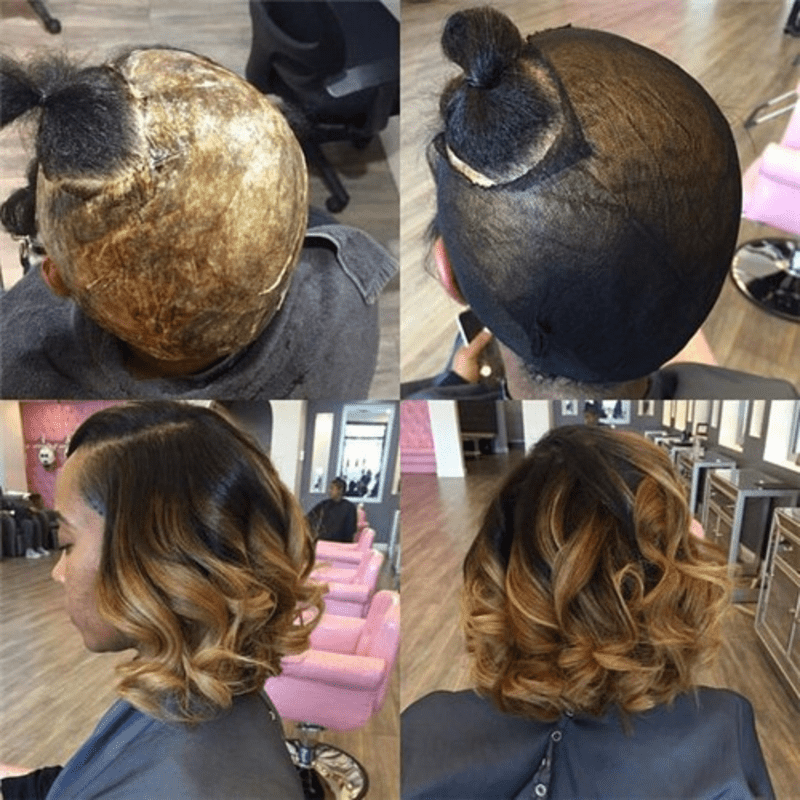
Quick weave with leave out
As the term implies, leave out refers to a portion of hair that is removed to conceal extensions while doing a quick weave. You can choose to leave out your hair along either side of or around the perimeter of your head, but often leave out is worn in a rectangular shape in the center of your head to create a middle part.
In other words, anywhere you need to hide your extensions, you can very much utilize this method. A leave out’s primary function is to make your protective style appear more natural. It frequently goes with U-part wigs and extensions.
How to do a quick weave with leave out
Get all the things you need
Before entering the quick weave with leave out process, you will need to prepare all the tools for this. We all don’t want anything to go wrong, right? If you are still wondering what we will have to prepare, write down the list below now.
- Hair extensions
- Hair glue
- Protective wig cap
- Glue protector/liquid cap (optional)
- Blow-dryer
- Scissors
- Molding gel (optional)
- Hair ties
- Towel
- Comb
Step by step to do a leave out
If you have all the necessary tools, let’s get started and design a fresh, stunning appearance. In order to prepare for the installation of a quick weave, whether you get a professional or do it yourself, you should get familiar with the procedure. See them listed below.
- Clean your hair first: Prepare your natural hair by cleaning and then drying it. t is not advised to wear a wig hat when your hair is moist since it may cause your scalp to develop mold. If you want your hair to last a long time, think about this.
- Braid the hair: After it has dried, pull your hair back in a braid. If you’d want to show a side or center part via your weave, you may leave it in. Because the braids won’t be seen anyhow, there is no need to make them flawless. In the same vein, if braids make you uncomfortable, you may use molding gel to flatten and smooth your hair.
- Put on the wig cap: Once your hair has been prepared, put the protective wig cap on your head, being sure to completely enclose it to protect it from the glue. Using two wig caps will give you more security. If you apply glue protection to your hair, you may also add a liquid cap. By doing this, you may be confident that any loose glue will stick to the cap rather than your hair. Additionally, you can use the glue protection on your wig cap.
- Outline the leave out: Use a lip or concealer pencil to draw a line around the leave out area. It ought to be as obvious as possible. In any other case, you risk eventually messing up your hair with glue. Mark the area of your wig cap if you want to leave out a part of your hair so you don’t place hair extensions too near to it.
- Get to work with the hair extensions: It’s time to start working on the leave now. Apply glue to them first. Each leaf is measured from left to right before being cut. The next step is to apply glue to the wig cap in the shape of a U, starting at the rear of your head and working your way forward. Blower-dry each of them so that they match the cap. Once you’ve reached the outline, apply one brief leave out in a U-shape, being careful not to obstruct the section.
- Finalizing the process: Last but not least, cut the cap around the outline. Now that everything is in place, you may style, cut, and comb through your hair to achieve the desired appearance.
Caring guide for quick weave with leave out
After learning how to do a quick weave with leave out, it is essential to understand how to look after it properly. Check out some useful tips from Jen Hair.
- Wash it the right way: Washing your hair as you normally would is one of the simplest methods to maintain your locks. It’s not a good idea to work on filthy hair if you want to use heat-styling products in your regimen.
- Consider air-dry: After shampooing and conditioning your hair, forego using a blow dryer and let your hair air dry instead. Utilizing heat as little as possible can benefit you by minimizing damage, which will help maintain your strands appearing healthy.
- Heat protection is important: You might need to use hot tools depending on the type of hairdo you want. But that doesn’t negate the need for heat protection for your mane. Use heat protection spray, if possible.
- Select the lowest heat level available: Using heat tools on the lowest setting is another technique to protect your leave out hair from damage. Although you might believe that the maximum heat setting is necessary to get long-lasting looks, it is not needed. Increasing the heat setting might harm hair unnecessarily. Utilize your tool first at a low temperature. Increase the heat a little at a time if you feel the need.
- Use the hair serum after you finish: It’s usually a good idea to finish your appearance with hair serum, regardless of the hairstyle you choose. You won’t always feel the urge to go for heated tools when this essential keeps your leave out hair silky.
Recommended hair styles with leave out
One advantage of this method is that you may customize it to your preferences. Additionally, if you have the necessary supplies on hand, they are rather easy to install. Here are some of the most excellent and original suggestions that can help you in selecting your next hairstyle.
Curly quick weave
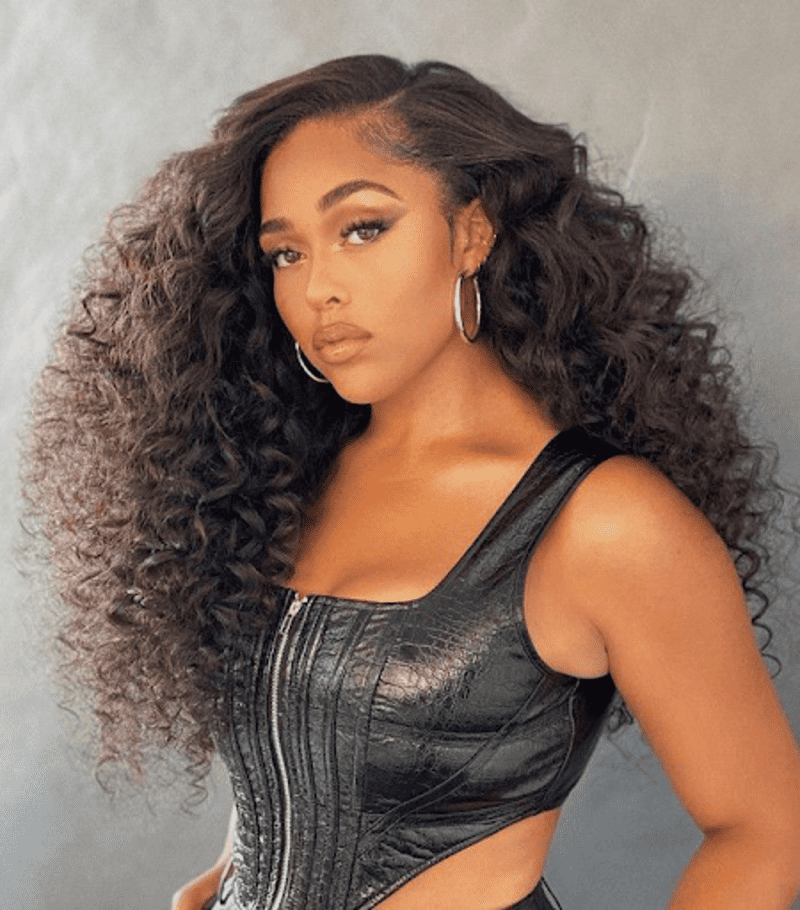
If you enjoy trying new things, this one will make you seem fresh and vibrant. With the exception of the step where the curls are designed, putting them is the same. Fumi wavy, water wavy short black, deep curly short black, loose curly, and bulk loose wavy hairstyles are popular looks to attempt here.
Center part quick weave
You may adopt quick weave designs with a center parting if your front pieces are not pixie-short by letting your natural hair out and then combining it with extensions if your front pieces are not pixie-short.
Bob quick weave
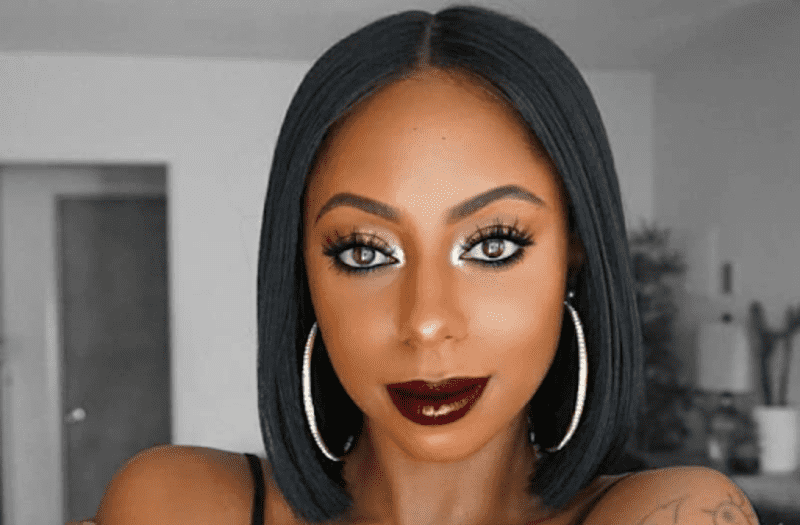
This is a basic but timeless look for women. The majority of celebrities all around the world use it as one of their go-to hairstyles. You can get this style without ever cutting your hair. This technique offers side-part, asymmetrical, and blunt bob options.
Bob quick weave (Source: www.rededuct.com)
Side part quick weave
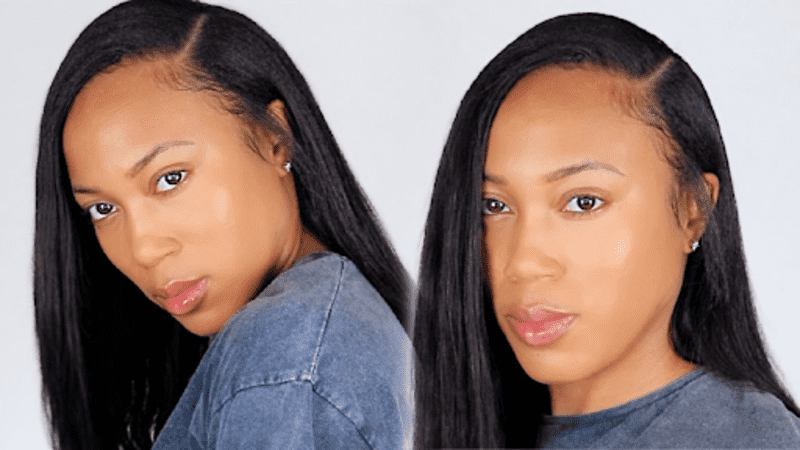
The finest hairstyle for women who want lengthy bangs is this one. They believe that the deep side portion enhances their hair’s texture. By attempting this style, you may alter your figure as well. For ladies in 2023, it is the greatest detachable rapid weave with leave-out style.
In conclusion
These are the things you need to know before doing a quick weave with leave out. Follow Jenhair’s steps to achieve the fastest and most effective results. We hope this article will be helpful to you. Please support Jenhair so we can continue to provide you with useful information. If you have any questions, don’t hesitate to contact our team to get your answers. See you in the next articles.
FAQs
How long can a quick weave be left in?
The suggested duration is 4 to 5 weeks. Overstaying this time frame may cause scalp itchiness, hair breakage, and hair loss. Keep in mind that frequent washing and conditioning of your hair is necessary for its healthy growth and development.
How many bundles are required for a quick weave?
Three bundles with closure may be required for a natural, elegant, and full appearance. The good news is that you may select from a broad choice of human hair bundles based on length and texture. Another thing to think about is the size of your head.
How to mold hair for a quick weave with leave out
Apply it to the tracks after putting on the protective cap. Once the mold has been placed, you’ll see your hair has turned flat. Molding is a crucial step for certain people since it shields the hair from the glue used to attach the wefts.
This tutorial on how to weave quickly using leave out is intended to be useful. Not only is it easy and quick to put on, but it also costs nothing to maintain. If you’re unsure, you may try it at home or ask a hairdresser for advice. You should expect minimal to no hair damage, in contrast to other haircuts.
Are quick weaves harmful to hair?
If not correctly put, quick weaves may be harmful to hair. Your worst enemy is hair glue. You can keep hair glue out of your hair with the correct products and a cautious hand. The easiest method to avoid damage is to hire a professional for installation and removal.
By skillfully incorporating leave-out techniques, you achieve the perfect balance between protective styling and the versatility of showcasing your natural hair. Jen Hair empowers you to effortlessly embrace a quick weave with leave-out, unlocking a world of limitless possibilities for a flawless and personalized look. Experience the beauty of a quick weave that seamlessly integrates with your natural hair, courtesy of Jenhair’s commitment to innovation and quality.
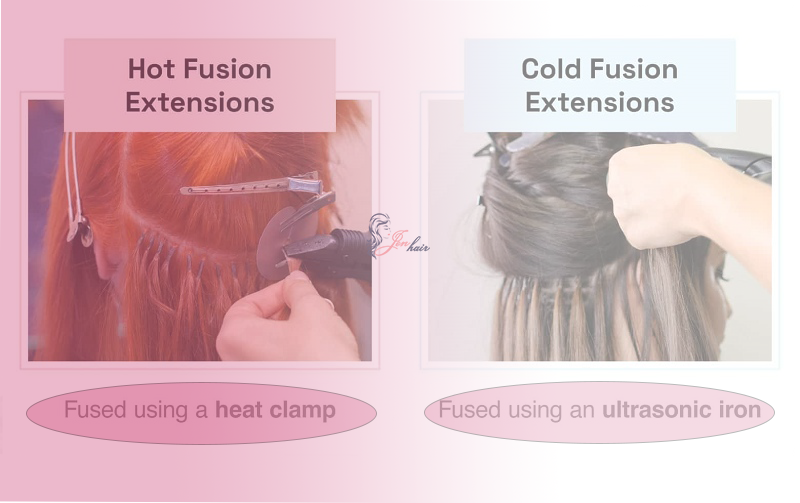 All-in-one Guide about Cold Fusion Hair Extensions in 2024
 Everything about Feather Hair Attachments
 Discover the pros and cons of knotless braids
