No products in the cart.
Hair Care Guide
How To Create Side Part Closure Sew In
Explore how to create a beautiful side part closure sew in hairstyle that can provide a natural looking part and flawless coverage, and consider the top styles for it.
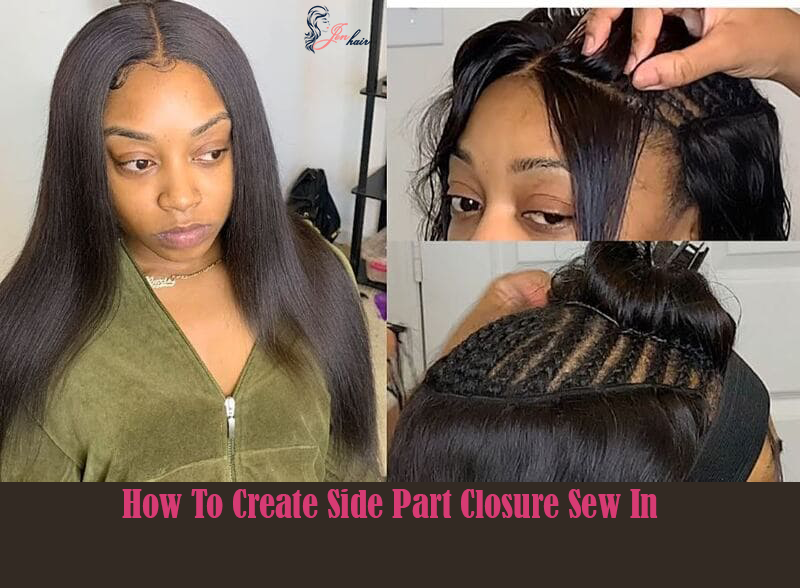
A side part closure sew in hairstyle can provide a natural looking part and flawless coverage. This style is both versatile and fashionable, then it can enhance your current hair length by adding volume and bringing different textures.
Go with Jen Hair in this post to explore how to create a beautiful side part closure sew-in, as well as considering the top styles for this beautiful hairstyle.
What Is Side Part Closure Sew In?
Lace closures are available in three main types: middle part closure, side part closure, and free part closure. The middle part closure and side part closure are pre-parted, meaning you can only wear them with the parting in the designated area. On the other hand, the free part closure allows you to part your hair anywhere you prefer.
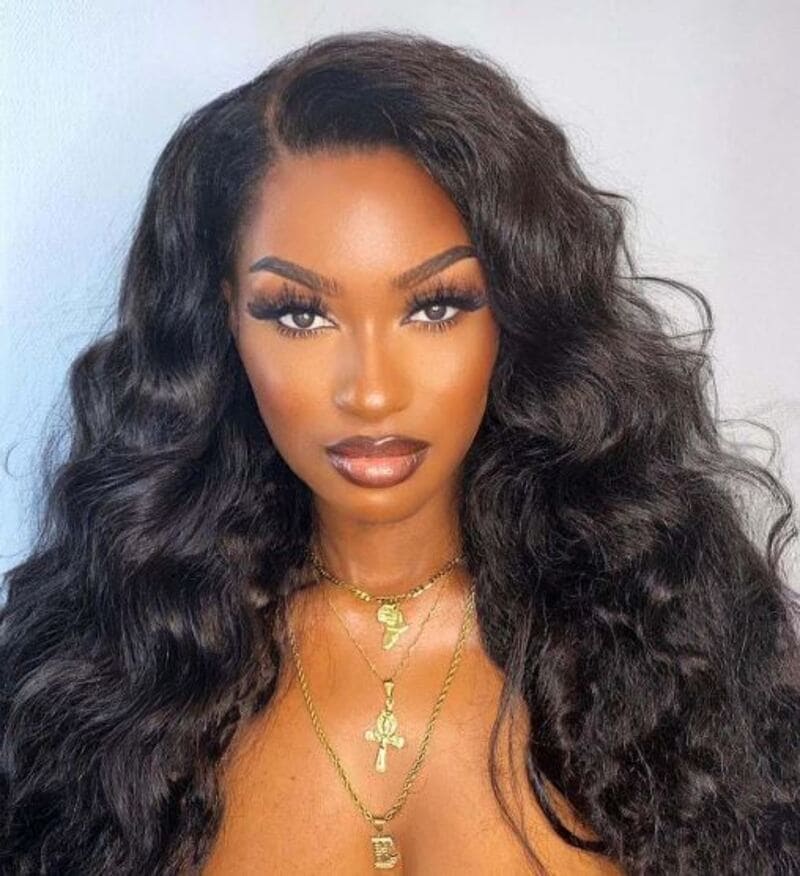
A side part closure features a pre-parted side section. This type of closure divides the hair into two unequal parts, commonly with proportions of 3:7 or 4:6.
When deciding between a middle part closure and a side part closure, it depends on your face shape. Women who wear a middle part closure tend to have a more symmetrical face shape, while a side part closure softens the edges and corners of the face. If you have a square face shape, a side part closure would be a suitable choice.
How To Do A Side Part Closure Sew-In?
Here are six steps for creating a sew-in side part closure:
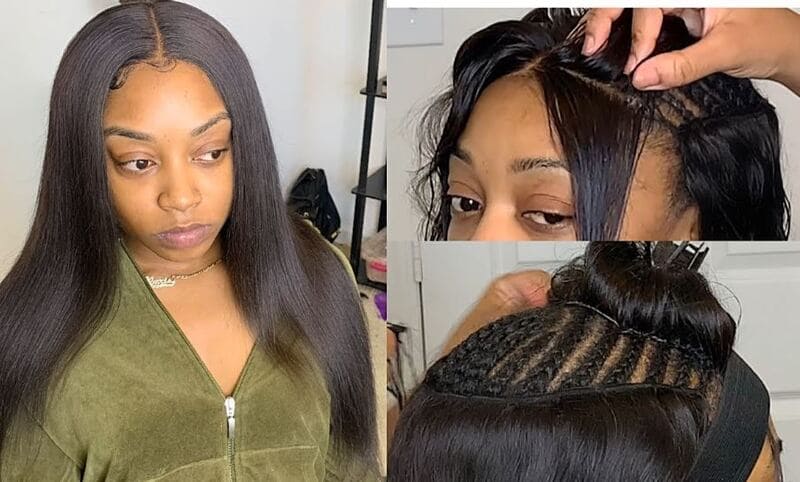
- Step 1: Gather a perfectly fitting wig cap, mousse, an iron comb for shaping, wig glue for securing the cap, and a needle and thread for the sew-in process.
- Step 2: Divide your natural hair into small cornrows and braid them.
- Step 3: Put on the wig cap, ensuring that it fully covers all of your braids. If any braids are exposed, adjust and stretch the cap accordingly.
- Step 4: Apply adhesive to your edges to secure the wig cap in place.
- Step 5: Sew the lace closure onto the cap. Since we are creating a side part, position the closure on the side of your head instead of placing it in the middle.
- Step 6: Sew the human hair bundles from the back of your head, working in a circular pattern, until the wig appears full and natural.
- Step 7: Create a side part by plucking hair along the desired part line to achieve a more natural appearance. Finally, style the installed wig as your desire.
How to Install Side Part Sew in With a Closure
Important Tips
- Before proceeding with a side part sew-in using a closure, ensure that you have a lace closure suitable for a side part. You can use a free part closure or a three-part closure. If your closure has not been bleached, consider bleaching the knots on the closure.
- Choose hair bundles and a lace closure that perfectly match the color and texture of your natural hair. This choice will help you achieve a more natural look, especially if you plan to leave out some of your own hair.
How to do
Braiding your hair:
Start by creating a side part in your hair using a rat tail comb. Then, braid your hair flat and smoothly, following the desired side part. Ensure the braids are neat and secure.
Wearing a mesh cap:
Find a mesh cap that fits your head size and sew off the area where your closure will be placed. This effort provides a secure base for attaching the closure and helps keep it in place.
Sewing process:
- Sewing in the hair weave: Begin sewing the hair weave horizontally from the back of your head. It can be helpful to have a small mirror in front of you and a larger mirror behind you to ensure a clear view. Use the flip-over method for sewing, and as you reach the top, cut the tracks to ensure a flat result.
- Sewing in the lace closure:
After sewing in the hair weave all the way up to the top, it is time to attach the lace closure. If you are using glue, trim the excess flaps on the sides of the closure to ensure a flat appearance. If you are sewing the closure, you can leave those flaps as they will make much difference.
Position the closure on your head in the desired area and hold it in place. Make sure the closure lies flat against the mesh cap, and then begin sewing it onto the cap. Since holding the closure in place can be challenging, ask for assistance if available. Securely anchor the thread from the track extensions on the sides to the closure and sew it in place.
Some Side Part Sew In Styles
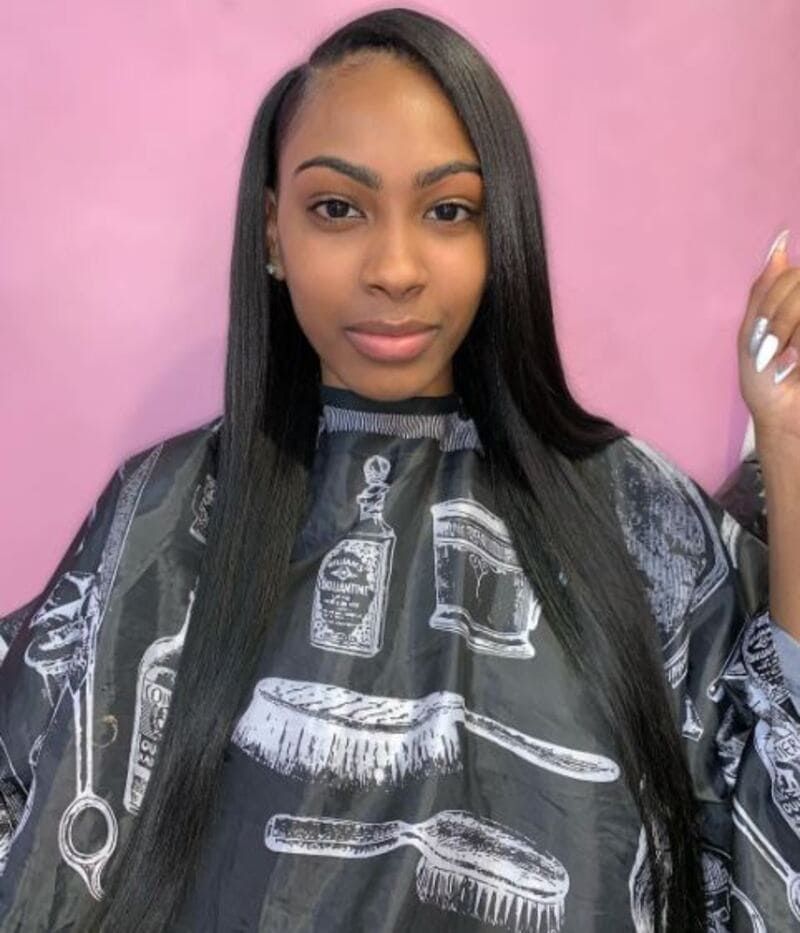
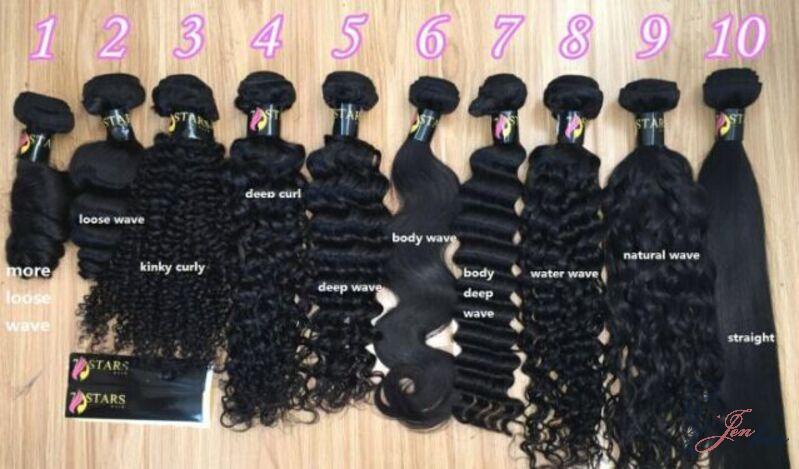
Side part closure sew with straight hair
Achieve a sleek and sophisticated look with a side part closure sew-in using straight hair. This style offers a polished appearance with a natural side parting. It gives you a versatile and elegant hairstyle that can be dressed up or down for any occasion.
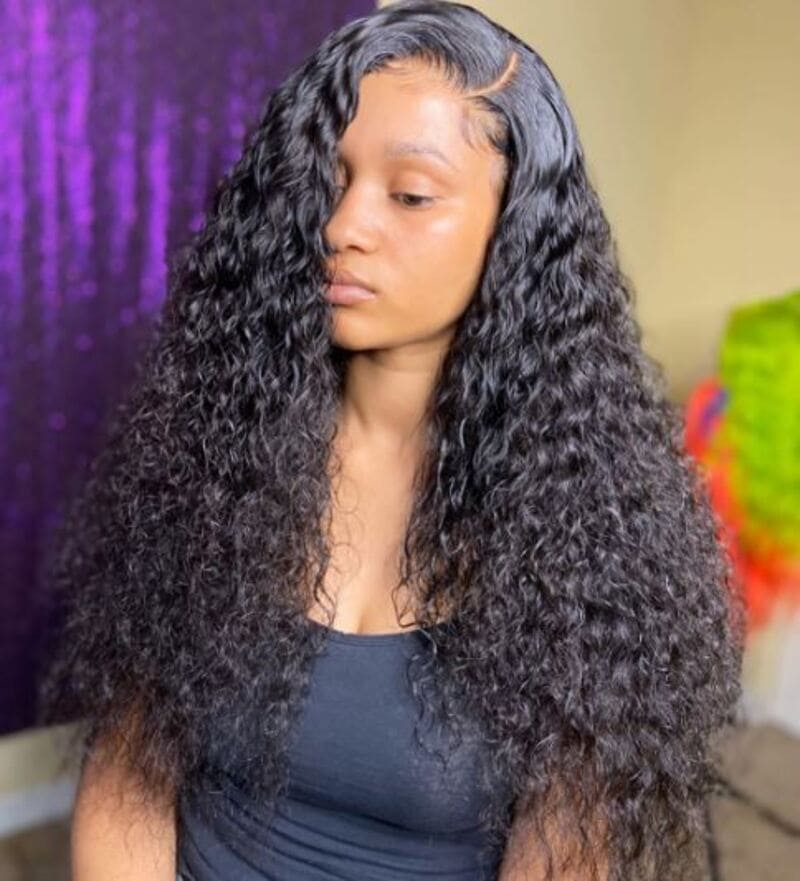
Water wave side part sew in with weave
For a more relaxed and beachy vibe, opt for a side part closure sew-in with water wave hair. This style adds beautiful texture and movement to your hair for a carefree and effortlessly glamorous look that is perfect for summer or casual outings.
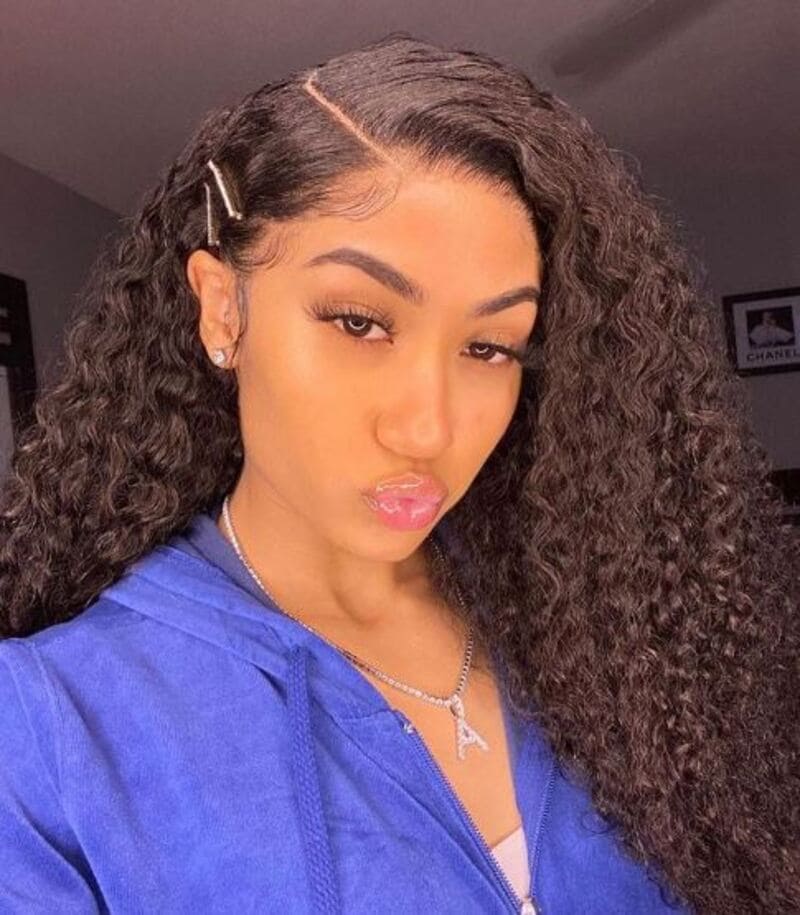
Kinky curly side part sew in
Embrace your natural curls with a side part closure sew-in featuring kinky curly hair. This style adds volume, texture, and a touch of playfulness to your look. A side parting will rock your curls confidently and enhance the overall shape and bounce of your hair.
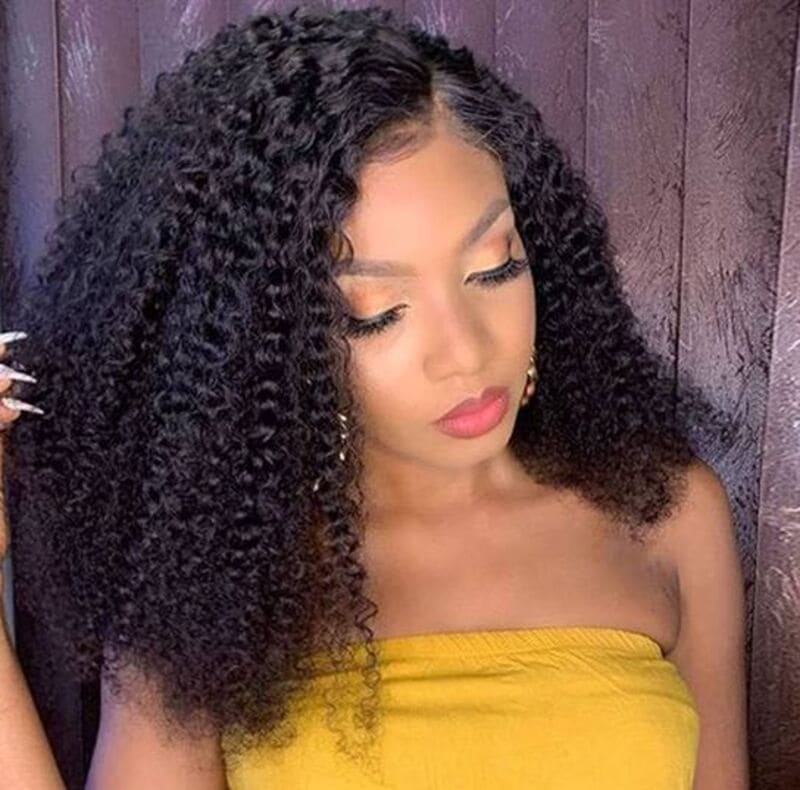
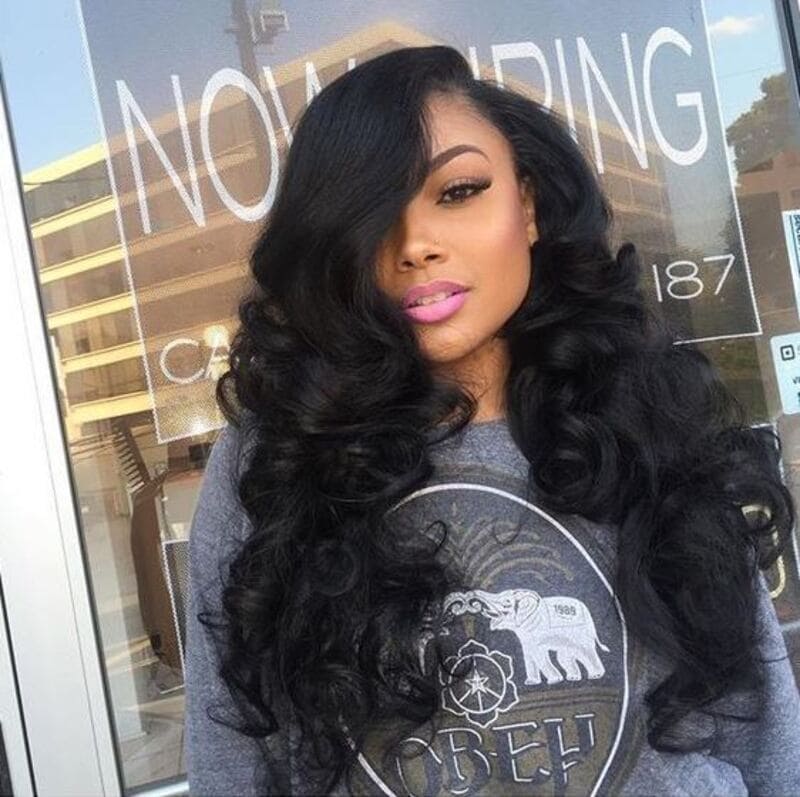
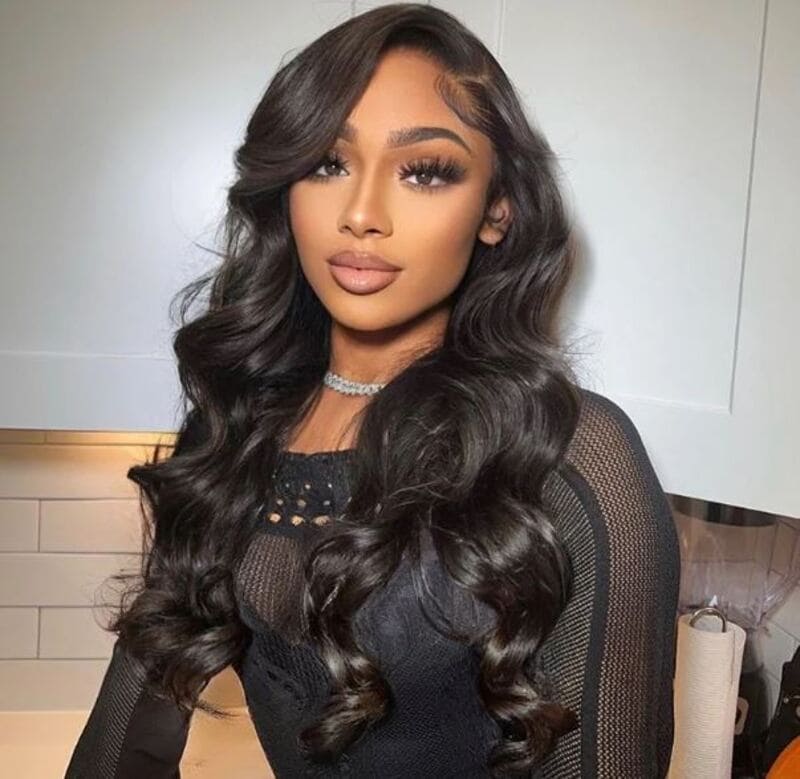
Side part closure sew in body wave
Create soft and subtle waves with a side part closure sew-in using body wave hair that adds a touch of glamor and femininity to your overall appearance. The side parting accentuates the cascading waves, framing your face beautifully.
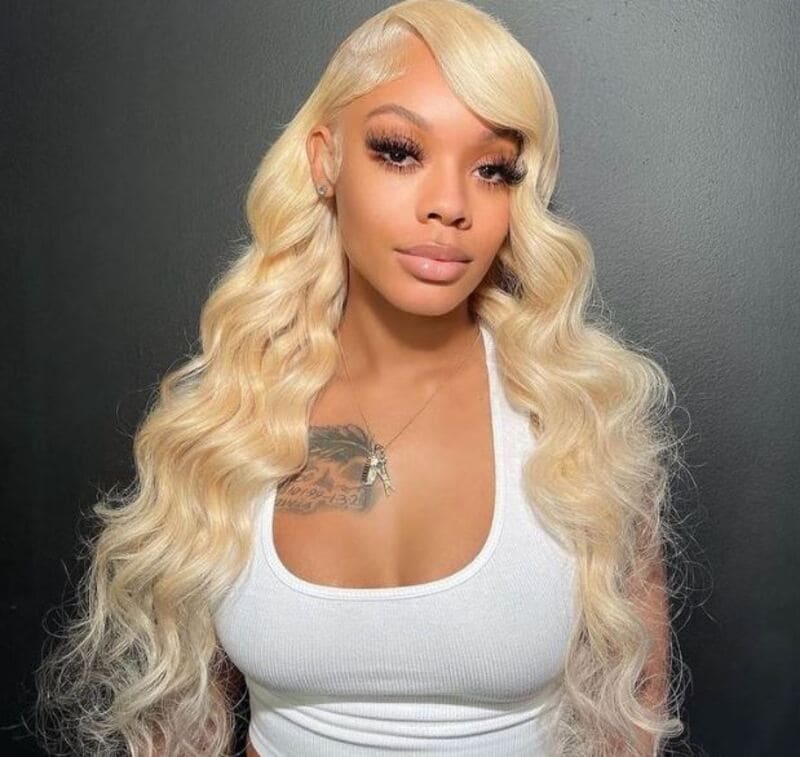
613 body wave side part sew in
Let’s make a statement with a side part closure sew-in using 613 body wave hair. This bold and striking style features a vibrant and light blonde color that catches attention. The side parting adds an element of sophistication to this glamorous and eye-catching look.
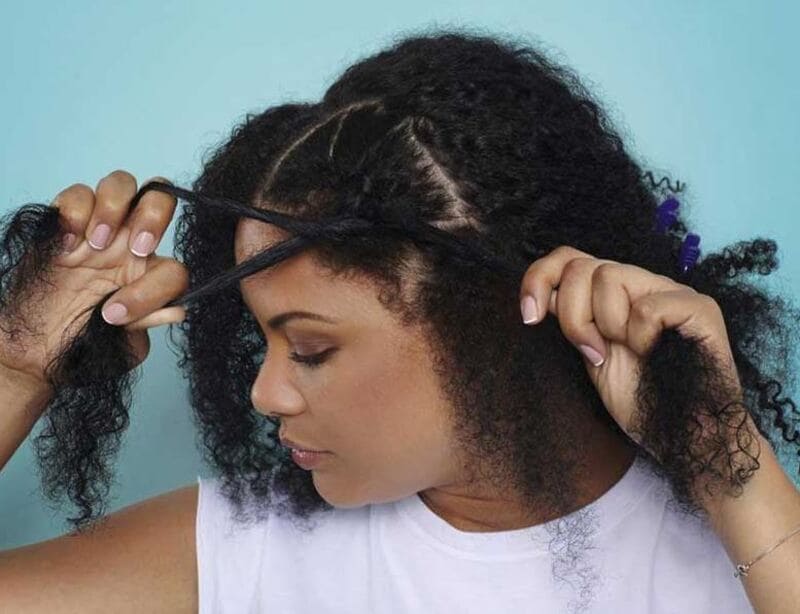
Side part closure sew in braid pattern
You can achieve a flawless and natural look for your side part closure sew-in by using a well-planned braid pattern. The braid pattern ensures a secure and seamless installation, allowing the closure to blend seamlessly with your natural hair. This technique creates a beautiful and realistic appearance for your side part style.
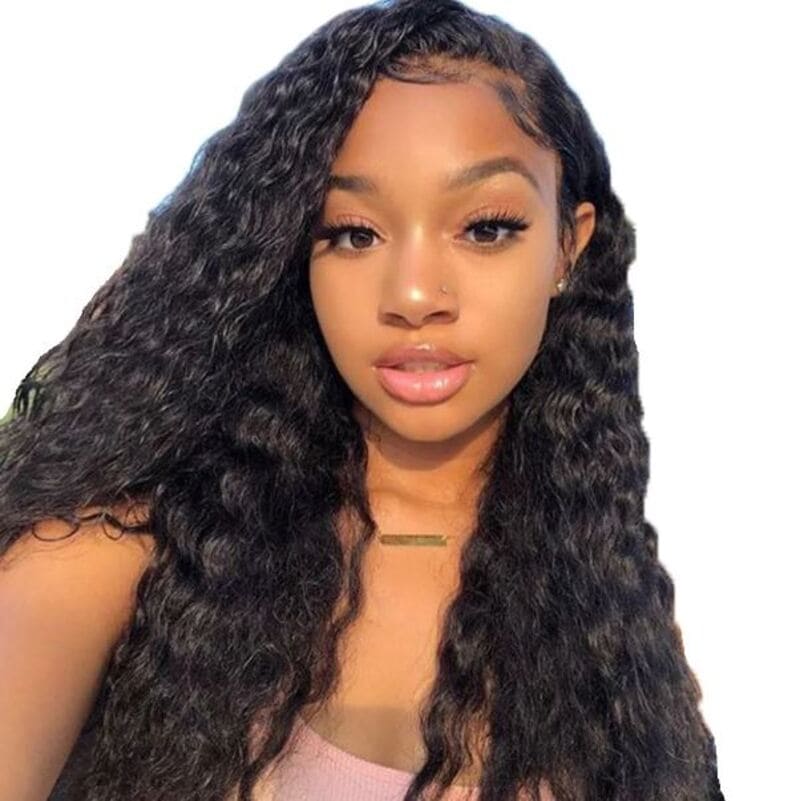
Deep side part closure sew in
For a more dramatic and edgy look, opt for a deep side part closure sew-in. It features a deep parting that adds boldness and asymmetry to your hairdo. It is a great choice if you want to make a statement and add a touch of uniqueness to your overall look.
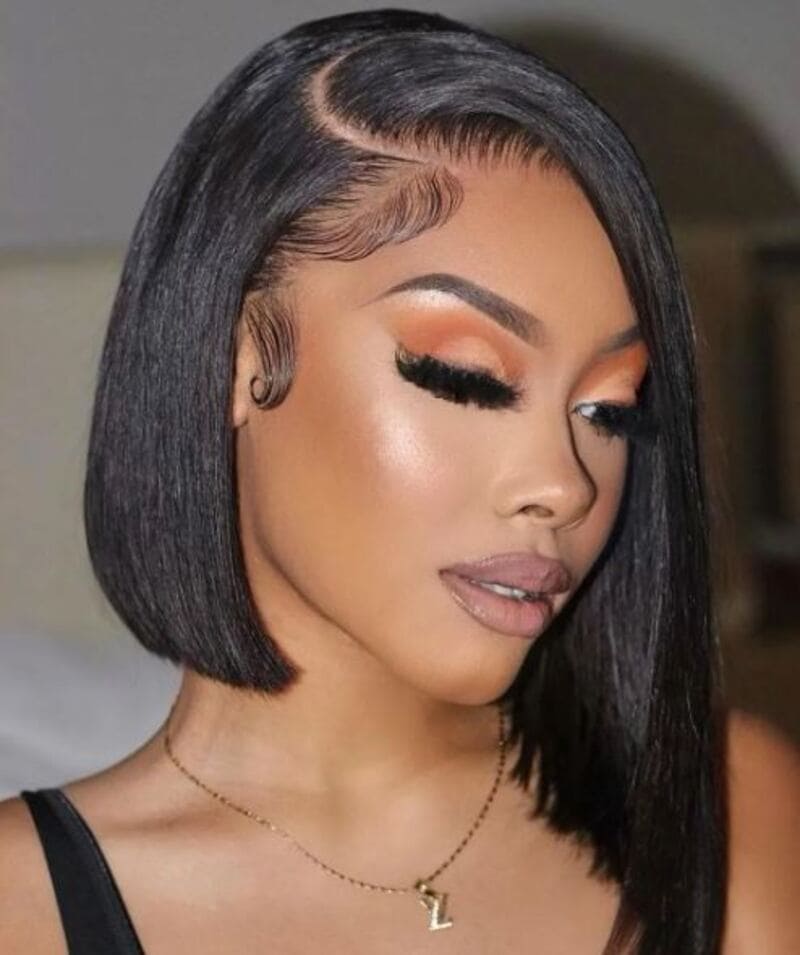
Side part closure sew in bob
Create a chic and trendy hairstyle with a side part closure sew-in bob. This style offers a fresh and modern twist to the classic bob haircut. With the side parting, you can achieve a sleek and well-defined bob that frames your face beautifully.
How Long Can You Wear A Closure Sew In?
To maintain the health of your hair, it is recommended to follow a sew-in cycle of 6-8 weeks, while you still need to consider hair growth and home care.
We suggest scheduling regular maintenance appointments for optimal results. Every two weeks, come in for a shampoo session, and at the 4-week mark, schedule a shampoo and tightening session. If you have a lace closure sew-in, it is advisable to have the closure repositioned around week 3 to ensure it remains in the proper position.
What Is The Difference Between A Closure Sew In And A Full Sew In?
The main difference between a closure sew-in and a full sew-in is the presence or absence of a closure piece. Here’s a breakdown of each style:
- Closure sew-in:
A closure sew-in means attaching hair bundles to your natural hair using a closure piece. A closure is a small piece of lace or silk material with hair strands attached to it. It is used to create a natural-looking hairline and cover the top portion of your head where your natural hair would typically be left out. The closure is sewn or glued onto a mesh cap or directly onto braided hair, giving the appearance of a realistic scalp and parting.
- Full sew-in:
A full sew-in, also known as a complete sew-in, involves attaching hair bundles to your natural hair without the use of a closure piece. In this style, your natural hair is entirely braided or cornrowed to create a foundation for sewing the wefts of hair extensions directly onto the braids. With a full sew-in, there is no need for a closure because all of your natural hair is covered by the extensions.
Finally, the key distinction between a closure sew-in and a full sew-in is that a closure sew-in uses a closure piece for a natural-looking parting and coverage at the top, while a full sew-in does not require a closure as it covers all of your natural hair with extensions.
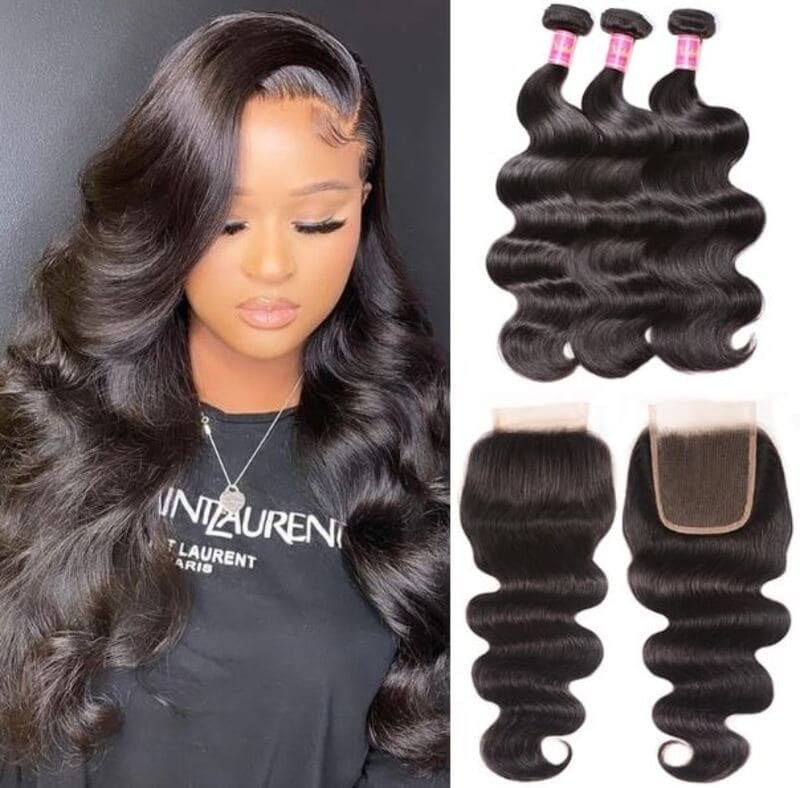
How To Maintain Your Lace Closure Sew In
Follow these care instructions to maintain the quality, appearance, and longevity of your lace closure sew-in:
- Initial washing: Upon receiving your human hair bundles with closure, it is important to wash them before installation. This step helps to remove any residue that may be present in the hair extensions.
- Regular deep-care: To maintain the quality of your lace closure sew-in, it is recommended to provide deep-care every two weeks. You can use specialized products or treatments designed for deep conditioning and nourishing the hair.
- Weekly washing: Cleanse your lace closure sew-in once a week. After washing, use a soft towel to gently pat your hair and remove excess water. It is not recommended to use a hairdryer as it can cause damage, while you should allow your hair to air dry naturally.
- Nighttime care: Before going to bed, you should remove your lace closure sew-in and store it on a model head or wig stand. This care helps to prevent hair loss and tangling, ensuring the longevity of your sew-in.
To Conclude
The side part closure sew in is a fantastic hairstyle choice for a natural-looking part and excellent coverage. If you are looking to enhance your hair length, add volume, or try different textures, this style is perfect for you. For high-quality hair extensions and a flawless result, reach out to Jen Hair. Contact Jen Hair today to explore a range of extensions and elevate your style with a stunning side part closure sew-in!

 Guide Cornrows With Side Part The Best For Beginner
 Ultimate Guide: Headband with Hair Attached (Best Styles for 2025)
 Top 7 Premium Human Hair Clip In Extensions For Black Hair
