No products in the cart.
Hair Care Guide
Completely change with Ear to Ear Frontals
A ear to ear frontal closure makes a nice wig and hides any hair imperfections. Let’s check out the essential information and secrets about this hair extension.
Lace frontal closure ear to ear is not an unpopular term in the hair extensions market. With a lace frontal closure, people can make a nice wig and hide any hair imperfections for a better appearance.
It is easy to find information about this material online. But do you really know enough for your business goals? In this blog, Jen Hair will share all the important information and secrets about ear to ear frontal that you need to know.
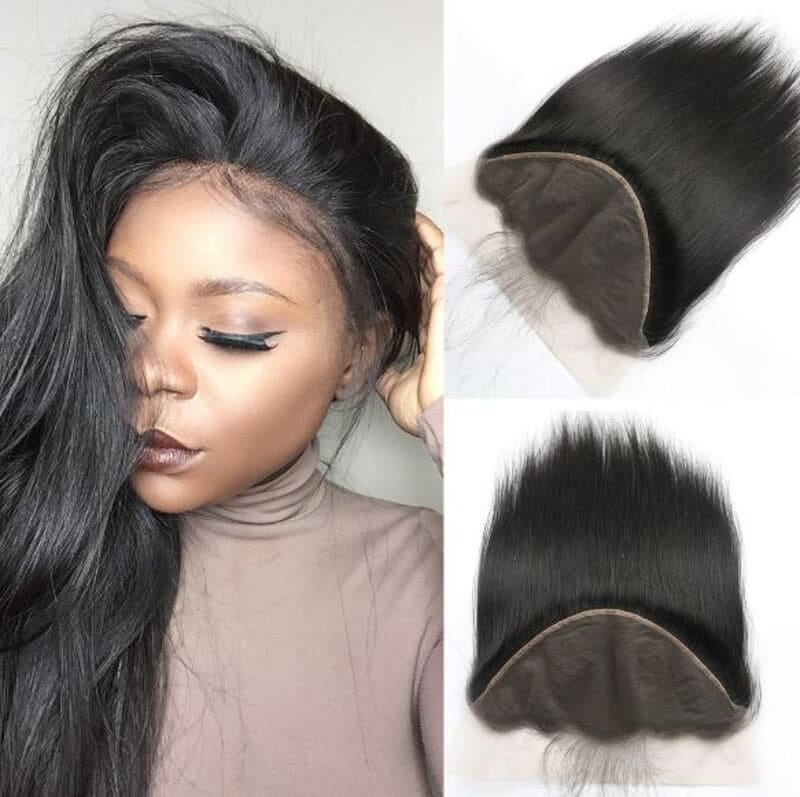
What is an “Ear to Ear Frontal”?
We all know that an ear-to-ear hair lace frontal is a crucial part of making a wig. This piece of hair covers the top of the head from one ear to the other, so it is called a “hair lace frontal closure ear to ear.”
Its standard size is 13×4 inches, which can cover most of the top surface of our head. Moreover, since it does not have a fixed hairline, we can easily style our hair in different ways.
A hair lace frontal closure ear to ear consists of lace and hair sewn together. The lace can be made from materials like cotton, silk, or knitting thread in various patterns, and you can choose a color that matches your skin tone.
Finally, there are three main types of lace frontal closure ear to ear: free part, middle part, and three-part. Among them, the free part style is the most popular.
How to Choose the Right Ear to Ear Frontal
Factors to consider when selecting an ear to ear frontal
When choosing the right ear-to-ear frontal hair piece, there are several things to think about. The right choice will help the frontal blend nicely with your natural hair and allow you to achieve the hairstyle you want. The key is picking a frontal hair type, texture, length and density that complements your natural hair for a cohesive, natural-looking style you’ll love.
- First, think about what kind of hair you want for the hairpiece. The main choices are real human hair or fake synthetic hair. Real human hair is usually better because it looks more natural and you can style it in different ways. Synthetic hair is cheaper but doesn’t look as realistic and you can’t style it as much.
- Next, consider what texture you want – straight, wavy, or curly? Getting a texture close to your own hair will make it blend in better. But also pick a texture you personally like and fits your style.
- If you have long, thick natural hair, choose a frontal that matches. If your hair is shorter or thinner, a lighter, shorter frontal will blend better.
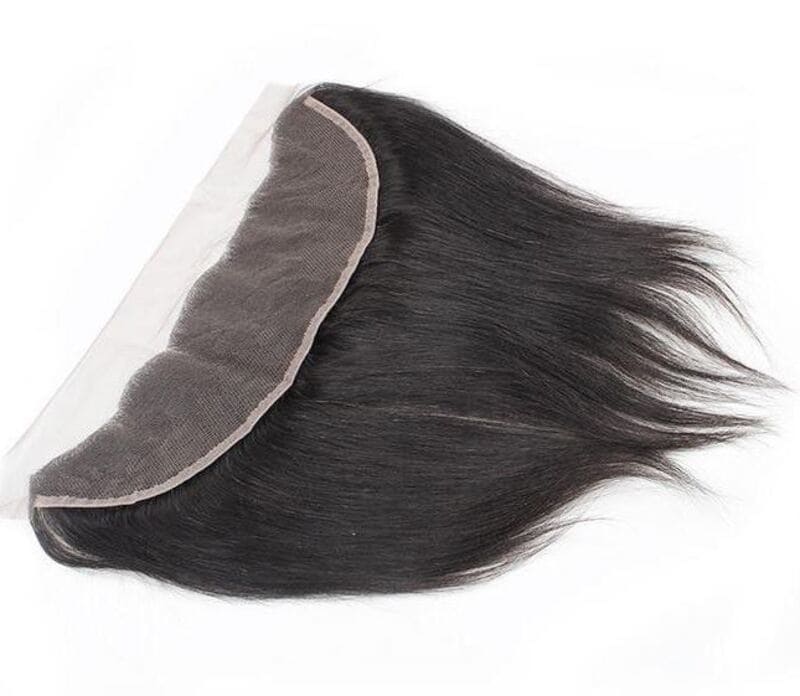
Matching the color and texture to your natural hair
It’s really important that the color and feel of the hairpiece matches your real hair. This means picking a hairpiece that has the exact same hair color as your own hair. If you have different shades or highlights in your hair, try to find a hairpiece that has those same lighter or darker pieces. This will make it look very natural and blended with your real hair.
Considering the desired style and versatility
At the end, think about the hairstyle you like and how much you want to switch it up. If you always wear a middle part, a hairpiece with a middle part already done is best for you. But if you like being able to part your hair on the left, right, or anywhere, you’ll want a hairpiece that lets you part it any way you want.
How to make ear to ear frontal wig
Step 1. Measure the wig cap
- Use a tape measure to confirm the size of the wig cap.
- Make sure your hair is flat before measuring.
- Wrap the tape measure around your head, positioning it above your ears and eyebrows.
Step 2. Prepare the wig model
- Place a dome cap on a mannequin head, ensuring it is centered.
- Identify the nape of the cap and use two T-pins to secure it, mimicking the hairline at the nape of your neck.
Step 3. Create the foundation
- Position the lace frontal closure ear to ear in the middle of the mannequin head.
- Use T-pins to secure the closure in the middle and on the sides.
- Make sure to pin it straight at the end of the dome cap’s mesh.
- Keep the hair tied or outside the dome cap for easier sewing later.
Step 4. Mark the outlines
- Use a highlighter or metallic marker to mark the outline of the lace frontal closure ear to ear mesh.
- Trace the area on the dome cap’s mesh where you will sew the weft hair.
- Leave some space on all the borders of the outline for easier wig application.
- For beginners, drawing straight lines in this area can help with sewing the hair more accurately.
Step 5. Sew the weft hair with the lace
- Untie the hair bundles and thread the curved needle with the thread.
- Start sewing from the tip to the top of the dome cap using the loaded needle.
- After each track, secure it tightly with a knot.
- Use scissors to cut the weft and thread after finishing each straight line you marked in step 4.
- Repeat this process for the remaining lines until you finish sewing the weft part.
- If you have a sewing machine, you can use it for better convenience.
Step 6. Sew the lace frontal closure and finalize
- Keep the T-pins on the outline of the weft part and sew the lace hair frontal closure ear to ear onto the foundation of the wig.
- Double-check the wig and try it on your head or the mannequin head to see your completed work.
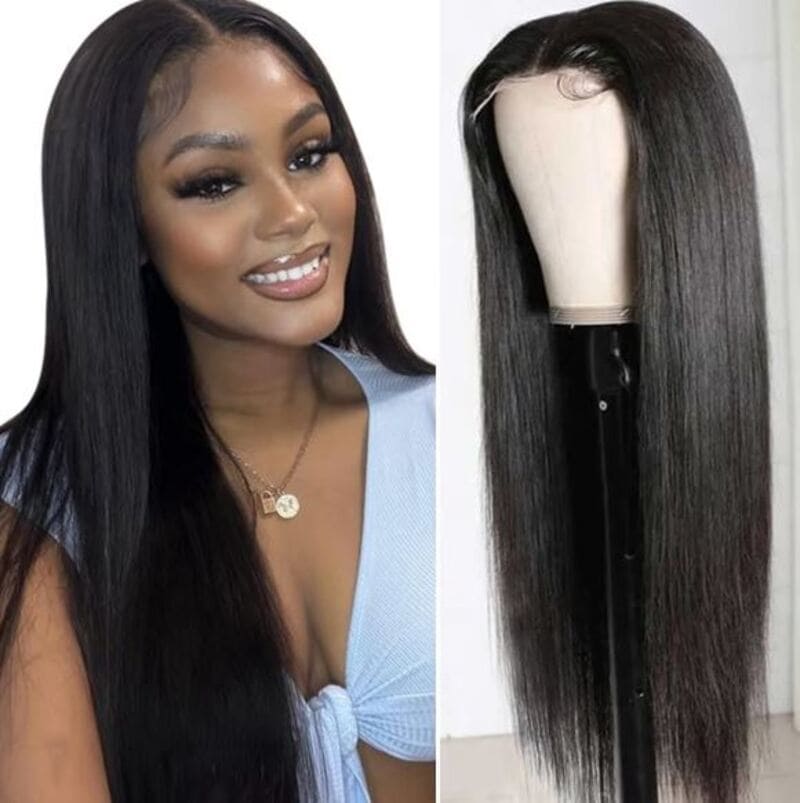
How to wear ear to ear frontal wig
If you do not know how to install a wig but customers are asking you questions, it can be confusing. So, remember these steps:
- Flatten your head: Before putting the wig on, make sure your real hair or braids are flat. It helps to have someone assist you or ask a hairstylist for help.
- Put the wig on: Place the wig on your head and cut off any extra lace, especially around the ears and back. Once the wig fits well after customizing it, take it off and move to the next step.
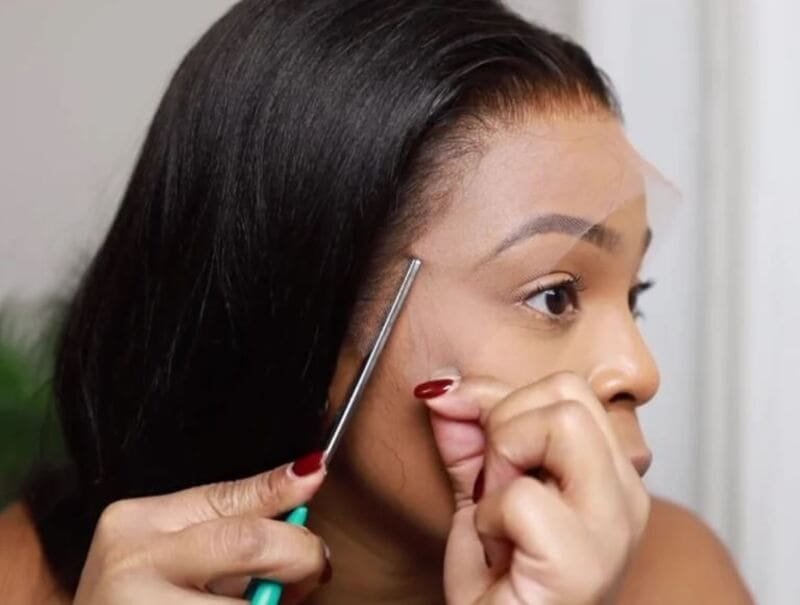
- Customize the lace: Wear a wig cap to cover your head. Apply layers of glue and use a curved tool to make sure the cap sticks properly. Use a marker to mark where the extra lace from the front hairline to each ear should be cut off. Trim off the extra lace, leaving about one-third of the wig cap from your forehead.
- Attach the wig: Apply glue along the marked line and attach the wig to it. Let the glue dry, and use a blow dryer to flatten any shorter strands. Check and reapply glue along the edges to ensure a perfect application.
- Finish up: Style the wig with a straightener for straight hair, or use a curling iron for curls. Apply some hair oil for a polished look. Take some photos with your new hairstyle and choose an outfit that matches well.
Difference between frontal and ear to ear closure
Hair frontals and lace closure hair pieces are important elements in the process of creating wigs, weaves, and natural hair extensions. Let’s see the main differences between them:
- Size: Lace frontals are larger and provide more coverage compared to lace closure hair pieces. The typical closure size is just 4×4 inches.
- Flexibility: Hair lace frontal closure ear to ear offers greater flexibility in creating various hairstyles compared to closures with fixed middle parts. You can easily switch up your style to match your outfit for the day. Frontals provide a wide range of styling possibilities because they have a lace or silk foundation that seamlessly blends with your natural skin and hairline. This means you can achieve deep-side parts, half-up ponytails, messy buns, and more. This versatility is highly valued by women for their beauty needs.
- Price: Due to their larger size and added conveniences, hair lace frontal closure ear to ear are typically more expensive than closure hair pieces.
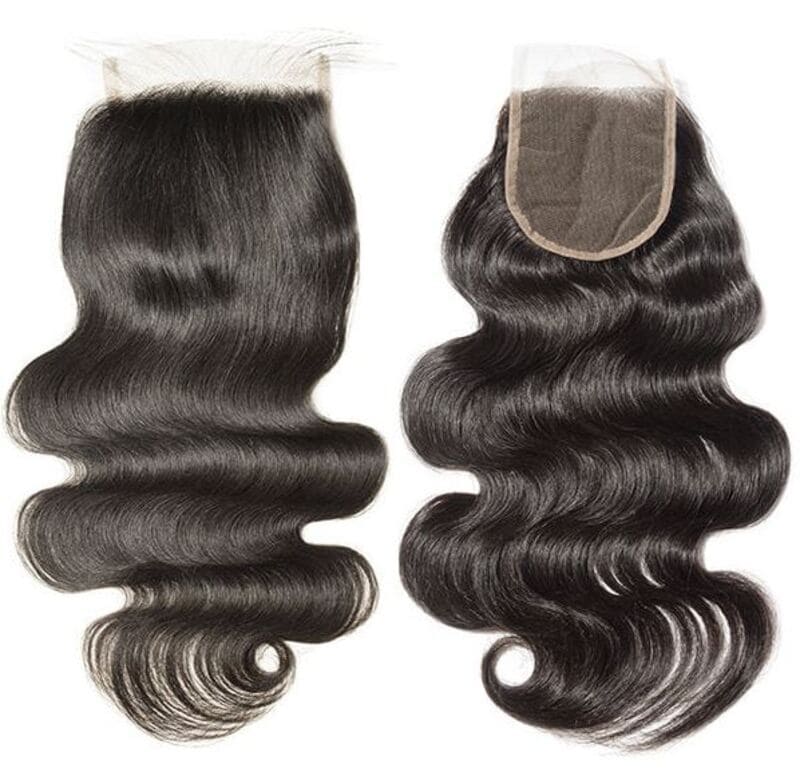
Different types of ear to ear frontal wig
There are various types of ear to ear frontal wigs available, each offering a distinct look and style. Here are a few examples:
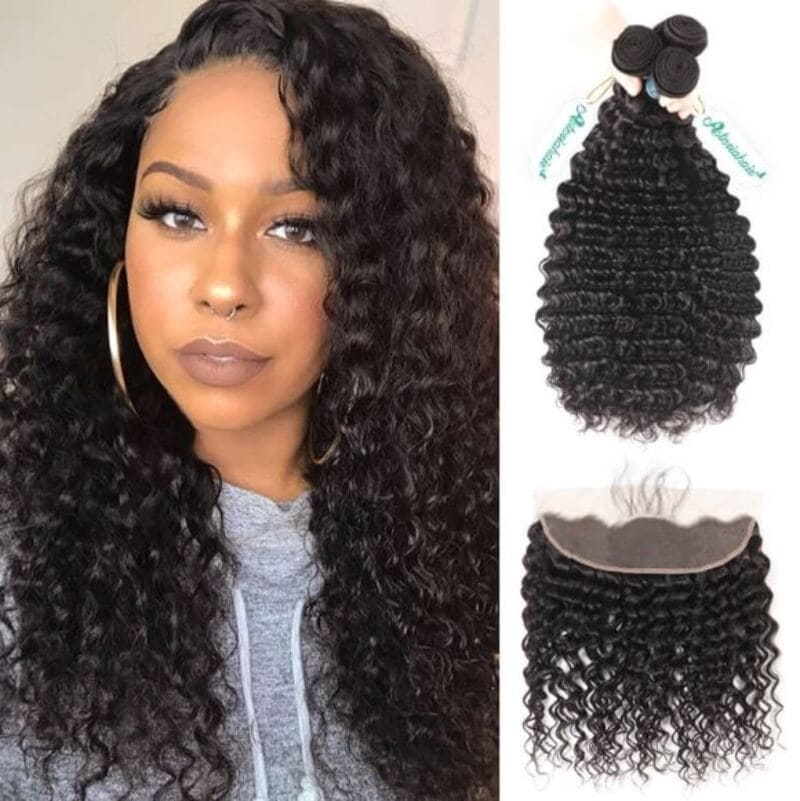
Brazilian deep wave ear to ear frontal
This type of wig features a deep wave texture that gives a voluminous and glamorous look. The Brazilian hair used in this frontal provides a natural shine and softness, making it a popular choice for those who desire a luxurious hairstyle.
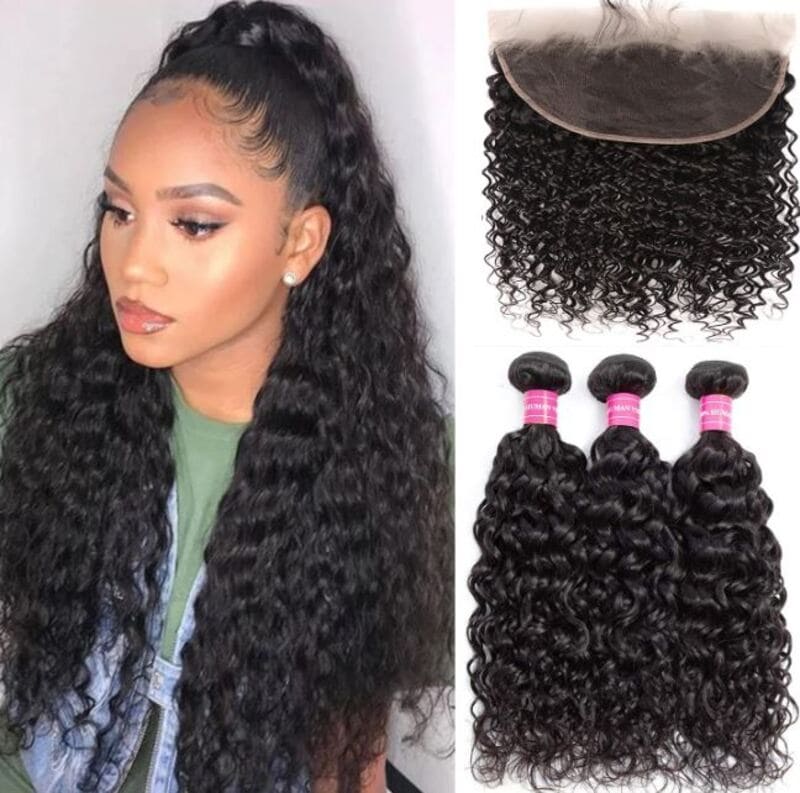
Water wave ear to ear frontal
With its cascading waves and effortless flow, the water wave ear to ear frontal creates a romantic appearance. The waves resemble the gentle ripples of water, adding texture and movement to your overall hairstyle. This frontal is perfect for achieving a beachy or bohemian vibe.
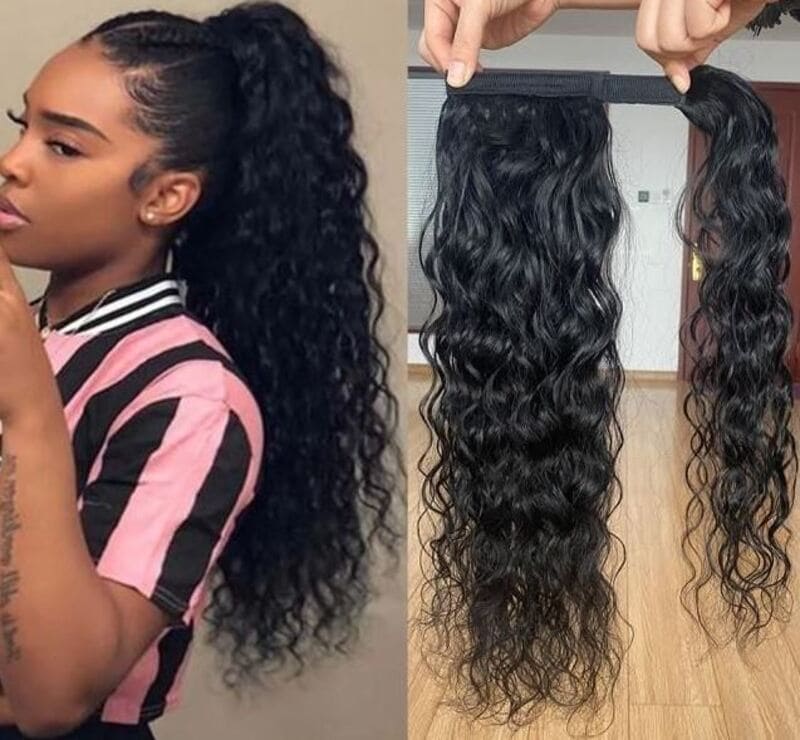
Ear to ear frontal ponytail
For a sleek look, the ear to ear frontal ponytail wig is an excellent option. This wig features a frontal that extends from ear to ear, providing a seamless hairline and allowing you to create a high, mid, or low ponytail effortlessly. It offers versatility and convenience for those who love the classic and timeless ponytail hairstyle.
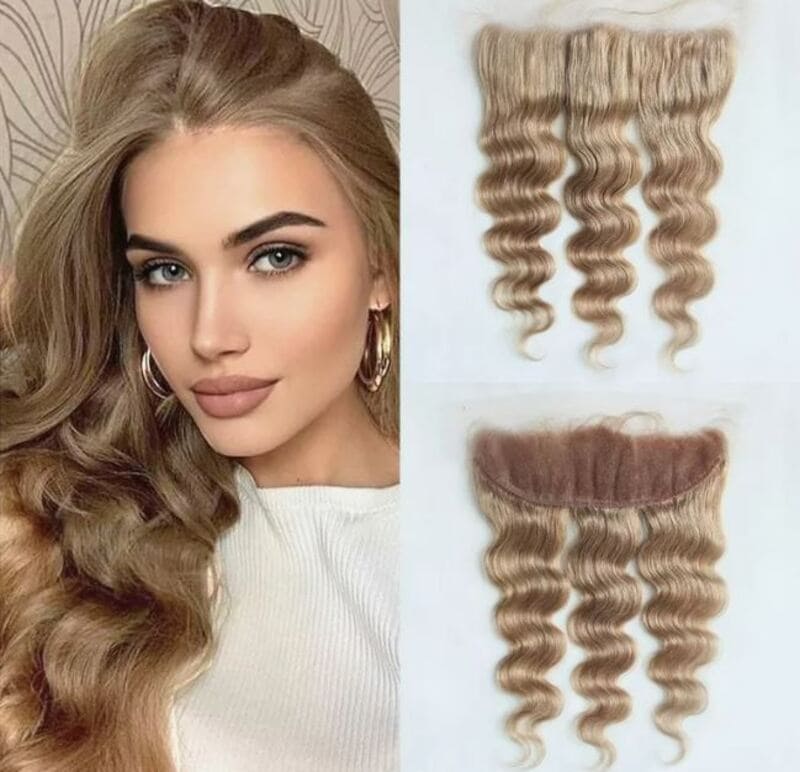
Blonde ear to ear lace frontal
The blonde ear to ear lace frontal wig is designed for those who want to rock a stunning blonde look. Whether you prefer a light, platinum blonde or a warmer honey blonde shade, this frontal offers a range of options. The lace frontal provides a natural-looking hairline for you to wear your blonde wig with style confidently.
Frequently Asked Questions
What is the ear to ear frontal price range?
Generally, ear to ear frontals can range in price from around $50 to $300 or more. The price for ear to ear frontals can vary depending on several factors, such as the quality of the hair, the type of frontal (lace or silk), the length, and the brand. Lower-priced options tend to be made with synthetic hair or lower-grade human hair, while higher-priced options often feature higher-quality human hair and more intricate construction.
Can ear to ear frontals be customized to fit different head sizes?
Yes, ear to ear frontals can be customized to fit different head sizes. They often come with adjustable straps or elastic bands that allow for a secure and comfortable fit. Additionally, professional stylists can further customize the frontal by trimming or adjusting the lace to match the individual’s head shape and size.
How long does an ear to ear frontal typically last?
With proper care and maintenance, an ear to ear frontal can last anywhere from several months to a year or longer. The lifespan of an ear to ear frontal depends on various factors, including the quality of the hair, how well it is maintained, and how often it is worn. It is necessary to follow proper washing, conditioning, and styling techniques to prolong the longevity of the frontal.
Can ear to ear frontals be dyed or heat-styled?
Yes, ear to ear frontals can be dyed and heat-styled. However, it is vital to exercise caution and follow proper techniques to minimize damage. It is recommended to seek the assistance of a professional stylist who can safely dye or style the frontal using suitable products and tools. Additionally, using heat-protectant products and avoiding excessive heat exposure can help maintain the quality and integrity of the hair.

Final Thoughts
Ear-to-ear frontals are game-changers when it comes to transforming your look. With their larger coverage and seamless hairline, these frontals offer versatility and a natural appearance that can elevate any hairstyle. Whether you are looking for a deep wave, water wave, or a classic blonde frontal, there is an option to suit your style and preference.
To explore the wide range of ear to ear frontals and enjoy the benefits they bring, consider contacting Jen Hair for wholesale options. With our expertise in the industry, we can provide you with high-quality frontals that meet your needs. Leave us a message today!
Recommendation:

 Guide Cornrows With Side Part The Best For Beginner
 Ultimate Guide: Headband with Hair Attached (Best Styles for 2025)
 Human Hair Clip In Extensions For Black Hair For Thin Hair
