No products in the cart.
Hair extensions before and after
Choosing the Best Braid Patterns for Full Sew Ins Weave
Click to see the top braid patterns for full sew-in weaves in our comprehensive guide. Elevate your style with expert insights from Jen Hair experts.
Ever wondered why some sew-in hairstyles look amazing while others fall flat? Well, it’s all about the braid patterns! Think of them as the blueprint for your sew-in weave, determining how your hair will look and hold up. From simple to intricate designs, each braid pattern has its own charm.
So, if you’re thinking about getting a full sew-in, understanding these patterns is key to rocking that flawless style. In this article, we’ll walk you through everything you need to know about braid patterns in a simple, easy-to-understand way. Plus, we’ve teamed up with the pros at Jen Hair salon to give you expert tips. Ready to master the art of braid patterns? Let’s jump right in!
What are full sew-in weaves?
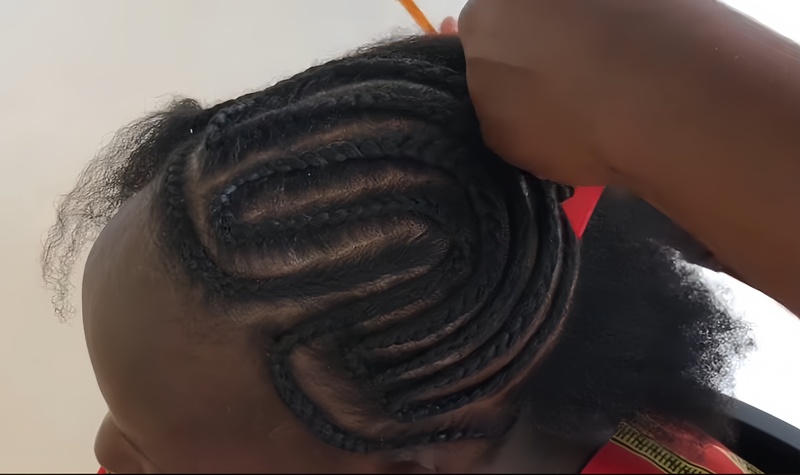
A full sew-in weave involves attaching long strands of hair, typically in the form of wefts sewn onto a strip, onto your natural hair that has been braided in a specific pattern, often resembling cornrows.
How it works: First, stylists start by weaving your hair into a neat, strategic pattern, kind of like laying down a strong foundation for a house. Then, they work their magic by sewing in those hair extension tracks, carefully attaching them to the braids using a needle and thread.
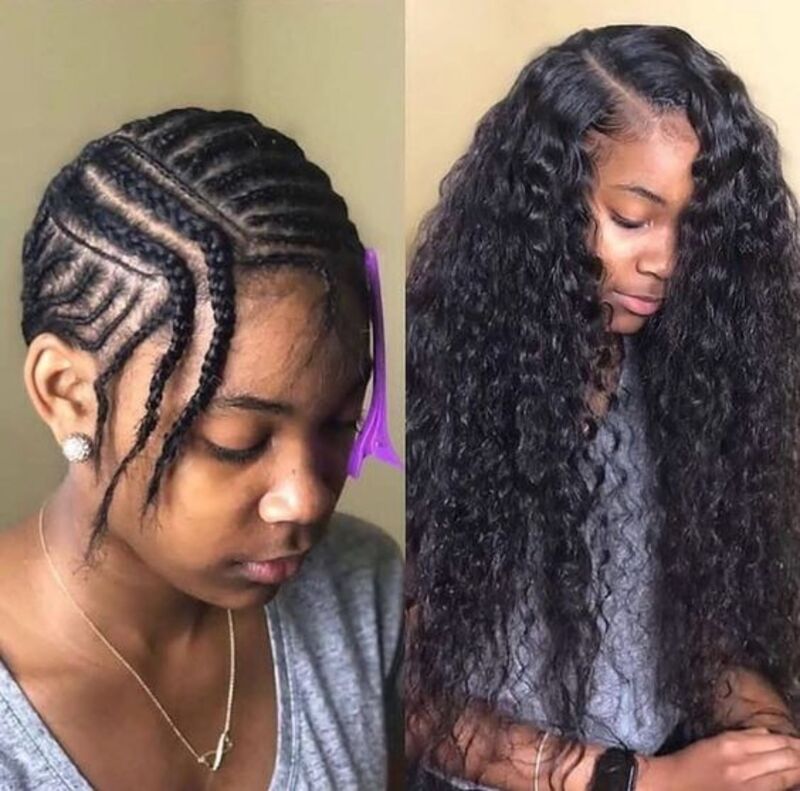
Once that’s done, it’s time to style your weave however you like – sleek and straight, bouncy curls. It’s like transforming your hair into a work of art, tailored just for you.
Why it’s awesome:
- Instant transformation: With a full sew-in weave, you can go from short to long hair in no time, offering a dramatic change in appearance.
- Style versatility: The beauty of sew-in weaves lies in their versatility. You can style them in various ways, from sleek and straight to voluminous curls, giving you endless options to express your unique style.
- Protective style: By concealing and protecting your natural hair underneath the weave, sew-ins provide a break from daily manipulation and styling, promoting healthier hair growth.
Why Is Your Braid Pattern Important For Sew-In Hair Extension?
Is your choice of braid pattern really crucial when it comes to sew-in hair extensions? Absolutely! Let’s dive into why selecting the right braid pattern is essential for achieving your desired look and maintaining the health of your natural hair.
Impact on Hairstyle Versatility:
- The braid pattern you choose directly affects the versatility of your hairstyle. Whether you’re aiming for a sleek middle part or playful ponytails and buns, the braid pattern sets the foundation for your desired look. Opting for a simpler pattern suits straightforward styles, while more intricate patterns allow for a variety of styling options.
Influence on Appearance:
- The braid technique employed significantly impacts how natural your hair extensions appear. A well-executed braid pattern seamlessly blends with the extensions, creating a cohesive and natural-looking finish. Conversely, a poorly crafted pattern can result in an unnatural appearance and may even lead to loosening during daily activities.
Hair Health Considerations:
- Beyond aesthetics, selecting the right braid pattern is vital for protecting the health of your natural hair. A properly executed pattern distributes tension evenly, minimizing the risk of damage from pressure. Additionally, it acts as a shield, safeguarding your hair from environmental stressors, chemicals, and heat styling tools.
In summary, your choice of braid pattern plays a crucial role in determining your hairstyle versatility, appearance, and the health of your natural hair. So, take the time to select the most suitable pattern to achieve the desired results and maintain the integrity of your hair.
What Are Braid Patterns For Full Sew Ins Weaves?
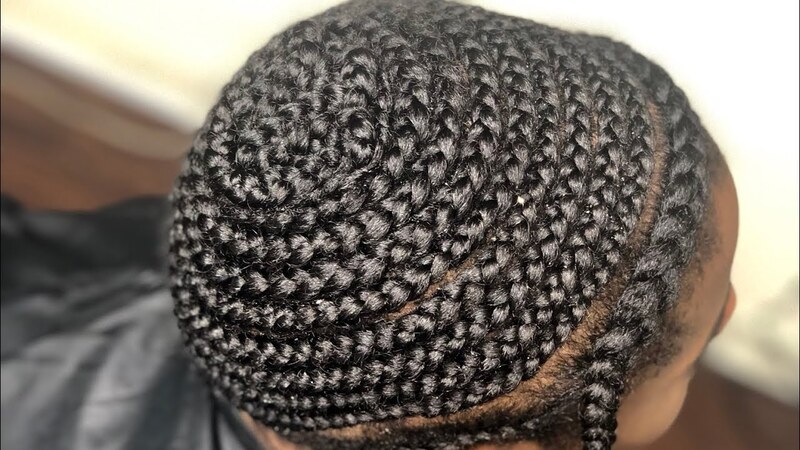
Beehive
Imagine a honeycomb! This intricate pattern features cornrows that crisscross in a circular fashion around the head.
- Pros: Provides excellent braid protection and promotes flat weave application. Ideal for long-lasting sew-ins and those who prefer a sleek, low-profile look.
- Cons: Can be time-consuming to braid and might feel a bit tight on the scalp for some.
Straight-back cornrows
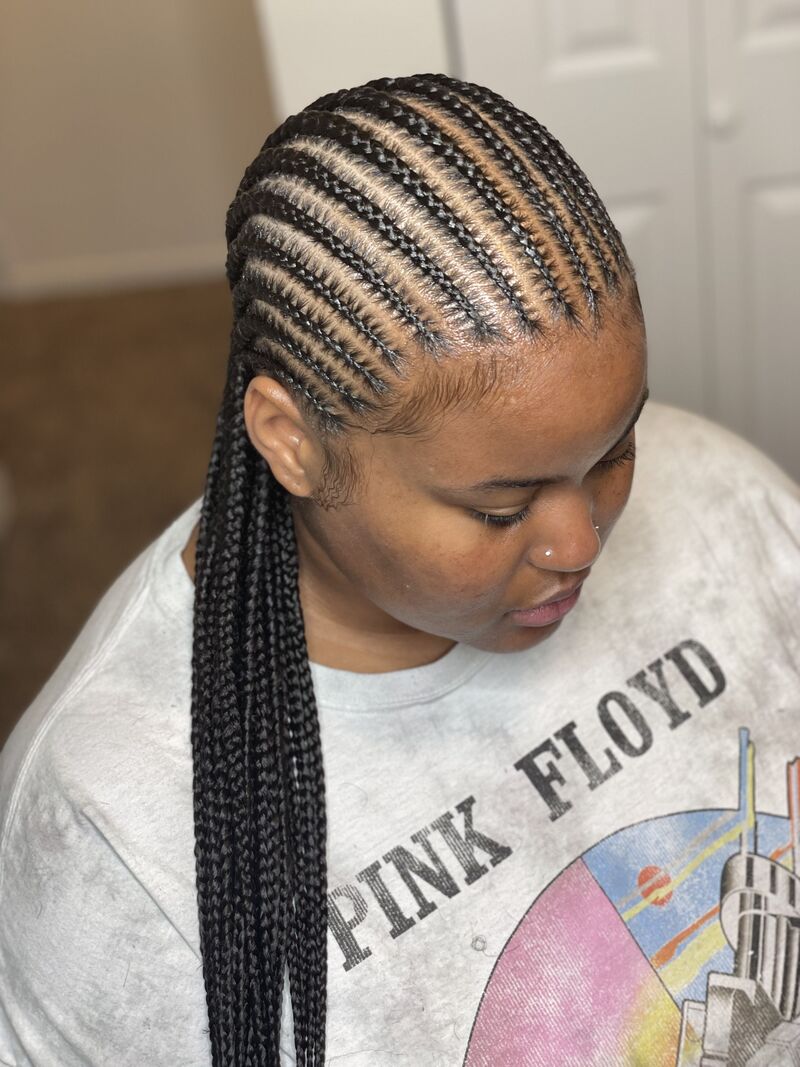
This classic pattern involves braiding the hair in neat rows running straight back from the forehead to the nape of the neck.
- Pros: A versatile and comfortable option, perfect for beginners or those who want more styling flexibility (think high ponytails and buns). Relatively quick to braid.
- Cons: May show some bulk under the weave, especially with finer hair textures.
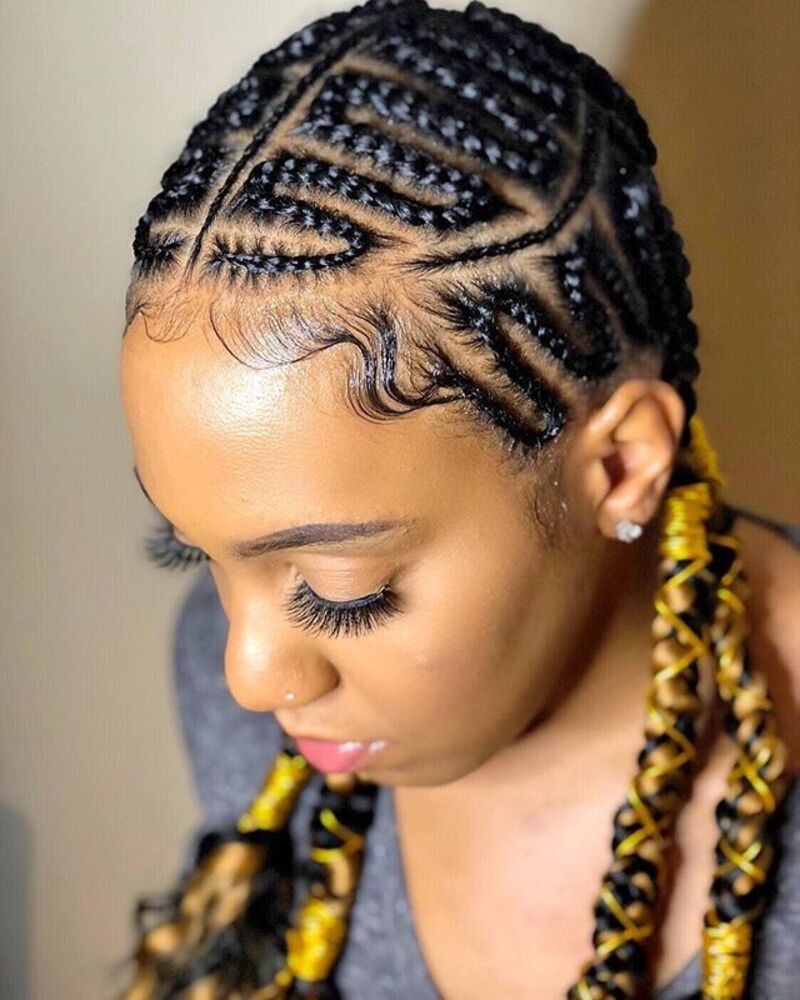
Zig-zag
This eye-catching design features cornrows that weave in a zig-zag motion across the head.
- Pros: Offers a unique and stylish look. Can add volume and help disguise any scalp bumps.
- Cons: Might take longer to braid compared to straight-back cornrows. Not recommended for very short hair.
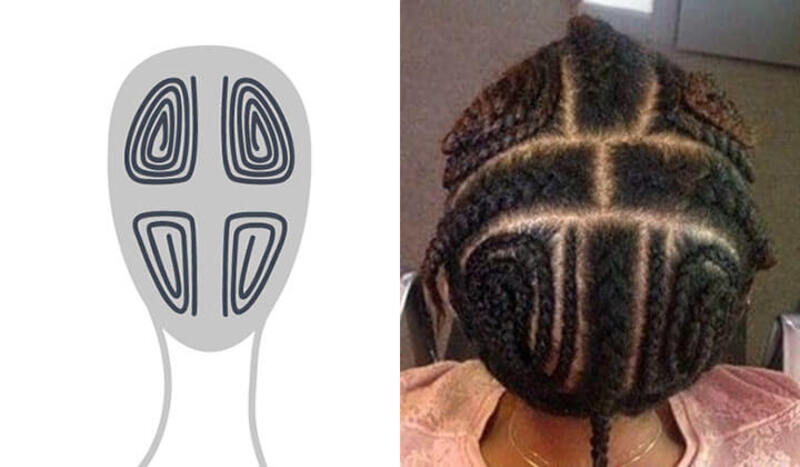
4-way vixen
This intricate pattern involves braiding sections in four directions (front, back, and two sides) that meet in a central point at the crown.
- Pros: Provides excellent hold and security for the weave, minimizing movement and potential for tension on your natural hair. Creates a flat base for a seamless weave application.
- Cons: The most time-consuming and intricate braiding pattern on this list. Might feel a bit tight on the scalp initially.
How to Install a Sew-In Weave for the Most Natural Look
Feeling a bit overwhelmed trying to put in a sew-in weave by yourself? No worries at all! We’ve got you covered with simple steps to help you achieve the perfect look effortlessly. Let’s get started!
- Start by braiding down your hair in a specific pattern. If you’re not confident in your braiding skills, you can have someone else braid your hair for you. This typically costs around $20 to $30.
- If you’re braiding your own hair, section off the hair you want to leave out. Ensure it’s enough to cover the weave tracks. You can use an inch of hair from both sides of your part as a guide.
- Begin braiding your hair starting from the leave-out. Braid each section down towards the middle and secure each braid with a small rubber band.
- Keep your scalp moisturized throughout the process to prevent dryness and irritation.
- Tuck any excess braids into the gaps between your other braids. This helps to ensure your hair lays flat.
- Start sewing the weave onto your braids. Begin a bit away from the start of the braid for a secure base. Sew under the braid, loop the thread through, and tighten. Continue sewing along the braid, looping through multiple braids for added security.
- Instead of cutting the tracks, flip the weft over and continue sewing. This prevents shedding and promotes longevity.
- Blend the weave with your natural hair by taking it out of the braids. Style as desired, and enjoy your natural-looking sew-in weave!
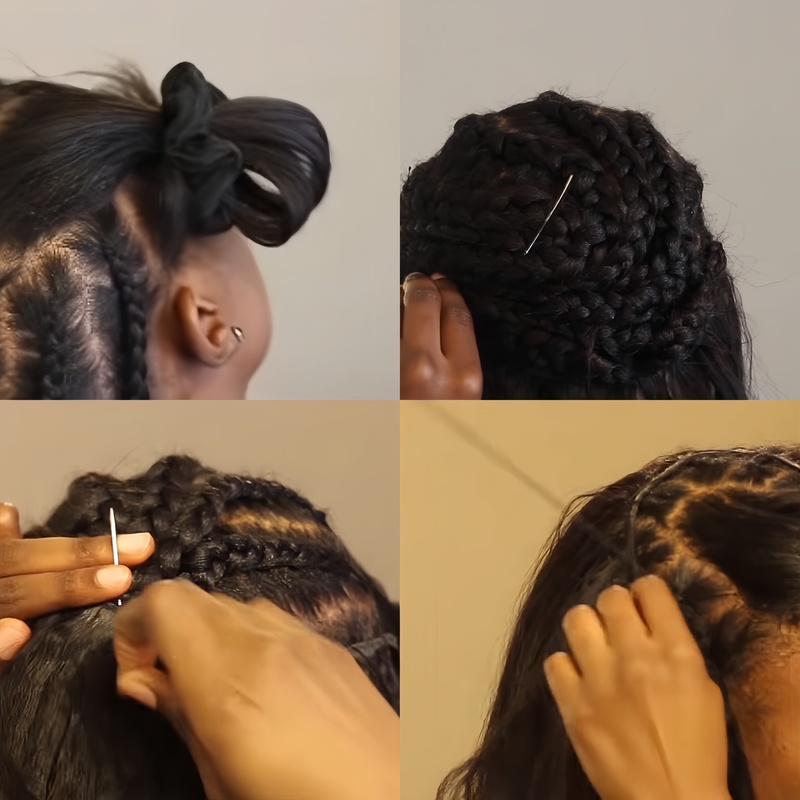
Practice makes perfect, so don’t be discouraged if it’s challenging at first. With time and patience, you’ll master the art of installing your own sew-in weave for a flawless, natural look!
Remember to check out the video for a visual demonstration!
Tips For Braiding Your Hair For A Sew-In
So, you’ve chosen the perfect braid pattern for your sew-in weave – awesome! Now, let’s talk about keeping those braids in tip-top shape for a long-lasting and comfortable style.
Here are some braiding tricks for a flawless sew-in:
- Flat is the way to go: The flatter you braid your hair against your scalp, the smoother your sew-in will be. This creates a clean base for the weft tracks to lie on.
- Trim those split ends: If your hair has damaged ends, consider trimming them before braiding. Split ends can snag and cause breakage during braiding and over time.
- Maintenance is key: After 3-4 weeks, your hair will naturally grow, causing some looseness in the braids. To avoid tangles and discomfort, visit your hairstylist for a quick tighten-up.
- Moisture is your friend: Braiding can create tension on your scalp. Combat dryness and discomfort by using moisturizing products to keep your hair supple and healthy.
FAQs:
Will three bundles of hair be enough for a sew-in?
The amount of hair needed for a sew-in can vary depending on the thickness of the hair, the desired volume, and the size of the head. Generally, three bundles of hair can be enough for a full sew-in, especially if the bundles are of a standard weight and the individual’s natural hair is not too thick. However, it’s always best to consult with a professional hairstylist who can assess your specific needs and provide personalized advice.
Do sew-ins cause hair loss?
Maybe. Sew-in weaves are awesome for adding length and volume, but if not done right, they can cause hair loss.
How to minimize risk:
- Find a stylist who braids gently but securely.
- Get regular tightenings (every 4-6 weeks) to prevent looseness and tension.
- Leave a small section of your natural hair out at the scalp for better air circulation.
- Keep your hair healthy by moisturizing your scalp.
Final Thoughts
Ready to slay with flawless sew-in weaves? Our guide breaks down braid patterns in simple terms, so you can choose the perfect style for your next hair transformation. Say hello to stunning hair days ahead! Contact Jen Hair salon now to schedule your appointment and achieve the hairstyle of your dreams.
Reccomendations:

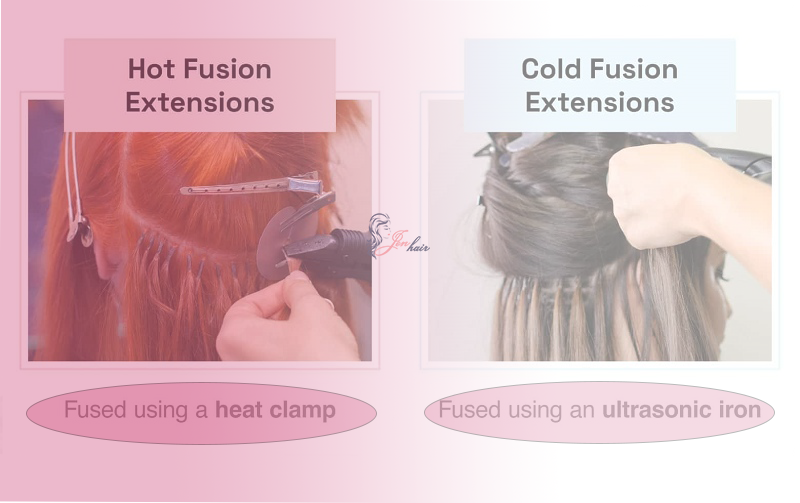 All-in-one Guide about Cold Fusion Hair Extensions in 2024
 Everything about Feather Hair Attachments
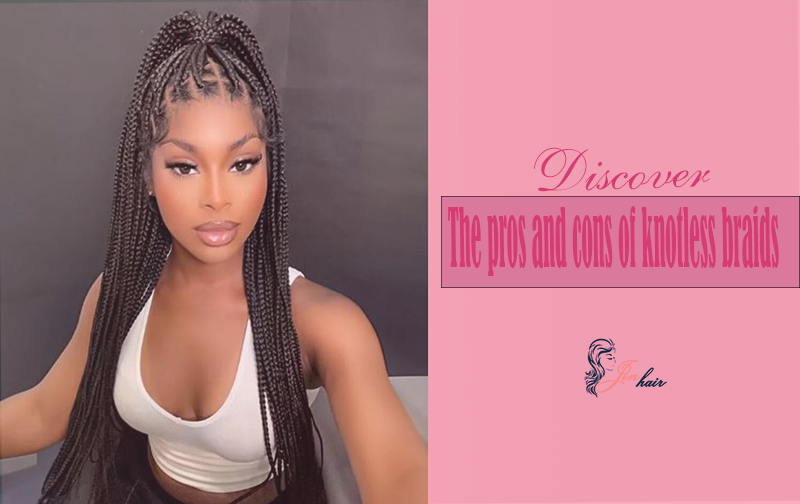 Discover the pros and cons of knotless braids
