No products in the cart.
Hair Care Guide
How to Remove Microlinks Safely at Home
No more microlinks! Thanks to Jen Hair, you can learn how to remove microlinks successfully through this complete guide. Learn the step-by-step process without causing damage to your hair.
Whether you’re getting ready for a new haircut or just want to give your scalp a break, removing microlinks at home might be a smart and practical decision. But how to remove microlinks easily and safely? Jen Hair’s tutorial will take you through the step-by-step procedure of properly. We’ll talk about everything you need to know, from getting the right tools to being careful at every step, to make sure the removal goes well and doesn’t damage anything.
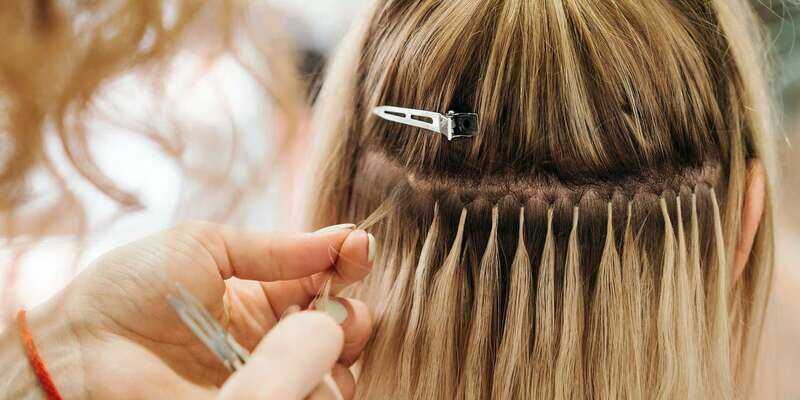
What Are Microlinks?
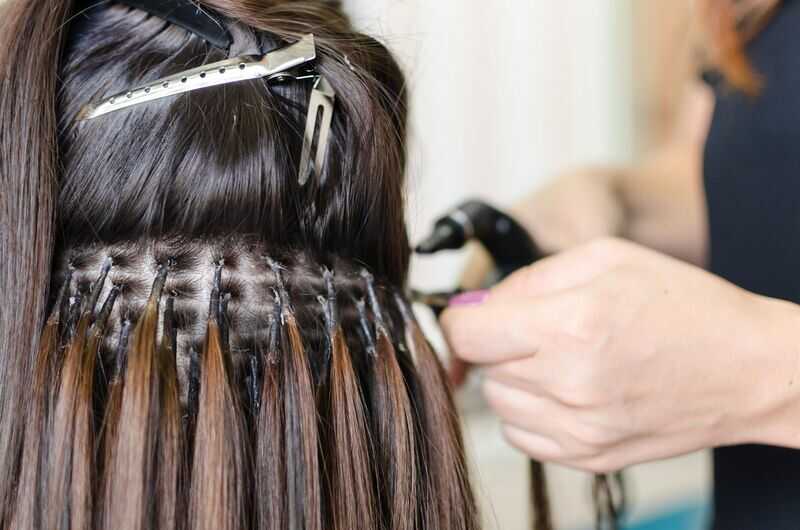
Microlink hair extensions are a type of hair extension that attaches individual strands of extensions to your natural hair with soft silicone beads. These beads are secured with a unique pliers tool, resulting in a strong and invisible connection. When you use microlinks instead of tape-in or glue-in extensions, you don’t need to use any strong chemicals or glues. Obviously, they are better for your hair and head because of this, especially if you have sensitive skin or hair that is easily broken.
When you use microlink hair extensions, soft silicone beads are used to connect each strand to your natural hair without using heat or glue. They make a powerful connection that is almost invisible, which is great for a natural look and experience.
Benefits include minimum harm to natural hair, durability (three to six months with proper care), versatility in style possibilities, compatibility for sensitive scalps, and adjustable beads for comfortable use.
Though they are more expensive, take longer to put on, need to be maintained regularly to keep them from slipping, need at least four inches of natural hair for a secure connection, can get tangled if not maintained properly, and need to be removed by a professional to protect the hair.
How to Remove Microlinks Hair Extensions
Starting to use microlink hair extensions will make your hair look beautiful and give you more styling options. But ultimately, removal is necessary. Don’t be scared or lost! This guide has all the steps you need to do everything.
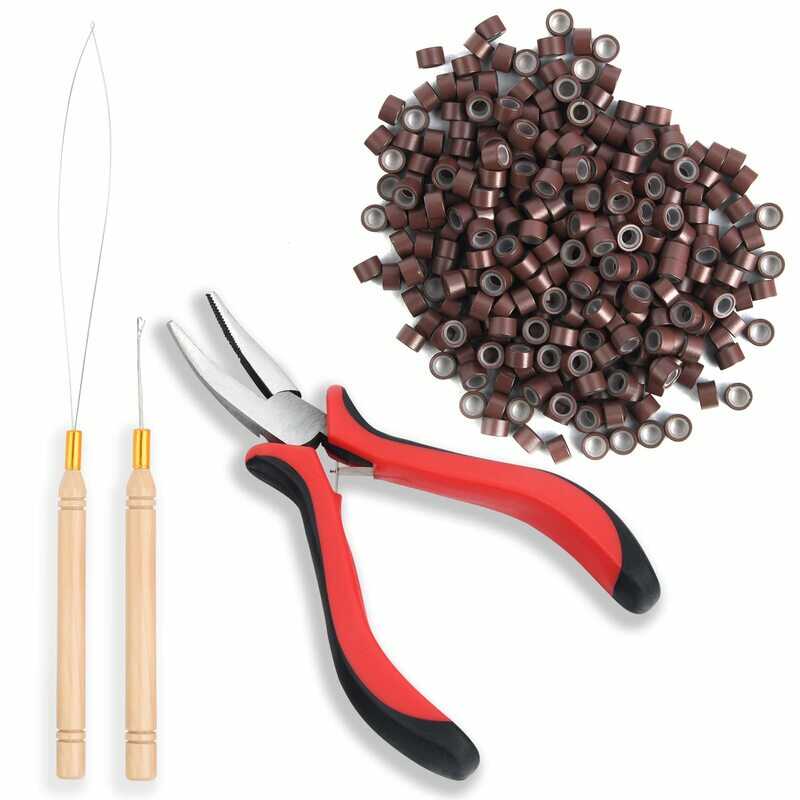
Tools you’ll need:
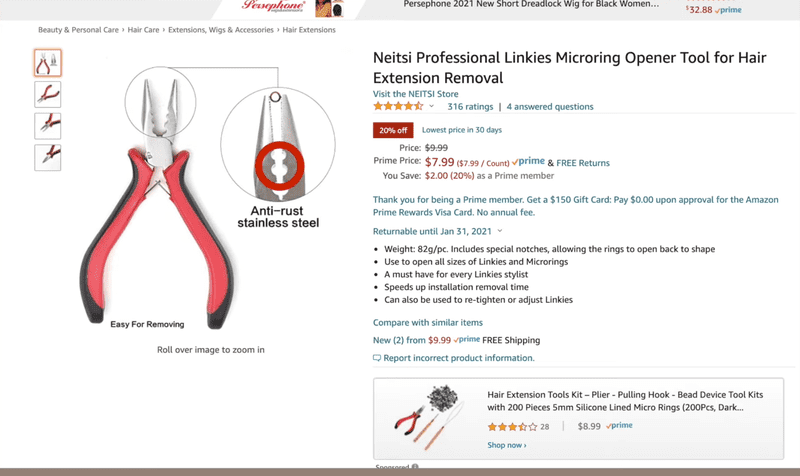
- Microlink pliers (the kind with a small circle in the middle)
- Conditioner
- Water
- Rat tail comb
- Wide tooth comb
- Brush
Assessing the Situation:
Before delving into the process of learning how to remove microlinks, let’s first assess the current situation. Keep an eye out for any signs of hair growth; if you see some, it’s a signal that adjustments might be needed to keep things looking natural. Also, notice if there are any changes in your hair, like it starting to group together or form mini dreadlocks over time.
Understanding the Microlink Structure:
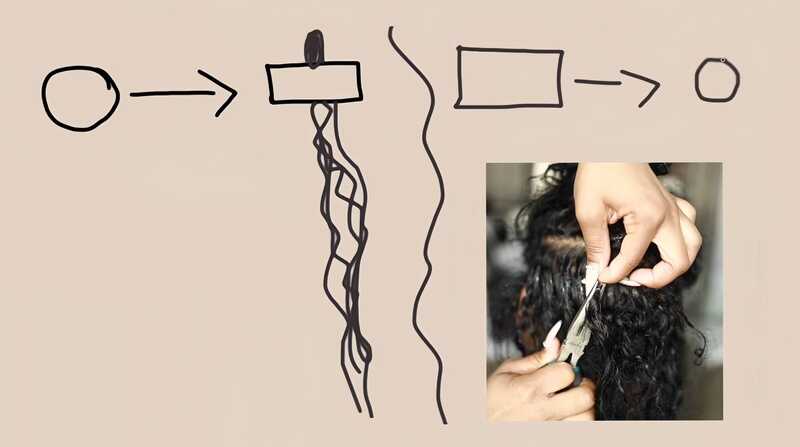
Consider how the removal process works: microlink begins as a circle and is squeezed into a square during installation. The key to getting rid of it is to turn this process around. Stretch the sides of the square back together with the pliers to turn it back into a circle.Reversing this process is the key to getting rid of it. To make the square back into a circle, gently squeeze the sides back together with the pliers.
Removing the microlinks:
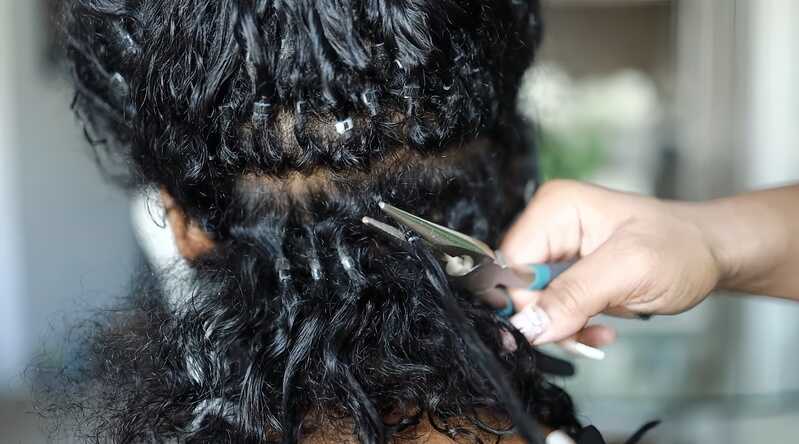
- Loosen the beads:
Using the pliers, firmly grip the bead and ensure that the circular indentation is centered around it. Squeeze the tools gently to slightly squeeze the bead, which will change its oval shape back to a circle. You shouldn’t squeeze it too hard. If you put too much pressure on the bead, it can become flat and hard to remove.
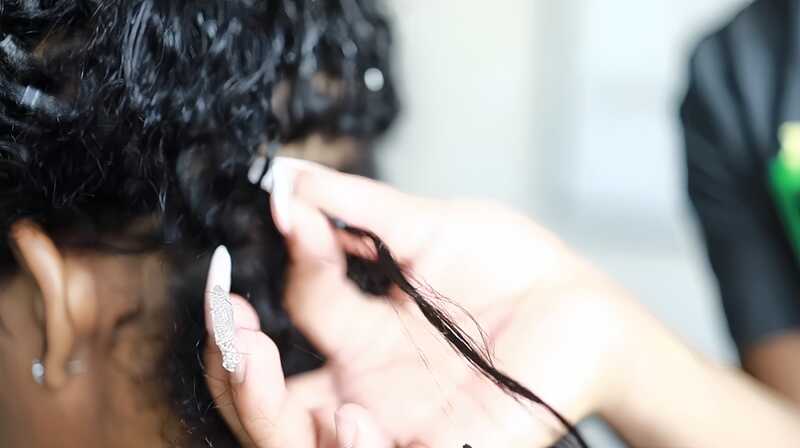
- Slide out the I-tip:
Once the bead is free, carefully slide the loop (eye) on the I-tip out of the hole in the bead. Pull the bead all the way down the hair shaft and out of the hair. As you remove the beads and I-tips, always hold the root of your natural hair strand to prevent pulling or breakage. Continue loosening and removing beads and I-tips, section by section, until all extensions are removed.
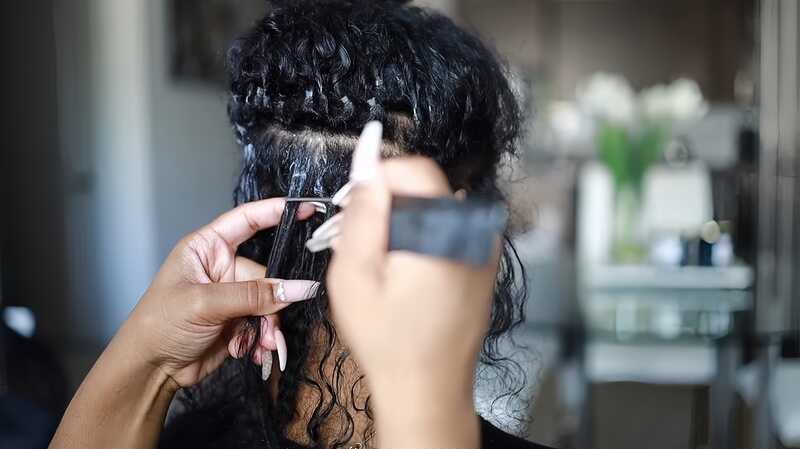
- Detangle gently:
Working in sections, saturate your hair with the conditioner and water mixture. Use the rat-tail comb’s pointed end to carefully loosen and remove any knots or tangles around the beads’ attachment points. Remain calm and refrain from tugging too hard.
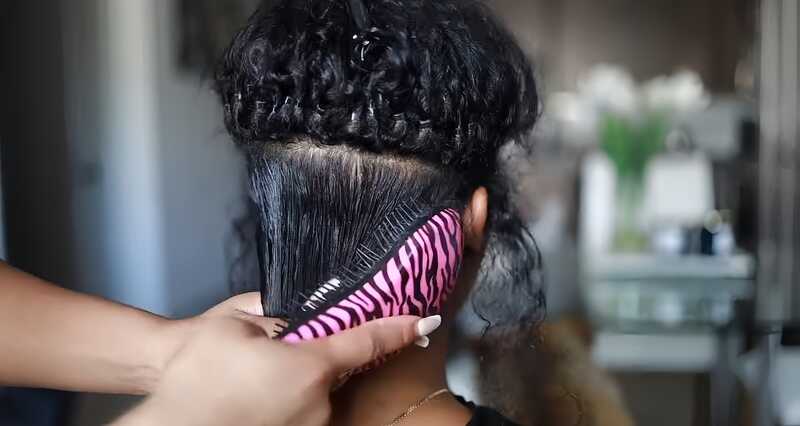
- Comb and brush:
Once untangled, gently brush and comb each part with the wide-tooth comb to get any last tangles.
- Shampoo and condition:
Once you straighten your hair and remove all of your extensions, shampoo and condition it as usual. Choose soft, moistening agents for increased dampness following cleaning. Add humidity using a leave-in conditioner or hair mask once washing and conditioning have finished. Use a blow drier on your lowest setting or allow your hair dry naturally to help to minimise damage.
Revive & Refine Your Hair After Microlinks
It’s time to nurture those strands now you’ve bid farewell to those microlinks and welcomed back your natural hair! Let’s start with the must-do actions to restore your hair to life following microlink removal; but, let’s keep it real and conversational.
Right After Saying Bye-Bye to Microlinks:
Use a shampoo devoid of sulfates in the first phase to truly clean your hair. It’s like cleaning all the negative past actions you have done. Do some serious cleaning then to show it some affection. This is a thick hair mask that will express apologies for the microlink anarchy and replace all the lost moisture. As you untangle, take your time and be delicate. You will find help in a detangling brush or a wide-tooth comb. Start at the ends and climb up. We are here to stay, hence avoid rushing. Though it would be tempting, let’s also momentarily break apart from the heat tools.
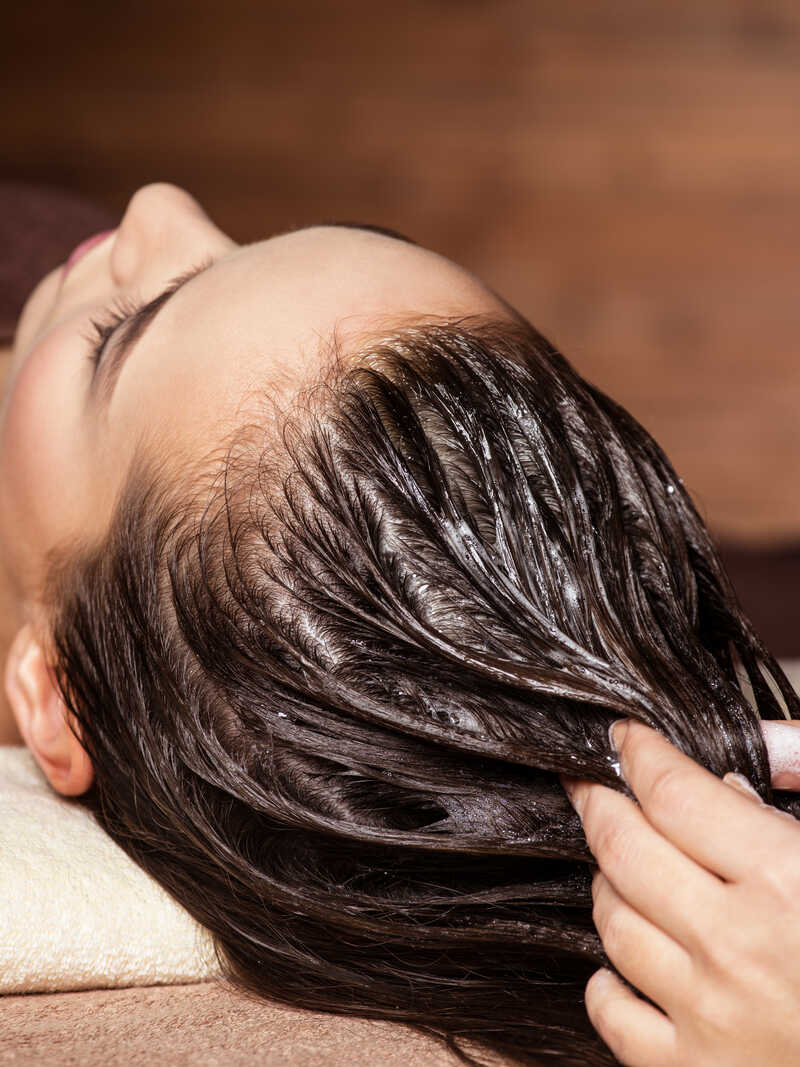
Ongoing TLC:
Frequent conditioning of your hair helps to maintain it healthy and moisture-laden. To guard your hair from damage, you also should gently brush it with a soft-bristled brush. Remember also the split ends! Regular cuts help you to keep them under control and prevent any damage. Use products high in proteins to repair damaged hair and put it back under control. Not neglect your diet either. Eat lots of fruits, vegetables, and good fats to maintain your hair healthy from the inside out. Good head of hair comes from inside out. Remember also to unwind and start smiling more. Your hair will feel fantastic later on.
Additional Tips:
- Steer clear of strong chemicals, including relaxers or permanent colors right after microlink removal.
- Sleep on silk: To minimise friction and stop breakage while you sleep, use a silk pillowcase.
- With consistent scalp massages using natural oils, encourage relaxation and stimulate hair growth.
- Drink lots of water to maintain from the inside out hydration of your hair and scalp.
FAQs
Can Micro Links Harm Your Hair?
Indeed, if not implanted or maintained correctly, microlinks could damage your hair just like any hair extension technique can do. Reducing these hazards mostly depends on knowing how to eliminate microlinks.
Potential Risks:
- If the links are excessively tight or if the extensions are too thick, traction alopecia—a kind of hair loss—may result.
- Improper removal or installation could destroy your natural hair or create tears.
- Microlinks can tangle easily, particularly in cases of improper brushing and detangling of your hair.
- Untreated for a long period, tangles can grow into mats, which can be challenging and uncomfortable to untangle.
How Long Do Micro Links Hair Extensions Typically Last?
With proper care, microlinks can last 3-6 months. However, there are various elements that can influence their lifespan:
- Hair Growth Management: Continuous hair growth necessitates periodic adjustments or tightening of the microlinks to sustain a seamless and natural appearance.
- Hair Type Considerations: The nature of your hair, whether fine or thin, may impact the ability of microlinks to hold securely. Thicker hair often provides better support for the links.
- Styling Practices Impact: Styling habits, including frequent heat application, exposure to chlorinated water while swimming, or the use of harsh chemicals, can contribute to a shorter lifespan for the extensions. It is imperative to exercise caution and adopt protective measures to preserve the integrity of the microlinks.
How Much Do Micro Link Hair Extensions Cost?
On average, the price typically falls within the range of $300 to $800. The cost of micro link hair extensions can vary based on several factors, including the quality of the hair, the method of application, and the salon’s location.
How Long Does It Take To Remove Microlinks At Salons?
Microlink removal usually takes between one and three hours at the salon. Length of time needed for removal depends on how skilled the stylist is and how many extensions are being taken out. Remember that a good salon will give you a session to go over the process, possible risks, and costs before you decide to get microlinks.
Final Thoughts
Okay, there you go! You now know how to remove microlinks like a hero with hair. Don’t forget that your secret tools are patience, kindness, and a little high-end goods. So go forth and use your detangling magic. Then say hello to your natural hair, which will shine with new health and confidence.
If things are getting tough or those beads just won’t move, come to Jen Hair and let our skilled stylists do their thing. Let’s get rid of those microlinks with a smile. Your hair will feel like silk, and your confidence will soar.
Recommendations:

 Side Cornrow Braided Ponytail: The Chic Style Upgrade
 Spikes Hair Ideas: From Basic to Iconic in Just Minutes
 Crimped Hair Comeback: How to Rock the Trend Without Looking Dated
